Posted on Leave a comment

Best Practices For Maintaining And Cleaning Your Smartphone

Cleaning your smartphone is an important part of keeping it in good condition and ensuring it works properly. Not only does it make your phone look good, but it also helps keep it safe from bacteria and dirt that can interfere with its performance. Cleaning your smartphone on a regular basis can help extend its lifespan and make sure it runs smoothly. 

It prevents the buildup of dirt and grime that can clog the pores, slow down the processor, and cause your phone to malfunction. In this article, you will learn some of the best practices that help you to keep a clean smartphone!

Ways To Clean Your Smartphone

Maintaining and cleaning your smartphone is essential for ensuring that your device works properly and for preserving its lifespan. Every day, we use our smartphones for a wide range of activities, from texting and video chatting with friends and family to taking pictures and playing games. Keeping your phone clean and well-maintained will help you get the most out of your device and keep it running smoothly for years to come.

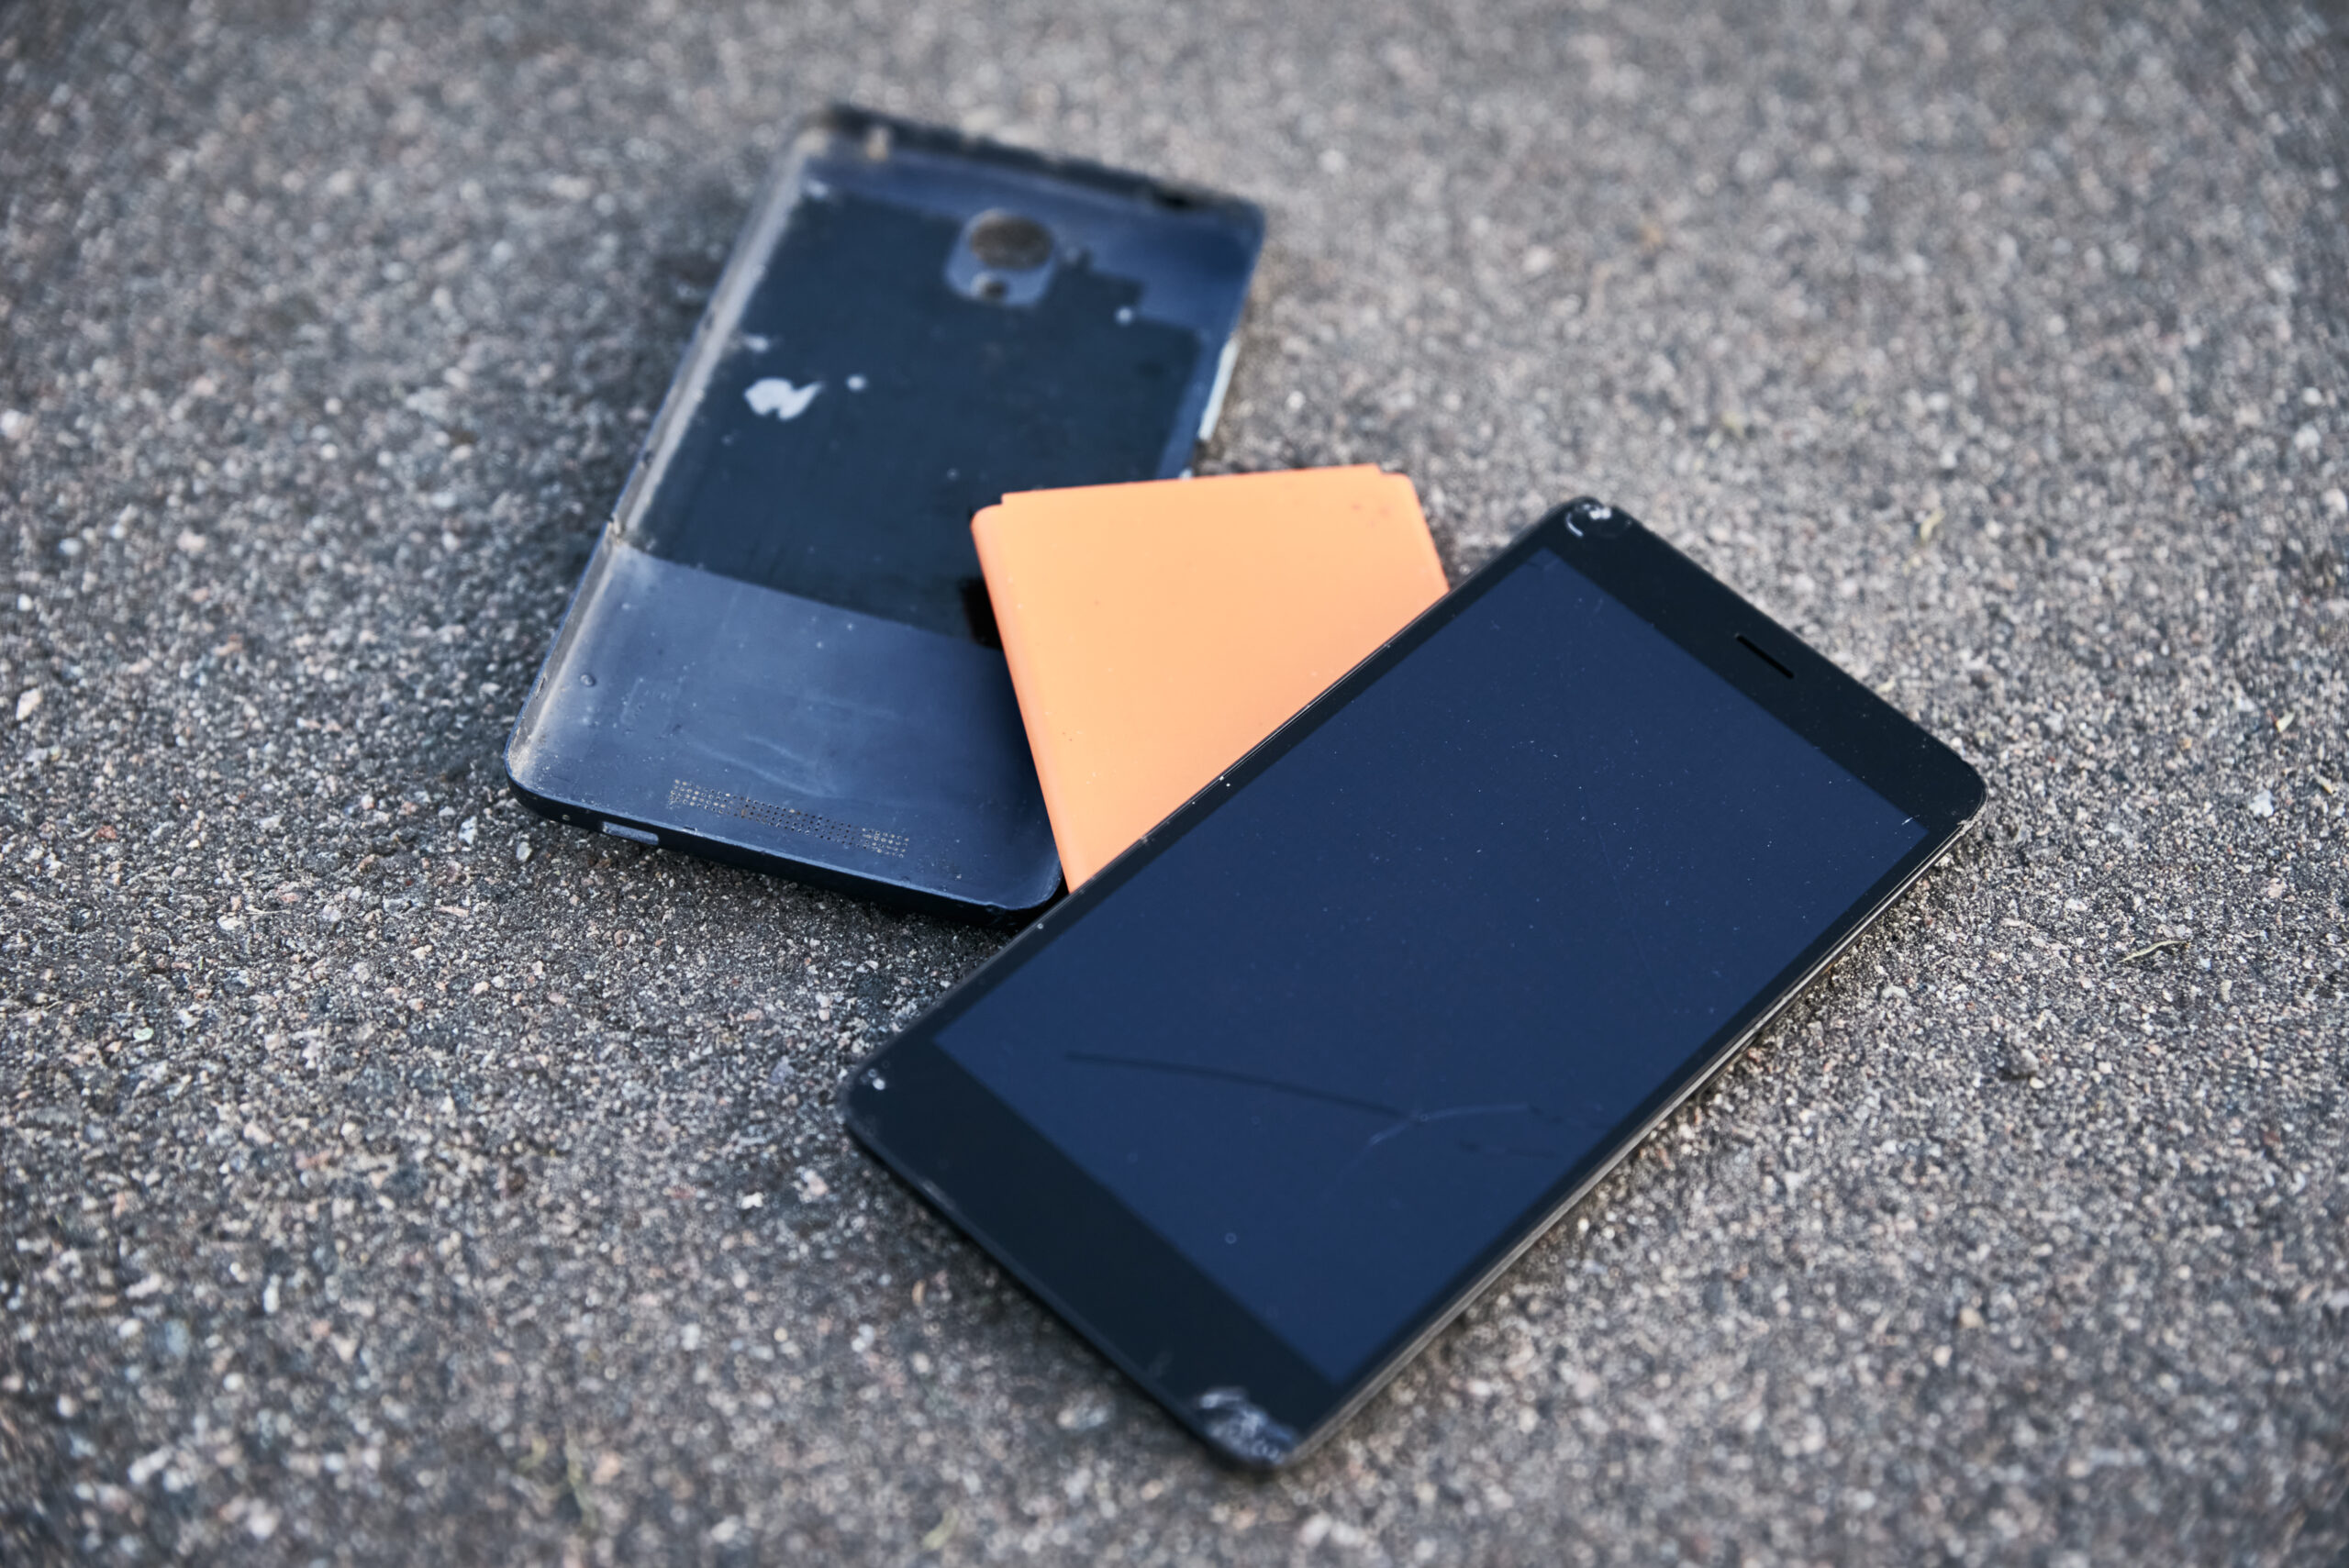
First and foremost, make sure you are regularly treating your device with care. Keep your phone in a protective case and avoid dropping it or placing it in water. If you’re not already doing so, consider using a screen protector to reduce the risk of scratches or cracks.

You should also pay attention to how your phone is handling data. Make sure you’re regularly backing up your data and deleting any unnecessary apps or programs. This will help you free up space on your phone and improve its performance.

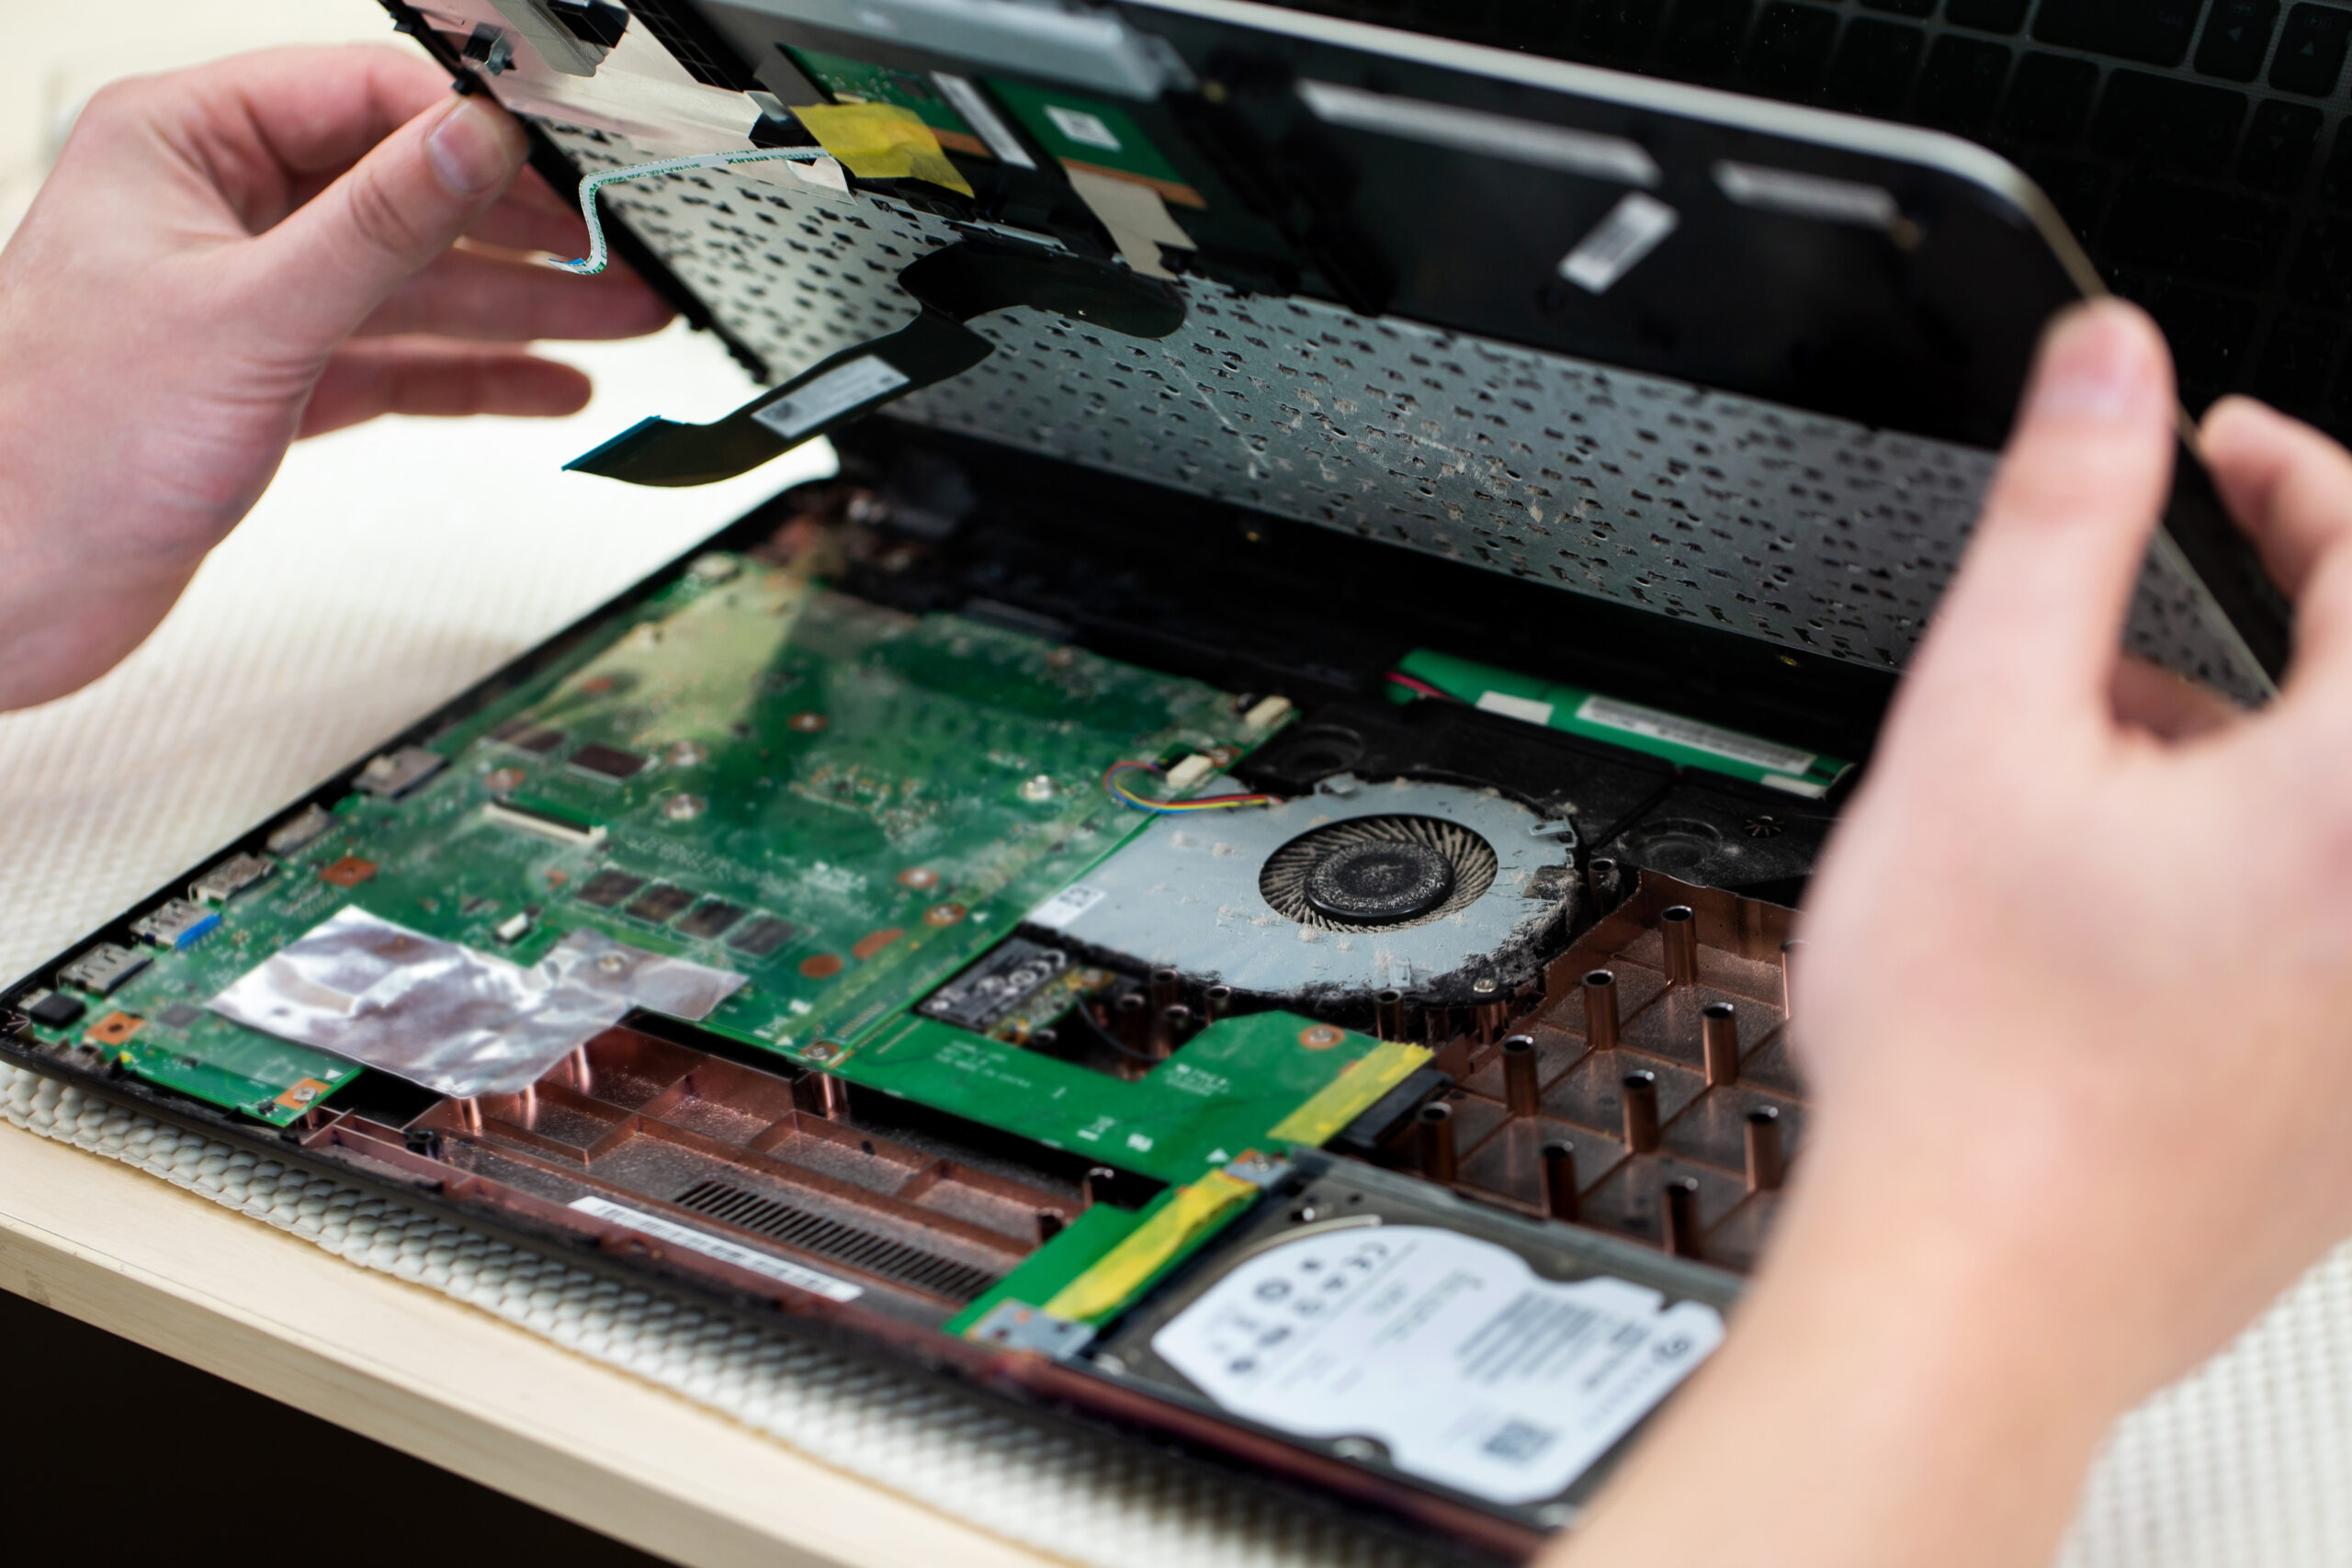
When it comes to cleaning your device, start with the outside of the phone. Use a soft, lint-free cloth to wipe away dirt and grime. You can also use a cotton swab and rubbing alcohol to clean off stubborn dirt or sticky residue. When cleaning the inside of your phone, make sure not to apply too much pressure or use any abrasive materials as this can cause damage.

It’s also important to keep your phone’s software up to date. Regularly check for software updates and download them as soon as they become available. These updates often include bug fixes and performance improvements that can keep your phone running properly.

Finally, avoid using third-party chargers or batteries. These products may not be reliable and can cause damage to your phone. Stick to using the charger and battery provided by the manufacturer. With a little bit of regular care and attention, you can keep your device running smoothly and get the most out of it.

Common Smartphone Habits That You Should Practice

One of the most common smartphone habits you should practice to keep your phone clean is wiping down the device with an antibacterial solution at least once a week. This will help to reduce the build-up of germs and bacteria on the device, as well as help to keep the phone looking like new. 

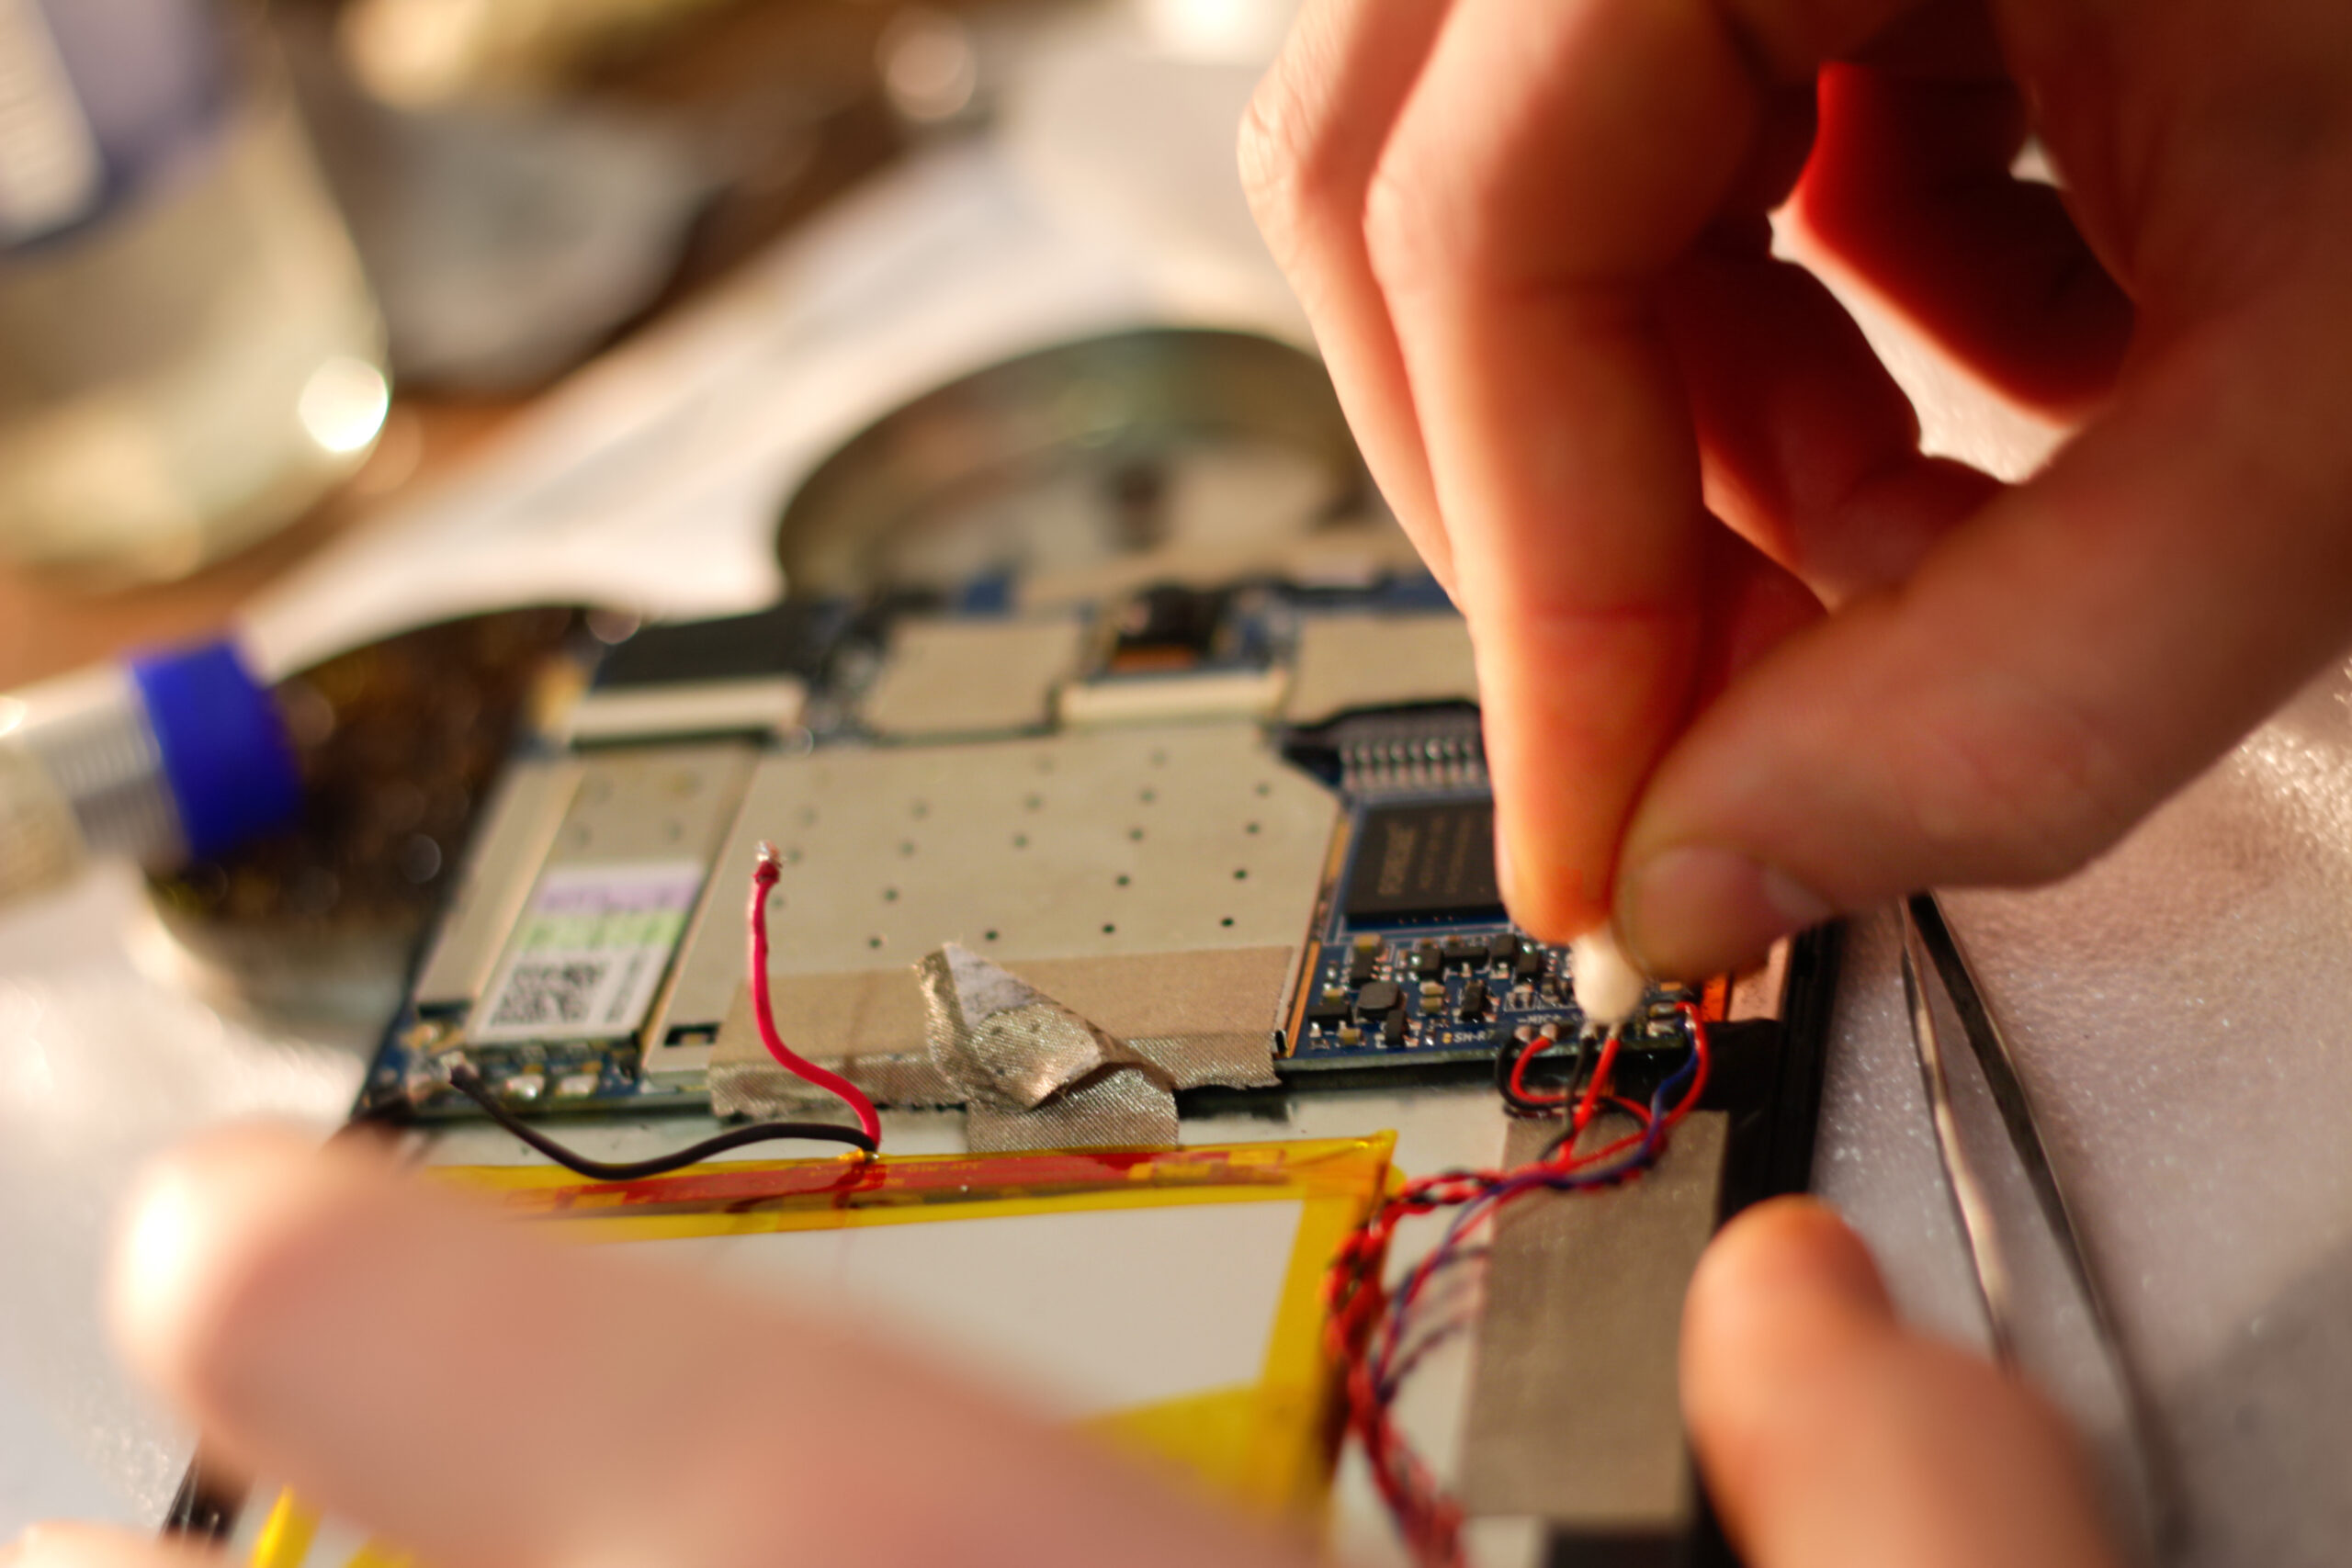
Furthermore, make sure to clean the ports, buttons, and other crevices with a soft cloth or a cotton swab. This will help to remove any dirt and debris that may have built up in the hard-to-reach places.

Another habit that should be practised is ensuring that the screen is kept clean and free from scratches. Use a soft microfiber cloth, slightly dampened with distilled water, to clean the screen. This will help to protect the device from damage, as well as help to improve the clarity of the display.

It is also crucial to avoid using harsh chemicals on the phone, as this can cause corrosion or damage to the device. Instead, opt for a mild, alcohol-free cleaner that is designed specifically for electronic devices.

Conclusion

Finally, make sure to regularly back up your data. This will help to protect your files, photos, contacts, and other important data in the event that your device becomes damaged or lost. Most smartphones come with a cloud storage option, making it easy to back up your data on a regular basis. Outside or inside, maintaining proper care of the smartphone always benefit you immensely. If you need professional help, get in touch with Fixsmart


Posted on Leave a comment

How to Replace a Damaged Smartphone Display or Other Hardware Components

Have you ever dropped your smartphone and ended up with a shattered screen or malfunctioning components? It can be frustrating and costly to get it repaired by a professional. However, if you are someone who enjoys tinkering with electronics and wants to learn how to replace damaged smartphone components yourself, you’ve come to the right place.

Even if you’ve invested in the most high-end smartphone on the market, accidents can happen, and it’s essential to know how to repair your device if something goes wrong. In this guide, we will explore step-by-step instructions on how to replace damaged parts of your phone, but keep in mind that seeking professional help is always the best option for a complex repair.

Display

Replacing a damaged smartphone display is not as difficult as it may seem. It requires some basic knowledge and tools, but with the right guidance and proper care, anyone can do it. Here are the steps to follow in order to successfully complete this task:

1. Get the right tools: The first step is to acquire the necessary tools for the job. This includes a screwdriver, a pry tool, a suction cup, and a replacement display. If your phone has a display adhesive, you may need a heat gun too.

2. Disassemble the phone: Once you have the necessary tools, you can begin the disassembly process. This involves unscrewing the back panel, removing the battery, and then using the pry tool to carefully detach the display from the chassis.

3. Remove the old display: With the display detached, you can now remove the old display. Carefully peel off any adhesive and make sure not to damage any other components in the process.

4. Replace the display: Take the new display and attach it to the chassis with the adhesive. If your phone requires a heat gun, then you will need to use it now. Once the display is secured, you can reassemble the phone.

5. Test the display: Finally, you can power on the phone and test the new display for proper function. If everything works, then you can consider the project a success.

With these steps, you should be able to replace a damaged smartphone display without too much difficulty. Make sure to take your time and be careful throughout the process to avoid any mistakes.

Speaker

Before beginning the repair, make sure to power off the phone and disconnect any charging cable or headphones.

First, you need to remove the back of the phone. This is usually done by pressing down on the edges of the back plate, or by unscrewing several screws around the perimeter of the device. Once the back is off, locate the speaker. It is usually located at the bottom of the phone, near the charging port.

Next, use a tiny screwdriver to unscrew the speaker from its housing. Once the screws are removed, gently pull the speaker away from the phone until it comes loose. Take note of the speaker’s orientation and position before removing it, as this will help when you install the new speaker.

Then, insert the new speaker into the old one’s position and carefully secure it with the screws. Make sure the new speaker is properly aligned with the holes and that all screws are tightened securely.

Finally, reassemble the phone and power it on. You can test the new speaker by playing a song or making a phone call. If the speaker is working properly, you have successfully replaced your damaged smartphone speaker. However, the location of the speaker may vary depending on the smartphone brand.

Battery

The first step to replacing a damaged battery is to acquire the correct replacement battery for your device. If you are unsure about the type, you can look up the make and model of the phone, or contact the manufacturer directly. Once you have the correct battery, you can begin the replacement process.

You will need a few tools in order to replace your battery, including a Phillips-head screwdriver, a spudger, and a pair of tweezers. You will also need to make sure that you have the correct replacement battery.

The first step is to remove the back panel of your phone, which is typically held in place by screws. Using the screwdriver, remove any screws that are holding the back panel in place. Once the panel is removed, you can locate the battery compartment.

Use the spudger to carefully remove the battery from its compartment. Be careful not to damage the connectors or components around the battery. Once the battery is removed, you can then insert the replacement battery. Make sure to line up the battery correctly, ensuring that all of the contacts are lined up with the phone’s battery compartment.

Once the battery is inserted, use the tweezers to reconnect any cables or connectors that were disconnected when the original battery was removed. Then, reassemble the phone using the original screws and place the back panel back in place.

Conclusion

As it is explained above, with proper tools and skills, you can easily replace any hardware component of your smartphone. However, if you are new to this, it is better to contact your smartphone repair service to fix the issue. Some of the most intricate components in the phone can easily be damaged if not handled carefully. So proceed with caution and good luck!


Posted on Leave a comment

Troubleshoot and Fix Smartphone Connectivity Issues

Smartphone connectivity issues can be incredibly inconvenient, as they can prevent users from accessing vital information and services. There are a variety of factors that can cause an issue in connectivity, such as hardware problems, compatibility issues, and even environmental factors. In some cases, a user may need to take their device to a repair shop to get it fixed, or they may be able to troubleshoot the issue on their own. 

Either way, this can create an obstacle that can disrupt the user’s life in a number of ways, from being unable to contact friends and family to not being able to make purchases or book appointments. It’s important for users to be aware of the potential for connectivity issues, so this article will help you to troubleshoot and fix some of the most common connectivity issues on your smartphone.

Why Do Smartphone Connectivity Issues Occur?

Connectivity issues on smartphones can happen for a variety of reasons. Poor cell phone reception is the most common cause of connectivity issues. This can be caused by having a weak signal due to distance from a cell tower, being in an area with a lot of physical obstructions, or having a device that is not compatible with the carrier’s network. 

Other causes of connectivity issues can include having an incompatible app or an outdated version of the operating system, software or hardware malfunctions, or even a slow or overloaded network due to too many users.

Connectivity issues with wifi and Bluetooth in smartphones can occur for a variety of reasons. Common causes of connectivity issues are interference from other wireless devices, an outdated version of the wifi/Bluetooth driver, a lack of available bandwidth, or a weak signal. Interference can be caused by other wireless devices, such as cordless phones, microwaves, or other wireless networks operating in the same area. 

Outdated wifi/Bluetooth drivers can also cause connection issues, as they may be unable to recognize and direct the signal appropriately. A lack of available bandwidth can be caused by too many devices connected to the same wifi network, or by a router that is not powerful enough to provide enough bandwidth for all devices. 

As always, a weak signal can occur if the device is too far from the wifi router, or if the wifi router’s signal is blocked by walls or other obstacles. 

How To Troubleshoot  

Troubleshooting and fixing connectivity issues on smartphones can be a tricky business, but with the right steps and knowledge, it can be done relatively easily.  When it comes to wifi, the first step is to restart your phone and router. 

This can often solve a lot of issues with wifi but if that doesn’t solve it, then it’s time to take a closer look. Start by checking if your phone is connected to the correct wifi network. If not, try reconnecting and entering the correct password.

If you’re still having issues, then you may need to reset your router. This will remove any saved settings, so it’s best to consult with your internet service provider before doing so. If that doesn’t work, you may want to try changing the wireless channel your router is using to see if that helps.

Next, let’s look at Bluetooth. Bluetooth connection issues can often be fixed by restarting your phone and any devices that you’re trying to pair it with. If that doesn’t work, then you may need to adjust the settings on your phone. 

Go to your Bluetooth settings, and make sure that the device is discoverable, and that visibility is set to “on”. You should also make sure that the device is in range and isn’t being blocked by any obstacles such as walls.

Finally, cellular reception can be a tricky issue to fix. If you’re having problems with your signal, then the first step is to check your coverage area. Make sure that you’re in an area that has good service. 

If you are, then you may need to adjust the settings on your phone to improve the signal. Go to your phone’s settings, and make sure that the network mode is set to “auto”, and that the network type is set to “LTE/4G”. This should help to improve signal strength.

If you’re still having issues, then you may need to contact your cellular service provider. They may be able to adjust the settings on their side to help improve the signal.

Conclusion 

Whether you like it or not, at some point in your life, you will experience a connectivity issue in your smartphone. It is a quite normal issue that can occur from time to time. However, the latest smartphones are designed quite well to prevent these issues from happening. But then if you still come across issues that need an expert’s hand, you can contact Fixsmart

Posted on Leave a comment

How To Remove Virus From Your Mobile?

As the advancement of smartphones gets better and better, manmade malware is also getting developed at the same level. These viruses are so advanced and cause you to be in very inconvenient situations if not detected early on. Here are a few tips on how to remove viruses from your mobile and what way that can prevent them from happening again.

Why Are They So Dangerous

Mobile phone viruses are a growing threat to the safety and security of smartphone users. Just like traditional computer viruses, mobile phone viruses can be used to gain access to private information, steal passwords, corrupt data, and even cause physical damage to the device. As technology has become increasingly sophisticated, so have the capabilities of mobile phone viruses, making them an increasingly dangerous threat.

The primary way that mobile phone viruses spread is through downloads of software components on the device. When users download apps, they may unknowingly be installing malicious code or software components on the device which can contain viruses. Without proper security measures in place, the viruses can quickly spread across the phone’s operating system, and even onto other devices connected to the same network.

Another way that viruses can spread is through text messages and multimedia messages. By sending out malicious links or messages, hackers can quickly infect a large number of devices. In addition, mobile phone viruses can also be spread through Bluetooth connections. By using Bluetooth to transfer files, users can unknowingly spread viruses from one device to another.

Once a virus has been installed on a phone, it can have devastating consequences. Mobile phone viruses can allow malicious actors to gain access to private information and data stored on the device, such as contact information and banking details. They can also be used to corrupt data, delete files, and shut down the device.

In addition, mobile phone viruses can be used to launch attacks on larger networks, such as corporate or government networks, or even the internet at large.

The best way to protect against mobile phone viruses is to ensure that all devices are kept up to date with the latest software and security patches. Additionally, users should only download applications from trusted sources, avoid clicking on suspicious links or attachments and install a comprehensive security solution to protect the device from malicious attacks. By taking these steps, users can drastically reduce the risk of their device being infected by a mobile phone virus.  

How To Get Rid Of A Virus From Your Mobile Phone

To remove a virus from your smartphone, it is important to take a few proactive steps.

  1. First, you should make sure your phone is up to date. Check for any updates and install them as soon as possible. This will help ensure that your phone is secure and that any security patches are installed.
  2. Next, you should download an antivirus app to your phone. There are several options available, so it is important to research which one is best for your device. Once the antivirus app is downloaded, run a full system scan on your phone. The app will look for any malicious activity that could be causing the issue.
  3. Once the scan is complete, you should take a close look at the results. If the scan detects any potential viruses, you should delete them immediately. It is also a good idea to delete any suspicious apps or data that may have been installed without your knowledge.
  4. Finally, you should hard reset your phone. This will restore it to the state it was in when it was first taken out of the box. Any malicious activity should be removed with the hard reset process. After the reset is complete, it is important to download the latest security updates from the manufacturer.

These steps will help ensure that your smartphone is free of viruses and other malicious activity. It is also important to keep your phone up to date with the latest security updates and to practice safe browsing habits to ensure your phone remains secure.

Conclusion

As smartphone technology continues to advance, so too does the potential for viruses and malware. The key is to use the proper tools and techniques to protect your device from these threats. 

Installing anti-virus software, keeping your system up to date, and being aware of phishing and other suspicious activities can help you stay ahead of the curve. Smartphone users should take proactive steps to protect their devices from malicious programs, as this is the best way to make sure your data and personal information remain safe. If you still find your mobile acting up, you can get in touch with Fixsmart

Posted on Leave a comment

Tips to Secure Your Laptop

Why should you secure your laptop? With the increasing use of laptops in our daily lives, they have become an attractive target for criminals due to their portability. Consequently, it is vital to understand the potential risks associated with laptops, not only for the device but also for the sensitive data stored within it.

Securing both the physical laptop and the data it contains is of utmost importance. Luckily, there are various simple ways to achieve this. Let us examine some practical measures to secure your laptop.

Ensuring That All Software Is Kept Up To Date Is Important 

Enabling automatic updates in the Windows Update is essential to ensure that Microsoft applications, including Microsoft Office and Windows, remain up to date. It is also recommended to enable automatic updates for non-Microsoft software that you frequently use, such as Adobe Acrobat Reader and other applications.

Downloading random files should be avoided at all costs. While modern browsers such as Chrome and Firefox come with auto-update functionality, it is still necessary to restart them periodically to ensure updates are installed.

Require A Password For Logging In

Setting up a login password is a crucial step in securing your laptop. This helps prevent unauthorized access to your files, ensuring that your personal information is kept private.

However, it is equally important to create a strong and unique password to maximize security. Avoid using obvious passwords such as names and birthdays, and instead, opt for complex ones. Consider using passphrases, full sentences, symbols, and numbers to create a strong and hard-to-guess password.

Encrypt Your Hard Drive

Encrypting your laptop’s hard drive involves converting the data on your device into a code that can only be deciphered with the right encryption key. This way, even if your laptop falls into the wrong hands, your files will remain secure and inaccessible to anyone without the encryption key.

Backup your data

One of the most reliable methods for safeguarding important data and preventing loss is to create backups. The available backup options include cloud-based and local storage, allowing users to select a preference based on their specific needs.

For Windows users, Microsoft offers a built-in backup utility that facilitates the creation of backups, while Mac users can utilize the Time Machine feature provided by Apple to perform local backups. By doing so, you can easily restore your files, providing much-needed peace of mind.

Use a password-protected screensaver

If you leave your laptop unattended even for a few minutes, it is easy for anyone to go through it. To avoid this you can use a password-protected screensaver. 

With this method, the screensaver starts automatically and would require a password to exit. 

Stay private while in public

Since humans are always curious by nature, shoulder surfing attacks are quite common. People would naturally glance at your screen when you are in a public place.

If you work in public then it is good to have a privacy screen that would restrict viewing angles. This would prevent shoulder surfing attacks and also increase your privacy. 

This ensures that people don’t snoop if their laptop is left unattended for some time. 

Install antivirus software

Laptops do need antivirus and usually, company laptops have antivirus software already installed. 

Even if your laptop is new it is recommended to install antivirus software. By doing this, you can prevent malware from affecting your computer and also protect your system and files. 

You can choose software for your laptop from the many vendors who provide them. 

Always monitor what you download. Files and updates which contain odd extensions or wording can be bad. If you have any doubts, use the antivirus to scan files before you open them. 

Add a webcam cover

Hackers find a way to spy on you through your webcam. The only option to keep yourself safe is to add a physical cover on top of your web camera that you can remove when necessary. 

Use a virtual private network

You will need to protect your privacy while using public Wi-Fi. Consider using a Virtual Private Network service (VPN) to prevent your browsing history from being tracked by your internet provider. 

The traffic between you and the VPN server will be encrypted by the VPN, this will make it impossible for anyone on the same network to track your activities. 

Enable location finding

It will be a great help if you set up a location-finding service in circumstances where you lose your laptop. 

However, it is your personal decision if you are comfortable sharing your location in order to secure your laptop since these services can track you. 

Install anti-spyware software

Spyware is a kind of software that collects information that can be organizational or even personal. 

They are designed in such a way that it is hard to detect and also difficult to remove. They often deliver unwanted ads and direct you to malicious websites. 

Some even gain access to passwords and financial information. Installing an anti-spyware package will protect you by scanning and blocking such threats. 

Conclusion

Taking a few simple measures can go a long way towards securing your laptop and protecting your privacy. Consider the tips mentioned in this guide and follow them to use your laptop securely. If you still have issues that don’t look like something you can fix, get in touch with Fixsmart

Posted on Leave a comment

How To Repair The Common Laptop Problems

Common laptop problems are prevalent as the need for laptops. Despite the benefits of laptops, they are not immune to common problems such as slow performance, battery issues, overheating, broken screens, and software malfunctions. These common laptop problems can be frustrating and can impact productivity, but with proper maintenance and troubleshooting, many of these issues can be resolved.

Whether you’re a business professional, a student, or just someone who wants to keep your device running smoothly, this guide will be an invaluable resource.

What Are The Common Laptop Problems

The laptop doesn’t turn on

One of the most frustrating experiences for laptop users is when their devices won’t turn on. This can be caused by several factors, ranging from a simple power source issue to a more complex motherboard problem.

The first thing to check is the battery. If it’s completely drained, simply plugging in the laptop to charge may resolve the issue. If the battery is fully charged, the next step is to check the AC adapter. You can use a voltmeter to test the voltage output of the adapter and determine if it’s functioning properly.

However, if the battery and AC adapter both appear to be working fine, the issue may lie with the laptop’s motherboard. In this case, it’s best to seek the help of a professional repair service to diagnose and fix the problem. Don’t attempt to fix a motherboard issue on your own, as it can cause further damage to your laptop.

Turns on and off on repeat

If your laptop keeps turning itself off immediately after you turn it on, it can be a frustrating and perplexing experience. The cause of this issue could be traced to several factors, but the most common culprit is the memory module.

To fix this problem, start by checking the memory modules on your laptop. If they are faulty, replacing them should resolve the issue. However, if the problem persists, it is likely a motherboard issue. 

In this case, it is best to seek the help of a professional repair service to diagnose and repair the issue, as attempting to fix the motherboard yourself can cause further damage to your laptop.

The blank screen

If your laptop turns on but the display or screen remains blank, this could be due to a variety of factors, either software or hardware-related. To troubleshoot this issue, start by unplugging your laptop from its power source and removing the battery. Then restart the laptop to see if the problem is resolved.

If the issue persists, it may be due to a problem with the RAM or the motherboard. In this case, it is best to seek the assistance of a professional repair service to diagnose and fix the issue, as attempting to repair these components on your own can be complicated and may cause further damage to your laptop.

The battery only charges to a certain amount

If your laptop doesn’t seem to fully charge, even after hours of being plugged in, or if the battery drains quickly, this could be a sign of an issue with the AC adapter or the battery itself. Over time, batteries can lose their capacity which can lead to reduced battery life.

In this case, the best solution is to replace the laptop battery. This will help to resolve the issue of not reaching a full charge and will also restore the battery life to its optimal level. If the problem persists even after replacing the battery, it may be worth checking the AC adapter and seeking the help of a professional repair service if necessary.

Laptop’s keyboard errors

Typing errors or incorrect symbols appearing when pressing certain keys on the keyboard is a common issue that many laptop users experience. This can be a frustrating problem, but it often has a simple solution. The cause is often dust or dirt that has accumulated under the keycaps.

To fix this problem, start by removing the keycaps and cleaning out any dirt or debris. If this doesn’t solve the issue, it may be a problem with the entire keyboard. In this case, replacing the keyboard may be necessary to resolve the problem.

It is important to note that attempting to replace a laptop keyboard requires technical skill and should only be attempted by a professional repair service or an experienced user. Attempting to replace a keyboard without proper training can result in further damage to the laptop.

Other Issues With The Operating System

Software issues can be more challenging to identify and resolve compared to hardware problems. These issues can affect the operating system and its components, including graphics, audio, and video drivers, as well as compatibility issues, malware and virus problems, and general system and app updates.

When it comes to laptop updates, outdated or older laptops can run into compatibility problems if they attempt to run the latest versions of software updates. This can be due to factors such as insufficient memory or hard drive space.

In the event of a software issue that is difficult to diagnose, resetting the laptop’s operating system may be the best solution. However, it is important to properly back up all important data and files before proceeding with the reset.

Conclusion

For those seeking a reliable and professional solution for their laptop or mobile device issues, Fixsmart offers top-notch repair services. With a team of experienced technicians, they provide quick and efficient solutions for a wide range of problems, ranging from hardware to software issues. 

Whether you’re experiencing a problem with your laptop’s battery or display, or you’re having trouble with your mobile device’s camera or sound, Fixsmart has the expertise to get you back up and running in no time.


Posted on Leave a comment

How To Decide If I Should Repair Or Replace My Faulty Smartphone

What should you do to your faulty smartphone? Well, pones have become a critical part of our daily lives, and it’s hard to imagine life without one. Choosing a high-quality and durable smartphone can be challenging with so many brands available. The cost of these devices can be substantial, and they often break or become damaged, making it difficult to decide whether to repair or replace them. 

The decision often comes down to the repair cost compared to purchasing a new phone. However, expensive phones don’t always guarantee more extended durability, and accidental damage can still occur. This article will help you determine whether to repair or replace your faulty smartphone, so you can make an informed decision and avoid wasting money.

When to Repair or Replace Your Faulty Smartphone

Warranty Period

  • If your smartphone is still under warranty, you can have it replaced by the manufacturer. This is the most straightforward solution to a faulty smartphone.
  • If your warranty has expired, repair may be the next option.

Determining the Fault

  • To make an informed decision, you need to determine whether the fault is in the software or hardware of the smartphone.
  • You can try waiting a few days to see if the fault resolves.
  • If unsure, speak to a smartphone repair technician or a professional for further insight.

Cost-Effectiveness

  • It is the most cost-effective solution if you can buy a new smartphone for the cost of repair.
  • However, some people may prefer to repair their phones due to sentimental attachment.

Age of the Smartphone

  • If your smartphone is more than 4 years old, you may experience software-related issues.
  • This is because the apps you use are constantly upgrading while your phone is aging.
  • In this case, you may buy a new smartphone, even if the repair cost is lower.

Considerations Before Deciding Anything About Your Faulty Smartphone 

Aside from the warranty period, cost-effectiveness, and age of the smartphone, there are other considerations you should consider when deciding whether to repair or replace your device.

The severity of the Fault: If the fault is in a critical area, such as the hardware, memory, or battery, it may not be worth attempting a repair. On the other hand, repair may be viable if the issue is with a less critical component.

Availability of Parts: If the parts needed for the repair are not readily available, it may be difficult or expensive to fix the phone.

The expertise of the Technician: The expertise and reputation of the repair technician should also be considered. If you have a valuable or high-end smartphone, you may want to choose a reputable and experienced technician to avoid further damage.

Personal Preference: Your preference should also play a role in your decision. If you have a sentimental attachment to your smartphone, you may choose to repair it even if it is not the most cost-effective option.

Considering these factors, you can make an informed decision and ensure that you get the most value out of your smartphone.

Conclusion

In conclusion, the decision to repair or replace your smartphone is a personal one that depends on various factors such as your budget, the age of the phone, and the level of damage. If you are on a tight budget and your phone is still under warranty, getting it repaired or replaced by the manufacturer may be the best option. 

However, if you have a steady income and the repair cost is higher or medium, investing in a new phone may be the most cost-effective solution in the long run. It’s essential to weigh your options carefully and consider the value of your phone in terms of sentimental attachment and usability. 

In times of need, services like Fixsmart can assist you in making the best decision for your specific situation.


Posted on Leave a comment

5 Signs Your Smartphone Battery Is Dying

Let’s talk about your smartphone battery but before that smartphones have evolved beyond just being devices for making calls and sending texts. As the name suggests, they are essentially mini-computers that we carry in our pockets. With any electronic device, battery life is critical; as smartphones age and are used frequently, their battery life begins to deteriorate. 

Recognising the signs beforehand can help prevent the inconvenience of sudden smartphone battery death.

The Phone Is Not Holding Charge For As Long As It Used To

One of the most recognisable signs of diminishing battery life is that your smartphone’s charge doesn’t last as long as it used to. This can be caused by a variety of reasons, including having too many apps or background processes that consume memory and battery life. 

However, this shouldn’t be an issue if your phone has good battery life. The manufacturer has typically designed the phone to handle battery-draining scenarios. In the rare case that your smartphone suffers from malware or other battery-draining software, it’s a sign that the battery is slowly dying.

Taking Longer To Charge Than Usual

Another sign of battery issues is longer charging time. As the owner of the smartphone, you likely have a general understanding of how long it takes to charge. However, if it takes more than three hours to charge to even 50%, it’s a sign that the battery is having problems. 


This is not necessarily common in older smartphones, but this may occasionally occur if your phone is over two years old. Eventually, it may take so long to charge that charging overnight is not effective. It’s worth noting that long charging time can also be caused by issues with the cable or power outlet, not just the battery.

Randomly Restarting

A dying smartphone battery can lead to a phone randomly restarting, causing interruptions and making it difficult to complete tasks. In this case, it’s best to charge the phone as soon as possible to restore power. If the phone continues to restart even when plugged in, it could indicate severe battery damage and require immediate repair.

The Smartphone Is Getting Unusually Hot While Charging

Overheating while charging is a common issue many smartphone users face, caused by overcharging, excessive usage, or faulty battery. It’s crucial to take prompt action to prevent damage to the phone. 

If the phone overheats while charging, unplug it to let it cool down. If the issue persists, consider replacing the battery, as it may be the root cause. Additionally, if the phone doesn’t charge fully, it may indicate a dying battery. It’s important to take measures to prevent overworking or damaging the battery.

Displaying A Low Battery Warning More Frequently Than Before

To prevent sudden battery death, many smartphone companies have implemented low battery warnings that appear when the battery level drops to 15% and 10%. This alerts users in time to take preventive actions, such as charging the device or switching to low-power mode. 

If you find yourself encountering these warnings frequently, it’s a sign that your battery is draining faster, regardless of usage. This helps you avoid data loss and inconvenient situations. If combined with other previously mentioned signs, it’s a clear indication that your battery is dying.

Conclusion

Once you have identified these signs, it’s crucial to replace your smartphone battery promptly. Depending on the brand and model, battery replacement can be costly, but it’s still more cost-effective than purchasing a new phone.

If you’ve recently acquired a smartphone, fixing the battery is better than replacing the device. To ensure high-quality repair services, consider contacting Fixsmart, the best phone repair shop in town.


Posted on Leave a comment

Things You Must Consider When Purchasing A Pre-Owned Tablet

Purchasing a pre-owned tablet may be a smart choice if you’re in the market for a tablet but are working with a tight budget. With the increasing prices of new tablets, buying a used device can provide you with the technology you need at a fraction of the cost. 

However, before making this purchase, it’s essential to keep a few things in mind to ensure you get the best deal possible. Here are a few factors to consider.

Original Purchasing & Release Date of the Pre-Owned Tablet

When considering the purchase of a pre-owned tablet, it is essential to consider the tablet’s release date and the date it was acquired by the previous owner. This information provides insight into the age of the device and how long it has been since the release of the particular tablet model. If the operating system is outdated and no longer receives updates, compatibility issues may arise, making the device less practical.

Moreover, considering the age of the device can also be advantageous in negotiating the price with the seller. An older tablet model is unlikely to command the same price as a newer one, even if it is in good condition. Before making a purchase, it is important to assess the value of the device based on its age, performance, and overall market demand.

Make Sure The Device Has Its Original Charger And Accessories

Before purchasing a pre-owned tablet or device:

  1. Consider if all the original accessories, such as chargers, are included.
  2. If not, research the availability of replacement accessories, as missing items can cause inconvenience.
  3. Keep in mind that for older devices, original accessories may be discontinued and difficult to find. 

It’s crucial to verify the availability of necessary accessories before purchasing to avoid future struggles.

Research The Model To Find Out How Reliable It Is

When buying a used tablet, it’s important to research the model beforehand. Gather information on its pros, cons, and overall performance to determine if the price is fair. Utilize online resources such as videos and reviews to make an informed decision. This will help ensure you get good value for your money and make the right purchase.

Other Factors to Consider in a Pre-Owned Tablet 

When buying a used tablet, thoroughly inspect it for any physical damage, such as scratches or signs of wear and tear. Pay close attention to the screen, as it is a delicate component and easily prone to damage.

Consider the device’s price and compare it with other sellers or sources to ensure you’re getting a fair deal. If purchasing a recently released tablet, remember that the price may vary depending on the brand. Brands such as Apple or Samsung may have a higher cost, but a second-hand device from these brands may still be a good investment. Consider the trade-off between cost and quality when making your decision.

Conclusion

Pre-owned tablets can be a reliable option as they may have already undergone updates and repairs. Issues with the device may have been addressed, providing peace of mind. Additionally, pre-owned devices often come with a warranty, allowing for repairs at no extra cost. However, it’s important to check if the warranty period has expired, especially if the tablet is over 2-3 years old.

Consider contacting Fixsmart or a similar service provider for reliable tablet repairs or other services. They can help ensure that your pre-owned tablet continues to function properly and provide the support you need.


Posted on Leave a comment

How To Deal With ipad Screen Flickering Issues

iPads are known for their stability and ease of use. However, like all devices, they can still experience problems. One such issue is screen flickering. This can happen for several reasons, such as water damage, dropping the iPad, failed software updates, or app or software bugs. 

Here are some solutions you can try to resolve the issue.

Turn off Auto-Brightness 

The auto-brightness feature in the iPad adjusts the screen light according to the environment’s light. However, it can sometimes cause the screen to flicker. To resolve this, try turning off the auto-brightness. Here’s how:

  1. Go to “Settings” from the main screen.
  2. Tap on “General.”
  3. Select “Accessibility.”
  4. Choose “Display Accommodations.”
  5. Turn off the “Auto-Brightness” feature by moving the slider.

This should stabilize the screen light and fix any flickering issues.

Restore ‘Reduce transparency and motion’

If turning off the auto-brightness feature did not fix the iPad’s screen flickering issue, try enabling “Reduce Motion and Transparency.” This can significantly improve the iPad’s performance. 

Here’s how:

  1. Open “Settings” from the main screen.
  2. Go to “General” and select “Accessibility.”
  3. In “Accessibility,” turn on “Reduce Transparency” under “Increase Contrast.”
  4. Also, in “Accessibility,” turn on “Reduce Motion.”

These steps should improve the performance of your iPad and resolve the flickering issue.

Force Quit Apps

If your iPad screen flickers while using a specific app, try force quitting the app. Here’s how:

For iPads with a home button:

  • Double-tap the home button to open the app switcher.
  • Swipe away the app causing the flickering issue.

For iPads without a home button:

  • Swipe up from the bottom of the screen to open the app switcher.
  • Force quit using the app again to see if the issue persists. If it does, consider uninstalling and reinstalling the app. 

To determine if the problem is with the iPad or the app, try using other apps to see if the app causing the flickering issue.

Hard Restart the iPad

Is your iPad’s screen still flickering? A software issue might be the cause. Try rebooting the iPad to fix it. Rebooting helps clear memory and prevents crashes, making the device run smoothly. This is a common solution for iPads, phones, and laptops. Here’s how to reboot:

For iPads with a home button:

  • Press and hold the “Home” and “Power” buttons until the Apple logo appears.
  • Release both buttons, and the iPad will restart on its own.

For iPads without a home button:

  • Press and quickly release the “Volume Up” button.
  • Repeat with the “Volume Down” button.
  • Finally, press and hold the “Power” button until the Apple logo appears.
  • The iPad will then restart on its own.

This should resolve the flickering issue.

Press the back of your iPad’s screen

To fix potential hardware glitches causing iPad screen flicker:

  1. Remove the iPad cover and turn it off.
  2. Place a cloth over a hard surface and lay the iPad screen down on it.
  3. Gently tap the back of the iPad with your fingertips, being careful not to be too rough on the camera area.

Update iPadOS

To fix iPad screen flickering, updating the iPadOS to the latest version may help. Updating offers new features, improvements, and bug fixes.

Steps:

  1. Go to “Settings” and select “General”.
  2. Tap “Software Update” and check for updates.
  3. If available, select “Download and Install”.

After updating, restart your iPad. You can also turn on “Automatic Updates” to automatically receive future updates.

Check Storage

Check your available storage space to address performance-related issues that may cause flickering on your iPad. To do this, follow these steps:

  1. Go to “Settings”
  2. Select “General”
  3. Tap on “iPad Storage”

Apple provides an easy-to-use storage management tool that displays available space and used space. This information can be used to delete unnecessary apps, files, and pictures, freeing up storage space and optimizing your iPad’s performance. This may not necessarily solve the screen flickering issue, but it can help improve your device’s overall performance.

Conclusion

If none of the above methods solves the flickering screen issue on your iPad, it’s recommended to contact Apple for support. If you’re looking for professional advice, consider reaching out to Fixsmart tech repairs, located in Niddrie, Essendon and Airport West. 

They offer quality services and parts with an experienced team and are committed to providing a positive outcome at a reasonable price. Contact them today for more information on iPad screen flickering or their repair services.