Posted on Leave a comment

DIY Vs Professional Repairs: What’s the Best Option For Your Tablet?

Tablets have become a preferred device for work, entertainment, and communication due to their convenient computer-like features and smartphone-like portability. However, when a tablet breaks or malfunctions, it can be an exasperating experience.

At such times, you may contemplate whether to fix it yourself or seek professional help. This article aims to examine the pros and cons of DIY repair versus professional repair, helping you decide which approach would be most suitable for you and your tablet.

Benefits of DIY Repair

Cost 

DIY repair is often the most cost-effective option. You can purchase replacement parts for your tablet at a much lower cost than paying for a professional repair.

Convenience

Repairing yourself allows you to save time and avoid having to schedule appointments or wait for someone else to fix your tablet.

Learning Experience

Repairing your tablet can also be a great learning experience. You can gain knowledge and experience in repairing electronics, which can be useful in the future.

Drawbacks of DIY Repair

However, DIY repair also has its drawbacks. These include the possibility of further damaging the tablet, not having the right tools or knowledge, and more. Some of the drawbacks of DIY repair are: 

Difficulty 

Repairing a tablet can be a difficult and time-consuming process. If you are not familiar with electronic repair, you may not be able to repair your tablet effectively.

Warranty

If your tablet is still under warranty, attempting to repair it yourself may void the warranty. This means that if anything else goes wrong with your tablet, you will be responsible for the cost of repair.

Further Damage

If you are not familiar with the repair process, you may end up causing further damage to your tablet, making it even more difficult to repair and increasing the cost.

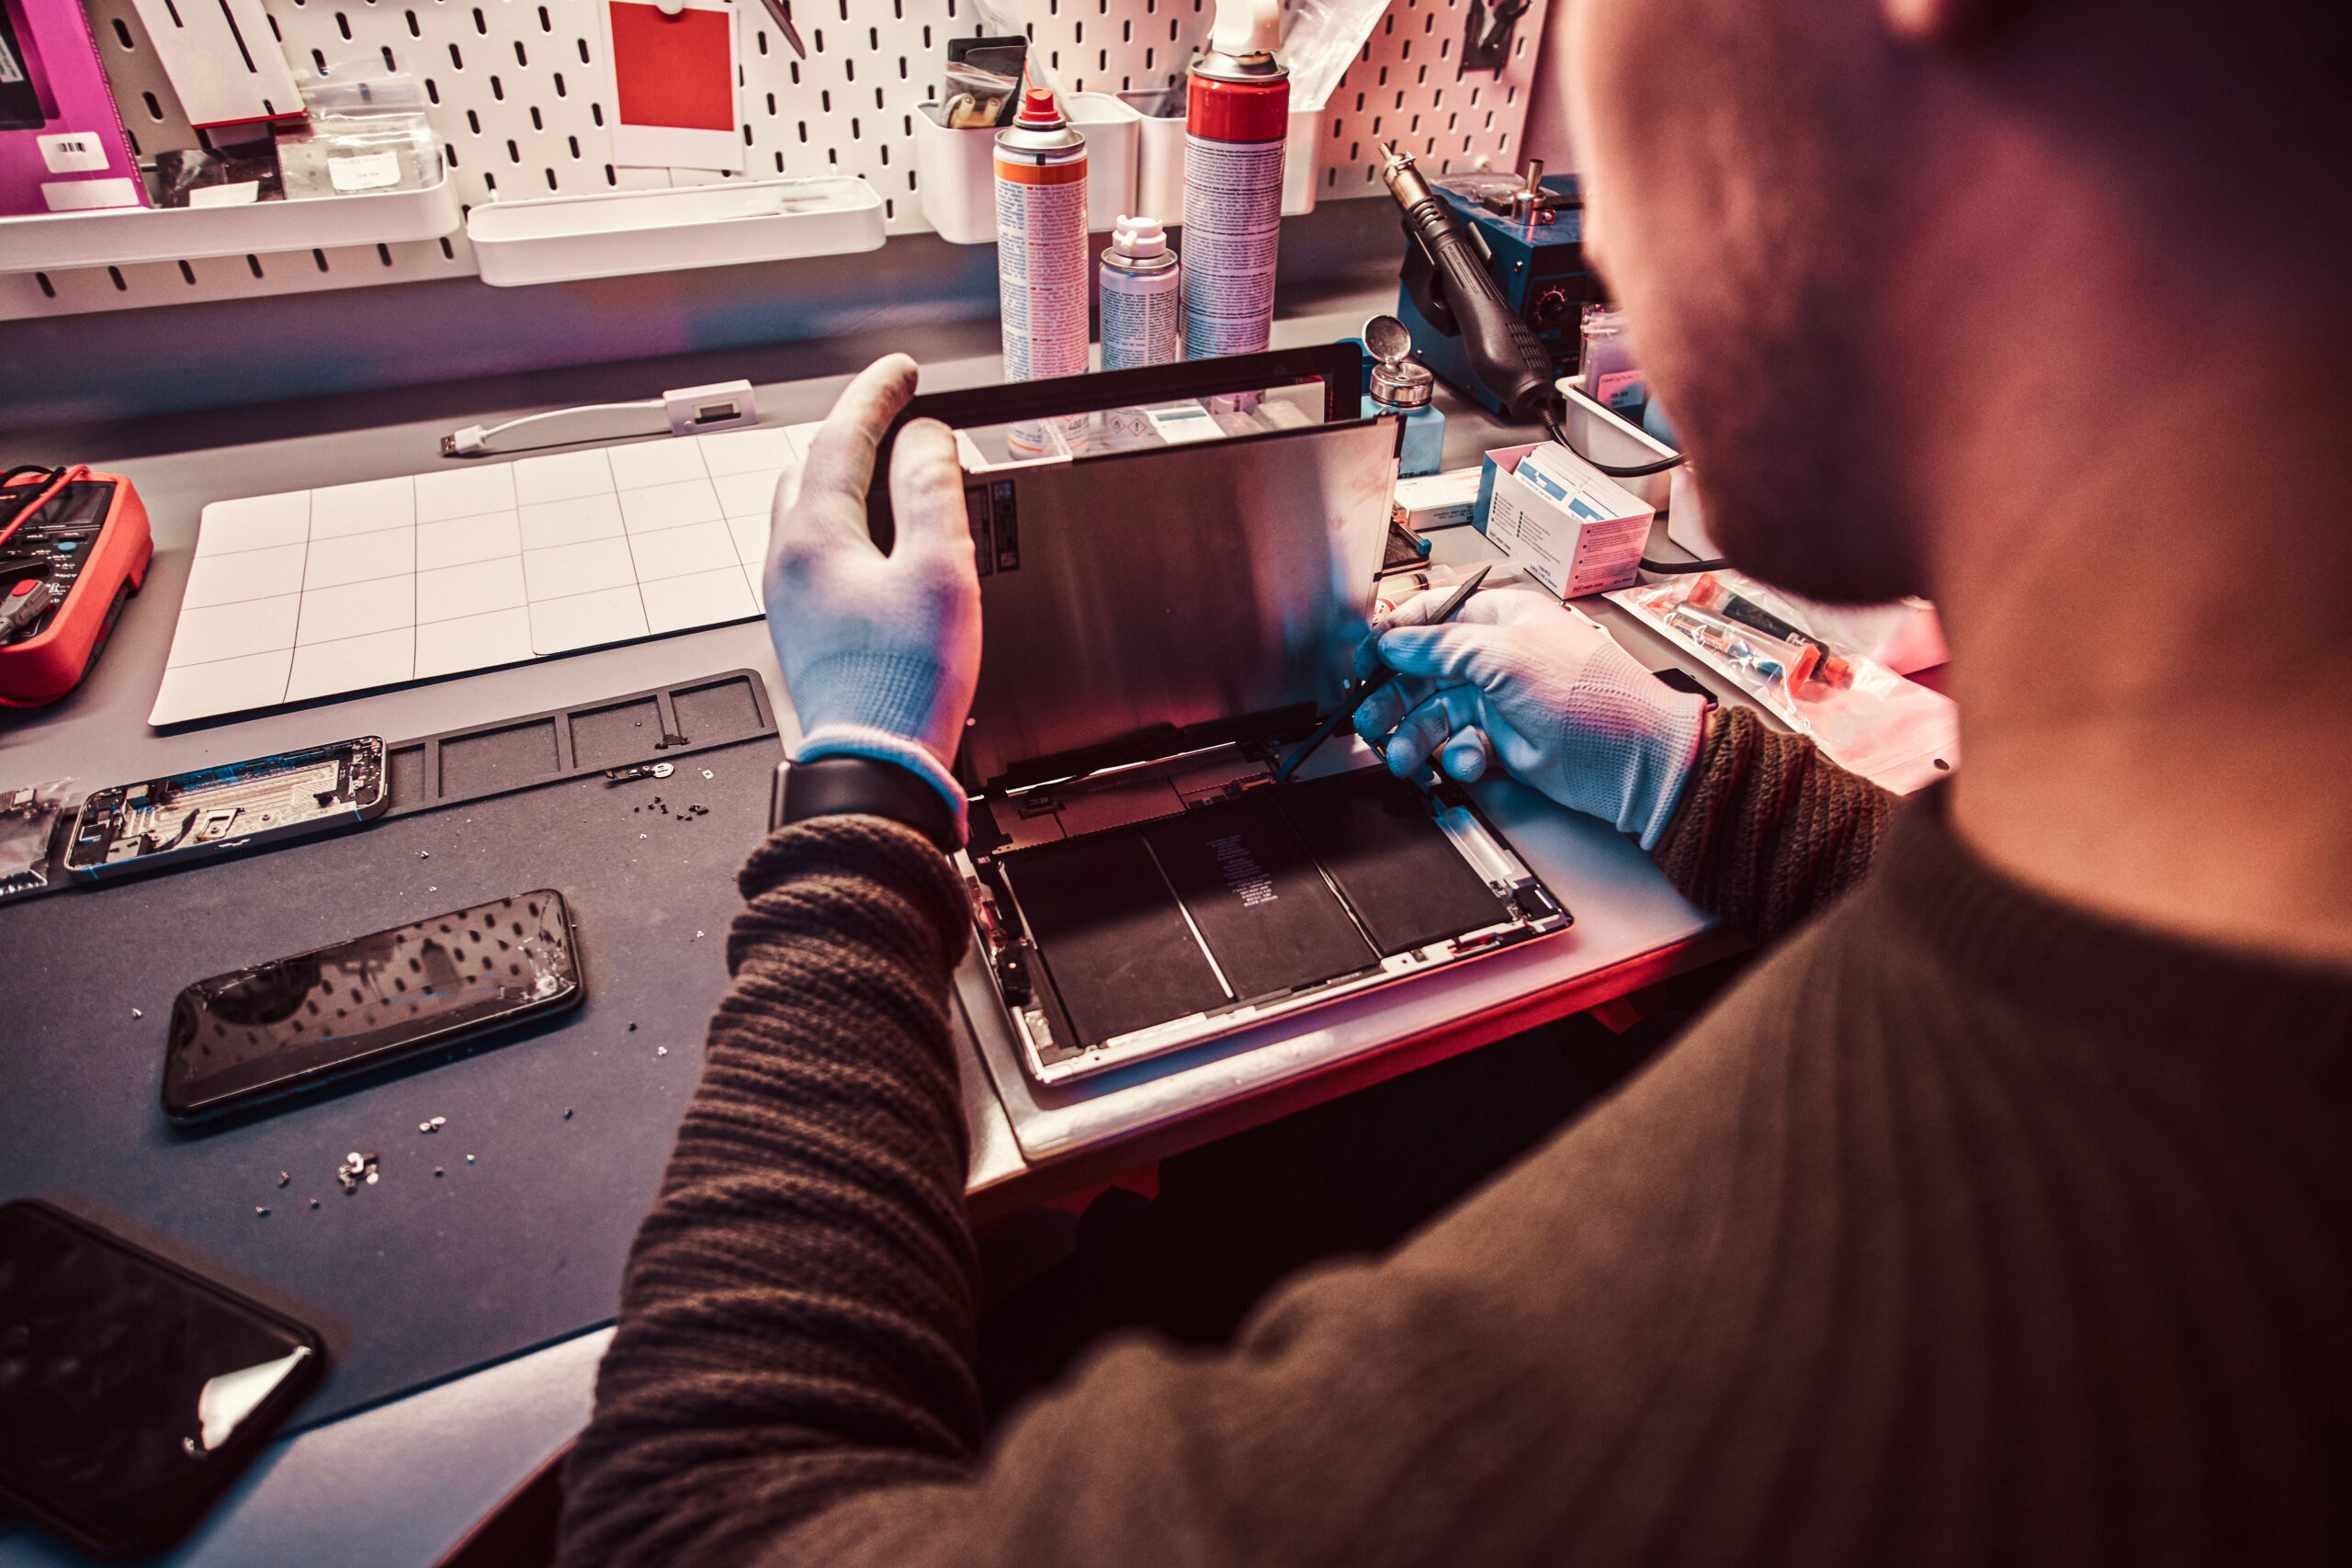
Benefits of Professional Repair

Expertise

Professional repair technicians have the knowledge and experience to repair your tablet effectively and efficiently. Professional repair services often have access to specialised tools and equipment that can make the repair process much easier and faster. They also provide the highest quality parts and workmanship, so the repair will last longer.

Warranty

If your tablet is still within its warranty period, taking it to a professional repair shop will not invalidate the warranty, and any further repairs needed on the device will be covered under the warranty. 

Guarantee

Many professional repair shops offer guarantees on their work, which means that if something goes wrong with your tablet after the repair, you can return it for a free repair or replacement.

Factors to focus on before making a decision

When deciding between DIY repair and professional repair, it’s important to consider the nature of the problem and your own level of expertise and knowledge. If the problem is minor, such as a cracked screen, and you feel confident in your ability to repair it, DIY repair may be the best option. However, if the problem is more complex, such as a damaged motherboard, you may want to consider professional repair.

In addition to considering the nature of the problem, it’s also important to consider the cost. If the cost of professional repair is not significantly higher than the cost of the replacement parts, it is worth paying for professional repair to avoid the risk of causing further damage.

Finally, consider the warranty. If your tablet is still under warranty, taking it to a professional repair shop will not void the warranty, which can provide peace of mind. On the other hand, attempting to repair it yourself may void the warranty, leading to be harder on your wallet. 

Conclusion 

In summary, the decision to choose between DIY and professional repair options for your tablet depends on various factors such as the complexity of the issue, cost, and your skill level. 

DIY repair can save you money if you possess the necessary knowledge and expertise. However, if the problem seems too complex or if you lack confidence in your abilities, it is safer to opt for professional repair.

If you’re experiencing trouble with your tablet, there’s no need to stress. Contact Fixsmart, and we’ll handle the repair work for you. Our team of experts can quickly and efficiently get your tablet up and running again in no time!


Posted on Leave a comment

How To Deal With ipad Screen Flickering Issues

iPads are known for their stability and ease of use. However, like all devices, they can still experience problems. One such issue is screen flickering. This can happen for several reasons, such as water damage, dropping the iPad, failed software updates, or app or software bugs. 

Here are some solutions you can try to resolve the issue.

Turn off Auto-Brightness 

The auto-brightness feature in the iPad adjusts the screen light according to the environment’s light. However, it can sometimes cause the screen to flicker. To resolve this, try turning off the auto-brightness. Here’s how:

  1. Go to “Settings” from the main screen.
  2. Tap on “General.”
  3. Select “Accessibility.”
  4. Choose “Display Accommodations.”
  5. Turn off the “Auto-Brightness” feature by moving the slider.

This should stabilize the screen light and fix any flickering issues.

Restore ‘Reduce transparency and motion’

If turning off the auto-brightness feature did not fix the iPad’s screen flickering issue, try enabling “Reduce Motion and Transparency.” This can significantly improve the iPad’s performance. 

Here’s how:

  1. Open “Settings” from the main screen.
  2. Go to “General” and select “Accessibility.”
  3. In “Accessibility,” turn on “Reduce Transparency” under “Increase Contrast.”
  4. Also, in “Accessibility,” turn on “Reduce Motion.”

These steps should improve the performance of your iPad and resolve the flickering issue.

Force Quit Apps

If your iPad screen flickers while using a specific app, try force quitting the app. Here’s how:

For iPads with a home button:

  • Double-tap the home button to open the app switcher.
  • Swipe away the app causing the flickering issue.

For iPads without a home button:

  • Swipe up from the bottom of the screen to open the app switcher.
  • Force quit using the app again to see if the issue persists. If it does, consider uninstalling and reinstalling the app. 

To determine if the problem is with the iPad or the app, try using other apps to see if the app causing the flickering issue.

Hard Restart the iPad

Is your iPad’s screen still flickering? A software issue might be the cause. Try rebooting the iPad to fix it. Rebooting helps clear memory and prevents crashes, making the device run smoothly. This is a common solution for iPads, phones, and laptops. Here’s how to reboot:

For iPads with a home button:

  • Press and hold the “Home” and “Power” buttons until the Apple logo appears.
  • Release both buttons, and the iPad will restart on its own.

For iPads without a home button:

  • Press and quickly release the “Volume Up” button.
  • Repeat with the “Volume Down” button.
  • Finally, press and hold the “Power” button until the Apple logo appears.
  • The iPad will then restart on its own.

This should resolve the flickering issue.

Press the back of your iPad’s screen

To fix potential hardware glitches causing iPad screen flicker:

  1. Remove the iPad cover and turn it off.
  2. Place a cloth over a hard surface and lay the iPad screen down on it.
  3. Gently tap the back of the iPad with your fingertips, being careful not to be too rough on the camera area.

Update iPadOS

To fix iPad screen flickering, updating the iPadOS to the latest version may help. Updating offers new features, improvements, and bug fixes.

Steps:

  1. Go to “Settings” and select “General”.
  2. Tap “Software Update” and check for updates.
  3. If available, select “Download and Install”.

After updating, restart your iPad. You can also turn on “Automatic Updates” to automatically receive future updates.

Check Storage

Check your available storage space to address performance-related issues that may cause flickering on your iPad. To do this, follow these steps:

  1. Go to “Settings”
  2. Select “General”
  3. Tap on “iPad Storage”

Apple provides an easy-to-use storage management tool that displays available space and used space. This information can be used to delete unnecessary apps, files, and pictures, freeing up storage space and optimizing your iPad’s performance. This may not necessarily solve the screen flickering issue, but it can help improve your device’s overall performance.

Conclusion

If none of the above methods solves the flickering screen issue on your iPad, it’s recommended to contact Apple for support. If you’re looking for professional advice, consider reaching out to Fixsmart tech repairs, located in Niddrie, Essendon and Airport West. 

They offer quality services and parts with an experienced team and are committed to providing a positive outcome at a reasonable price. Contact them today for more information on iPad screen flickering or their repair services.