Posted on Leave a comment

DIY Vs Professional Repairs: What’s the Best Option For Your Tablet?

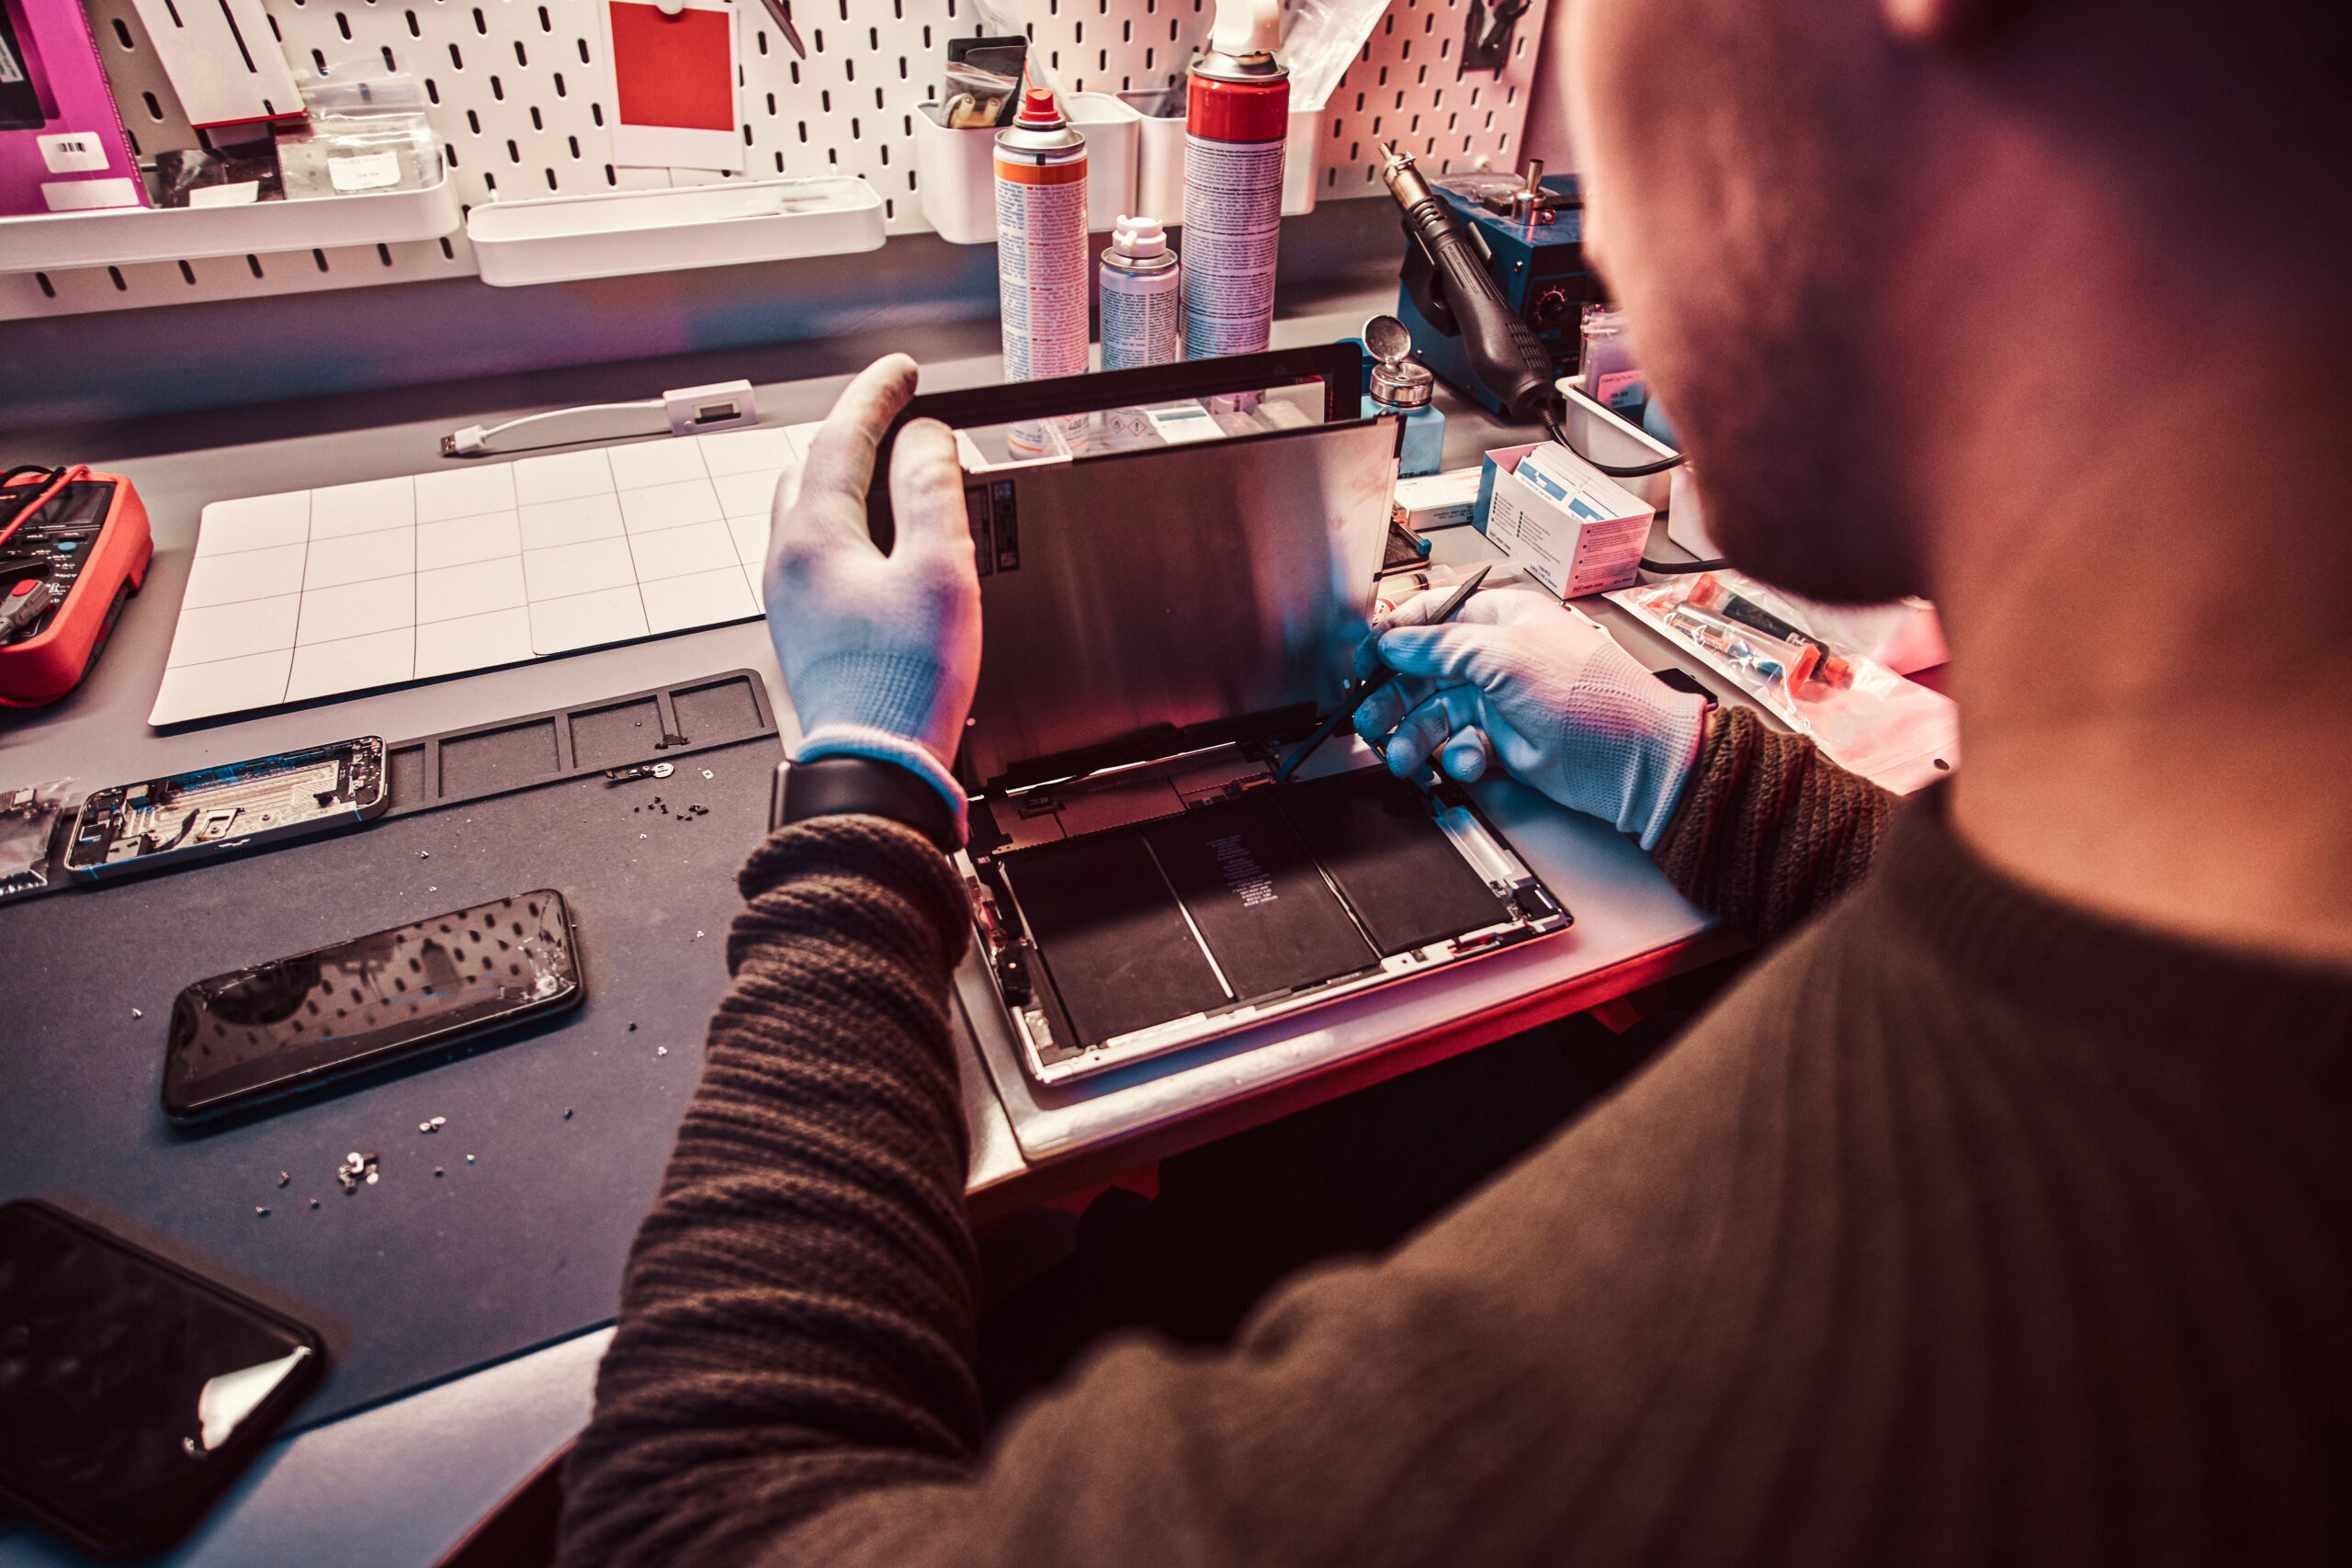
Tablets have become a preferred device for work, entertainment, and communication due to their convenient computer-like features and smartphone-like portability. However, when a tablet breaks or malfunctions, it can be an exasperating experience.

At such times, you may contemplate whether to fix it yourself or seek professional help. This article aims to examine the pros and cons of DIY repair versus professional repair, helping you decide which approach would be most suitable for you and your tablet.

Benefits of DIY Repair

Cost 

DIY repair is often the most cost-effective option. You can purchase replacement parts for your tablet at a much lower cost than paying for a professional repair.

Convenience

Repairing yourself allows you to save time and avoid having to schedule appointments or wait for someone else to fix your tablet.

Learning Experience

Repairing your tablet can also be a great learning experience. You can gain knowledge and experience in repairing electronics, which can be useful in the future.

Drawbacks of DIY Repair

However, DIY repair also has its drawbacks. These include the possibility of further damaging the tablet, not having the right tools or knowledge, and more. Some of the drawbacks of DIY repair are: 

Difficulty 

Repairing a tablet can be a difficult and time-consuming process. If you are not familiar with electronic repair, you may not be able to repair your tablet effectively.

Warranty

If your tablet is still under warranty, attempting to repair it yourself may void the warranty. This means that if anything else goes wrong with your tablet, you will be responsible for the cost of repair.

Further Damage

If you are not familiar with the repair process, you may end up causing further damage to your tablet, making it even more difficult to repair and increasing the cost.

Benefits of Professional Repair

Expertise

Professional repair technicians have the knowledge and experience to repair your tablet effectively and efficiently. Professional repair services often have access to specialised tools and equipment that can make the repair process much easier and faster. They also provide the highest quality parts and workmanship, so the repair will last longer.

Warranty

If your tablet is still within its warranty period, taking it to a professional repair shop will not invalidate the warranty, and any further repairs needed on the device will be covered under the warranty. 

Guarantee

Many professional repair shops offer guarantees on their work, which means that if something goes wrong with your tablet after the repair, you can return it for a free repair or replacement.

Factors to focus on before making a decision

When deciding between DIY repair and professional repair, it’s important to consider the nature of the problem and your own level of expertise and knowledge. If the problem is minor, such as a cracked screen, and you feel confident in your ability to repair it, DIY repair may be the best option. However, if the problem is more complex, such as a damaged motherboard, you may want to consider professional repair.

In addition to considering the nature of the problem, it’s also important to consider the cost. If the cost of professional repair is not significantly higher than the cost of the replacement parts, it is worth paying for professional repair to avoid the risk of causing further damage.

Finally, consider the warranty. If your tablet is still under warranty, taking it to a professional repair shop will not void the warranty, which can provide peace of mind. On the other hand, attempting to repair it yourself may void the warranty, leading to be harder on your wallet. 

Conclusion 

In summary, the decision to choose between DIY and professional repair options for your tablet depends on various factors such as the complexity of the issue, cost, and your skill level. 

DIY repair can save you money if you possess the necessary knowledge and expertise. However, if the problem seems too complex or if you lack confidence in your abilities, it is safer to opt for professional repair.

If you’re experiencing trouble with your tablet, there’s no need to stress. Contact Fixsmart, and we’ll handle the repair work for you. Our team of experts can quickly and efficiently get your tablet up and running again in no time!



Posted on Leave a comment

Tips for Extending the Lifespan of Your Laptop Battery

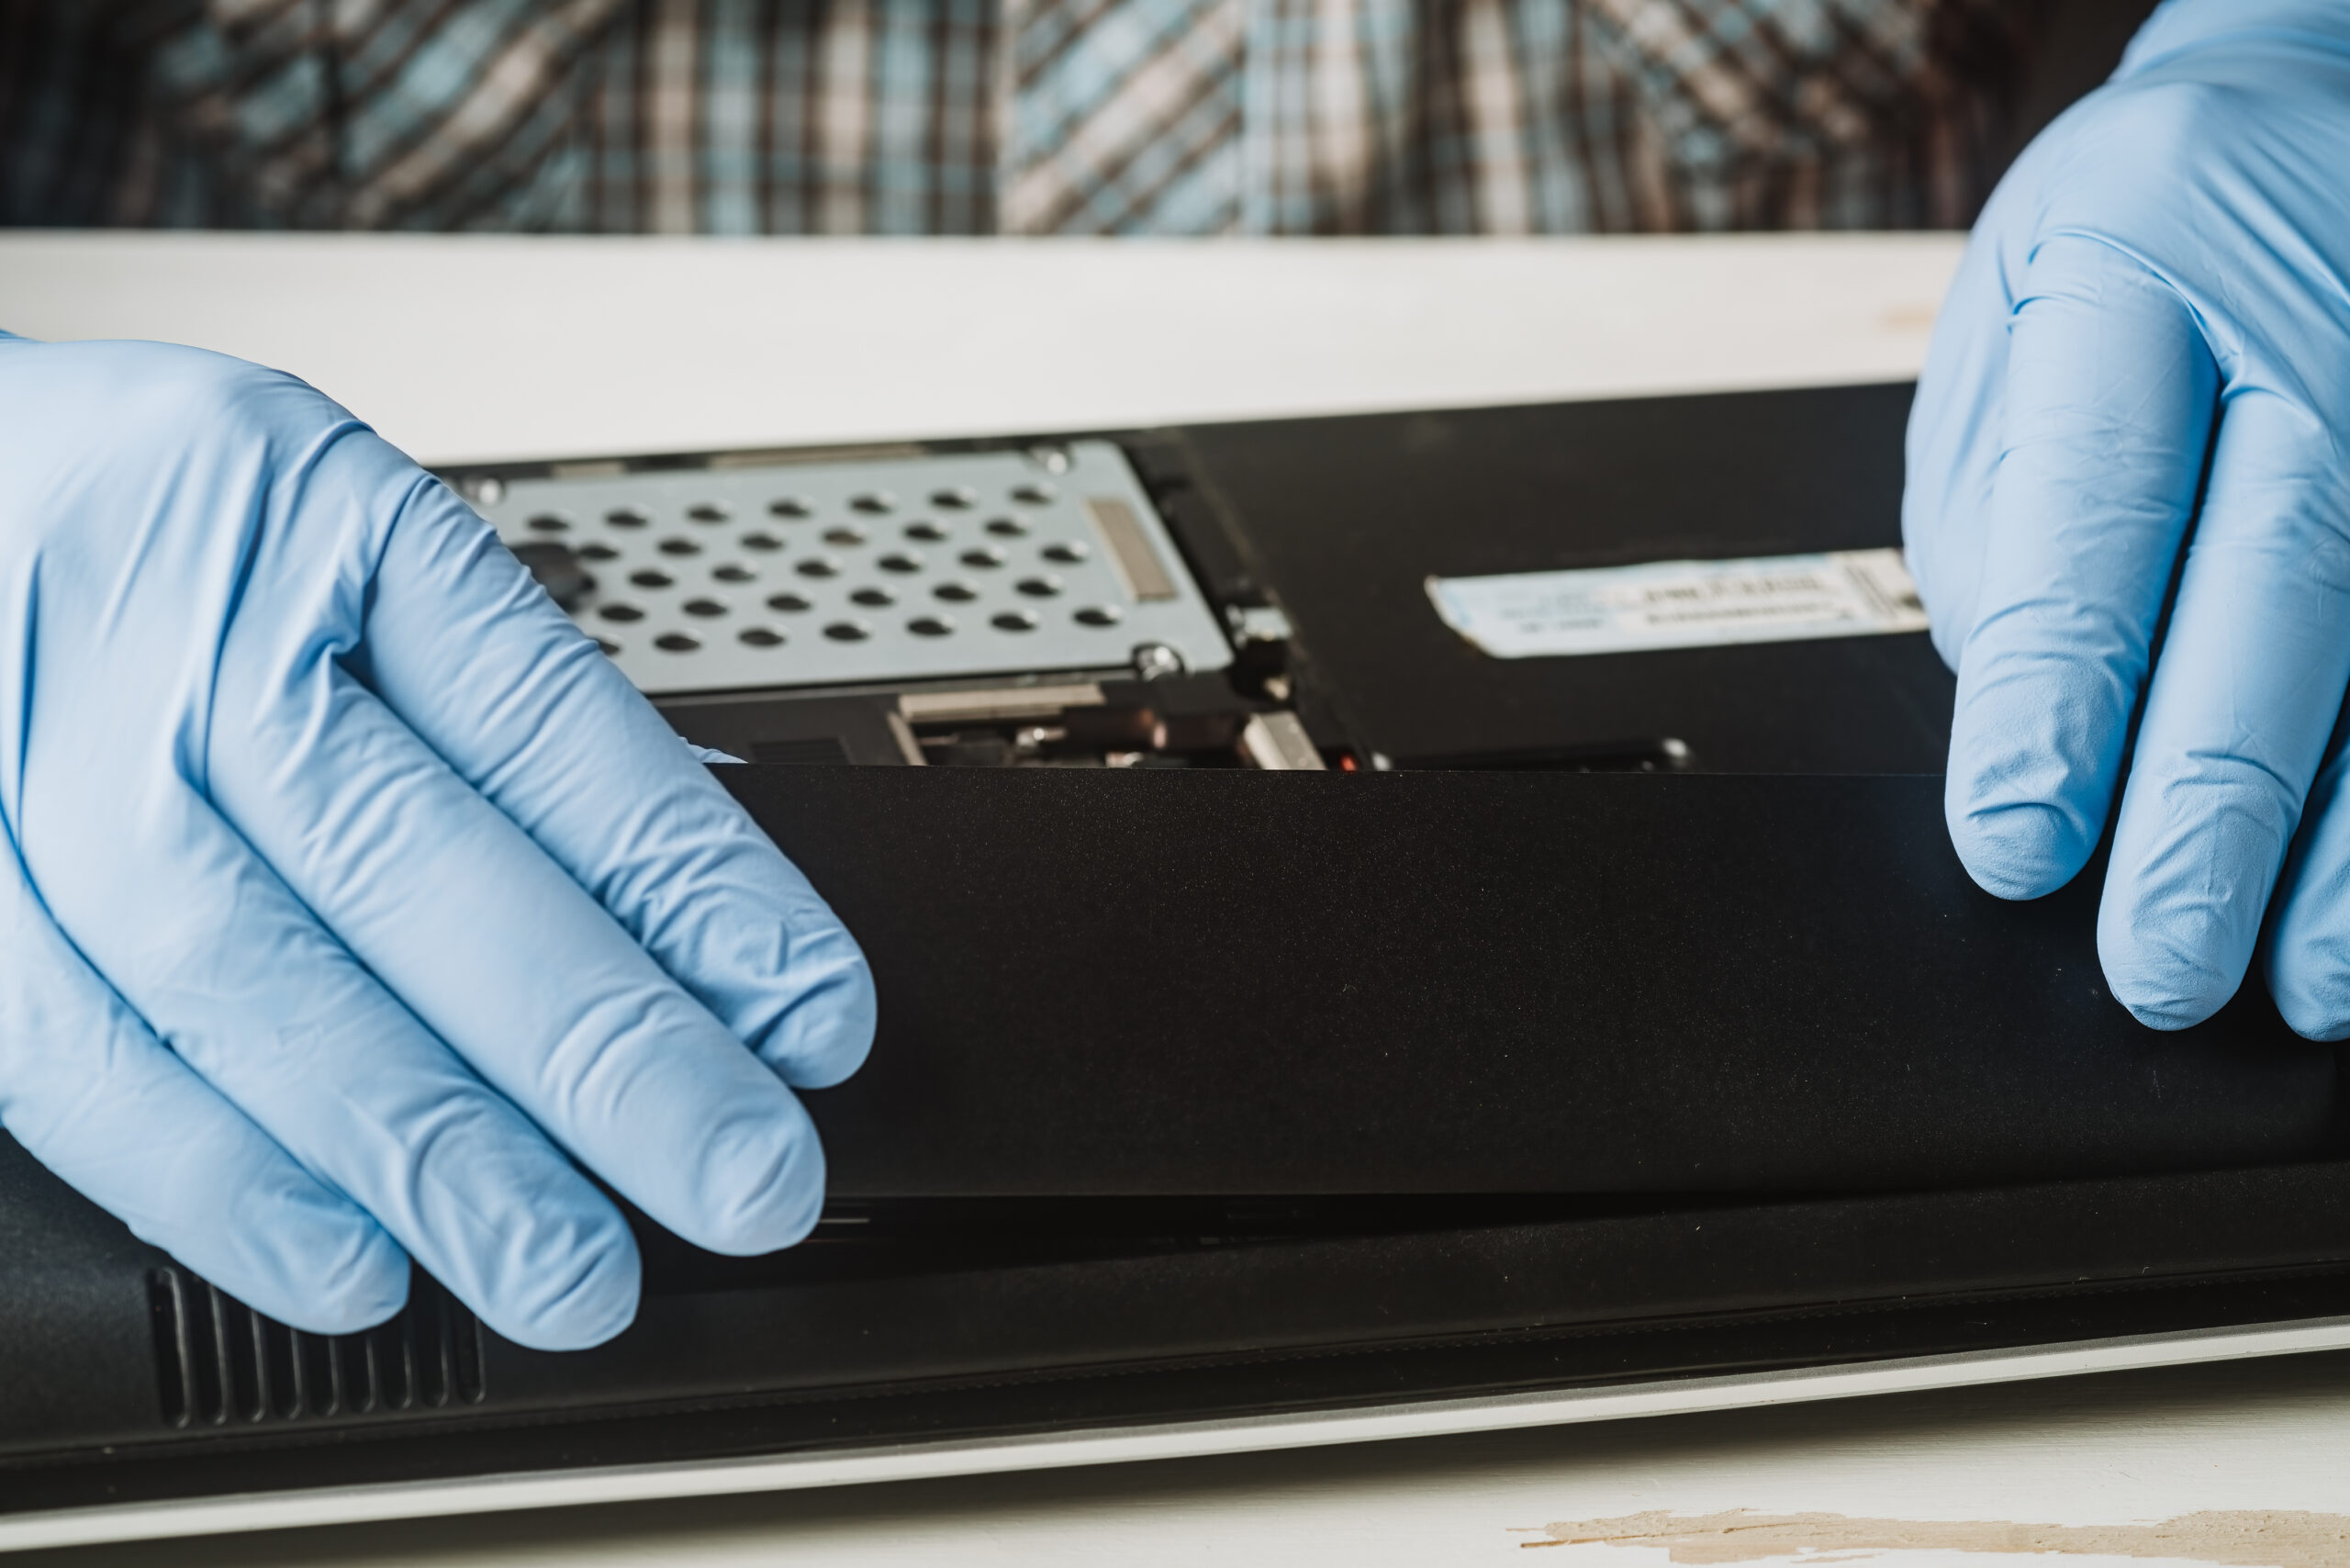
Problems with your laptop battery life? One of the most common and inconvenient issues that every laptop user has to face, is losing the battery life of the laptop over the years. Regardless of the brand, this is a common issue even in the most expensive laptops. In this article, we will be talking about this issue in depth and some potential solutions to these problems.

The importance of the battery lifespan

The lifespan of a laptop battery is an important factor that affects the overall user experience. A laptop’s battery is responsible for providing power to the device and allowing it to run without the need for a power outlet. If the battery’s lifespan is too short, the laptop won’t be able to function properly or last as long as it should. As such, it is important to ensure that the battery has a long lifespan.

A battery’s lifespan is determined by its capacity, which is measured in milliamp hours (mAh). The higher the mAh, the longer the battery can last. The capacity of a battery will decrease over time due to the natural degradation of the cells. This is caused by the chemical reactions that take place inside the battery over time, leading to a gradual decrease in its capacity. As such, it is important to choose a laptop battery with a high mAh value to ensure a longer lifespan.

The battery’s life is also affected by how it is used. If a battery is constantly charged and discharged, it will lead to a decrease in its capacity. Also, if a laptop is left unused for an extended period of time, the battery’s lifespan may be shortened. To ensure a longer lifespan for the battery, it is important to keep it charged between 40-80% and avoid excessive charging and discharging.

Finally, the temperature of the environment has a major impact on the battery’s lifespan. If the temperature is too high, it can reduce the battery’s capacity and lead to a shorter lifespan. It is important to keep the laptop in a cool and dry environment to ensure optimal performance and longer battery life.

Tips To Preserve The Battery Lifespan

There are a variety of ways to extend the lifespan of a laptop battery, depending on the type of battery and the individual’s usage patterns.

  1. Reduce your laptop’s brightness. Keeping the brightness low will reduce the strain on the battery and help it last longer.
  2. Don’t overcharge your laptop. Even when it’s plugged in, it’s a good idea to unplug it once it’s reached full charge.
  3. Avoid leaving your laptop plugged in for long periods of time. Leaving your laptop plugged in for too long can cause the battery to overheat, which can reduce its lifespan.
  4. Avoid extreme temperatures. Keeping your laptop in extreme temperatures, such as in a hot car, can reduce the battery’s lifespan.
  5. Calibrate your battery. Periodically calibrating your battery can help keep it running at its best.

Conclusion

By following these tips, you can help ensure that your laptop battery stays healthy and has a longer lifespan. But sometimes, devices act up regardless of the tips you follow or the good care you give. In such times, you may need professional help to keep your laptop battery running. That is exactly why Fixsmart is here for! 


Posted on Leave a comment

How to Replace a Damaged Smartphone Display or Other Hardware Components

Have you ever dropped your smartphone and ended up with a shattered screen or malfunctioning components? It can be frustrating and costly to get it repaired by a professional. However, if you are someone who enjoys tinkering with electronics and wants to learn how to replace damaged smartphone components yourself, you’ve come to the right place.

Even if you’ve invested in the most high-end smartphone on the market, accidents can happen, and it’s essential to know how to repair your device if something goes wrong. In this guide, we will explore step-by-step instructions on how to replace damaged parts of your phone, but keep in mind that seeking professional help is always the best option for a complex repair.

Display

Replacing a damaged smartphone display is not as difficult as it may seem. It requires some basic knowledge and tools, but with the right guidance and proper care, anyone can do it. Here are the steps to follow in order to successfully complete this task:

1. Get the right tools: The first step is to acquire the necessary tools for the job. This includes a screwdriver, a pry tool, a suction cup, and a replacement display. If your phone has a display adhesive, you may need a heat gun too.

2. Disassemble the phone: Once you have the necessary tools, you can begin the disassembly process. This involves unscrewing the back panel, removing the battery, and then using the pry tool to carefully detach the display from the chassis.

3. Remove the old display: With the display detached, you can now remove the old display. Carefully peel off any adhesive and make sure not to damage any other components in the process.

4. Replace the display: Take the new display and attach it to the chassis with the adhesive. If your phone requires a heat gun, then you will need to use it now. Once the display is secured, you can reassemble the phone.

5. Test the display: Finally, you can power on the phone and test the new display for proper function. If everything works, then you can consider the project a success.

With these steps, you should be able to replace a damaged smartphone display without too much difficulty. Make sure to take your time and be careful throughout the process to avoid any mistakes.

Speaker

Before beginning the repair, make sure to power off the phone and disconnect any charging cable or headphones.

First, you need to remove the back of the phone. This is usually done by pressing down on the edges of the back plate, or by unscrewing several screws around the perimeter of the device. Once the back is off, locate the speaker. It is usually located at the bottom of the phone, near the charging port.

Next, use a tiny screwdriver to unscrew the speaker from its housing. Once the screws are removed, gently pull the speaker away from the phone until it comes loose. Take note of the speaker’s orientation and position before removing it, as this will help when you install the new speaker.

Then, insert the new speaker into the old one’s position and carefully secure it with the screws. Make sure the new speaker is properly aligned with the holes and that all screws are tightened securely.

Finally, reassemble the phone and power it on. You can test the new speaker by playing a song or making a phone call. If the speaker is working properly, you have successfully replaced your damaged smartphone speaker. However, the location of the speaker may vary depending on the smartphone brand.

Battery

The first step to replacing a damaged battery is to acquire the correct replacement battery for your device. If you are unsure about the type, you can look up the make and model of the phone, or contact the manufacturer directly. Once you have the correct battery, you can begin the replacement process.

You will need a few tools in order to replace your battery, including a Phillips-head screwdriver, a spudger, and a pair of tweezers. You will also need to make sure that you have the correct replacement battery.

The first step is to remove the back panel of your phone, which is typically held in place by screws. Using the screwdriver, remove any screws that are holding the back panel in place. Once the panel is removed, you can locate the battery compartment.

Use the spudger to carefully remove the battery from its compartment. Be careful not to damage the connectors or components around the battery. Once the battery is removed, you can then insert the replacement battery. Make sure to line up the battery correctly, ensuring that all of the contacts are lined up with the phone’s battery compartment.

Once the battery is inserted, use the tweezers to reconnect any cables or connectors that were disconnected when the original battery was removed. Then, reassemble the phone using the original screws and place the back panel back in place.

Conclusion

As it is explained above, with proper tools and skills, you can easily replace any hardware component of your smartphone. However, if you are new to this, it is better to contact your smartphone repair service to fix the issue. Some of the most intricate components in the phone can easily be damaged if not handled carefully. So proceed with caution and good luck!


Posted on Leave a comment

Troubleshoot and Fix Smartphone Connectivity Issues

Smartphone connectivity issues can be incredibly inconvenient, as they can prevent users from accessing vital information and services. There are a variety of factors that can cause an issue in connectivity, such as hardware problems, compatibility issues, and even environmental factors. In some cases, a user may need to take their device to a repair shop to get it fixed, or they may be able to troubleshoot the issue on their own. 

Either way, this can create an obstacle that can disrupt the user’s life in a number of ways, from being unable to contact friends and family to not being able to make purchases or book appointments. It’s important for users to be aware of the potential for connectivity issues, so this article will help you to troubleshoot and fix some of the most common connectivity issues on your smartphone.

Why Do Smartphone Connectivity Issues Occur?

Connectivity issues on smartphones can happen for a variety of reasons. Poor cell phone reception is the most common cause of connectivity issues. This can be caused by having a weak signal due to distance from a cell tower, being in an area with a lot of physical obstructions, or having a device that is not compatible with the carrier’s network. 

Other causes of connectivity issues can include having an incompatible app or an outdated version of the operating system, software or hardware malfunctions, or even a slow or overloaded network due to too many users.

Connectivity issues with wifi and Bluetooth in smartphones can occur for a variety of reasons. Common causes of connectivity issues are interference from other wireless devices, an outdated version of the wifi/Bluetooth driver, a lack of available bandwidth, or a weak signal. Interference can be caused by other wireless devices, such as cordless phones, microwaves, or other wireless networks operating in the same area. 

Outdated wifi/Bluetooth drivers can also cause connection issues, as they may be unable to recognize and direct the signal appropriately. A lack of available bandwidth can be caused by too many devices connected to the same wifi network, or by a router that is not powerful enough to provide enough bandwidth for all devices. 

As always, a weak signal can occur if the device is too far from the wifi router, or if the wifi router’s signal is blocked by walls or other obstacles. 

How To Troubleshoot  

Troubleshooting and fixing connectivity issues on smartphones can be a tricky business, but with the right steps and knowledge, it can be done relatively easily.  When it comes to wifi, the first step is to restart your phone and router. 

This can often solve a lot of issues with wifi but if that doesn’t solve it, then it’s time to take a closer look. Start by checking if your phone is connected to the correct wifi network. If not, try reconnecting and entering the correct password.

If you’re still having issues, then you may need to reset your router. This will remove any saved settings, so it’s best to consult with your internet service provider before doing so. If that doesn’t work, you may want to try changing the wireless channel your router is using to see if that helps.

Next, let’s look at Bluetooth. Bluetooth connection issues can often be fixed by restarting your phone and any devices that you’re trying to pair it with. If that doesn’t work, then you may need to adjust the settings on your phone. 

Go to your Bluetooth settings, and make sure that the device is discoverable, and that visibility is set to “on”. You should also make sure that the device is in range and isn’t being blocked by any obstacles such as walls.

Finally, cellular reception can be a tricky issue to fix. If you’re having problems with your signal, then the first step is to check your coverage area. Make sure that you’re in an area that has good service. 

If you are, then you may need to adjust the settings on your phone to improve the signal. Go to your phone’s settings, and make sure that the network mode is set to “auto”, and that the network type is set to “LTE/4G”. This should help to improve signal strength.

If you’re still having issues, then you may need to contact your cellular service provider. They may be able to adjust the settings on their side to help improve the signal.

Conclusion 

Whether you like it or not, at some point in your life, you will experience a connectivity issue in your smartphone. It is a quite normal issue that can occur from time to time. However, the latest smartphones are designed quite well to prevent these issues from happening. But then if you still come across issues that need an expert’s hand, you can contact Fixsmart