Have you ever dropped your smartphone and ended up with a shattered screen or malfunctioning components? It can be frustrating and costly to get it repaired by a professional. However, if you are someone who enjoys tinkering with electronics and wants to learn how to replace damaged smartphone components yourself, you’ve come to the right place.
Even if you’ve invested in the most high-end smartphone on the market, accidents can happen, and it’s essential to know how to repair your device if something goes wrong. In this guide, we will explore step-by-step instructions on how to replace damaged parts of your phone, but keep in mind that seeking professional help is always the best option for a complex repair.
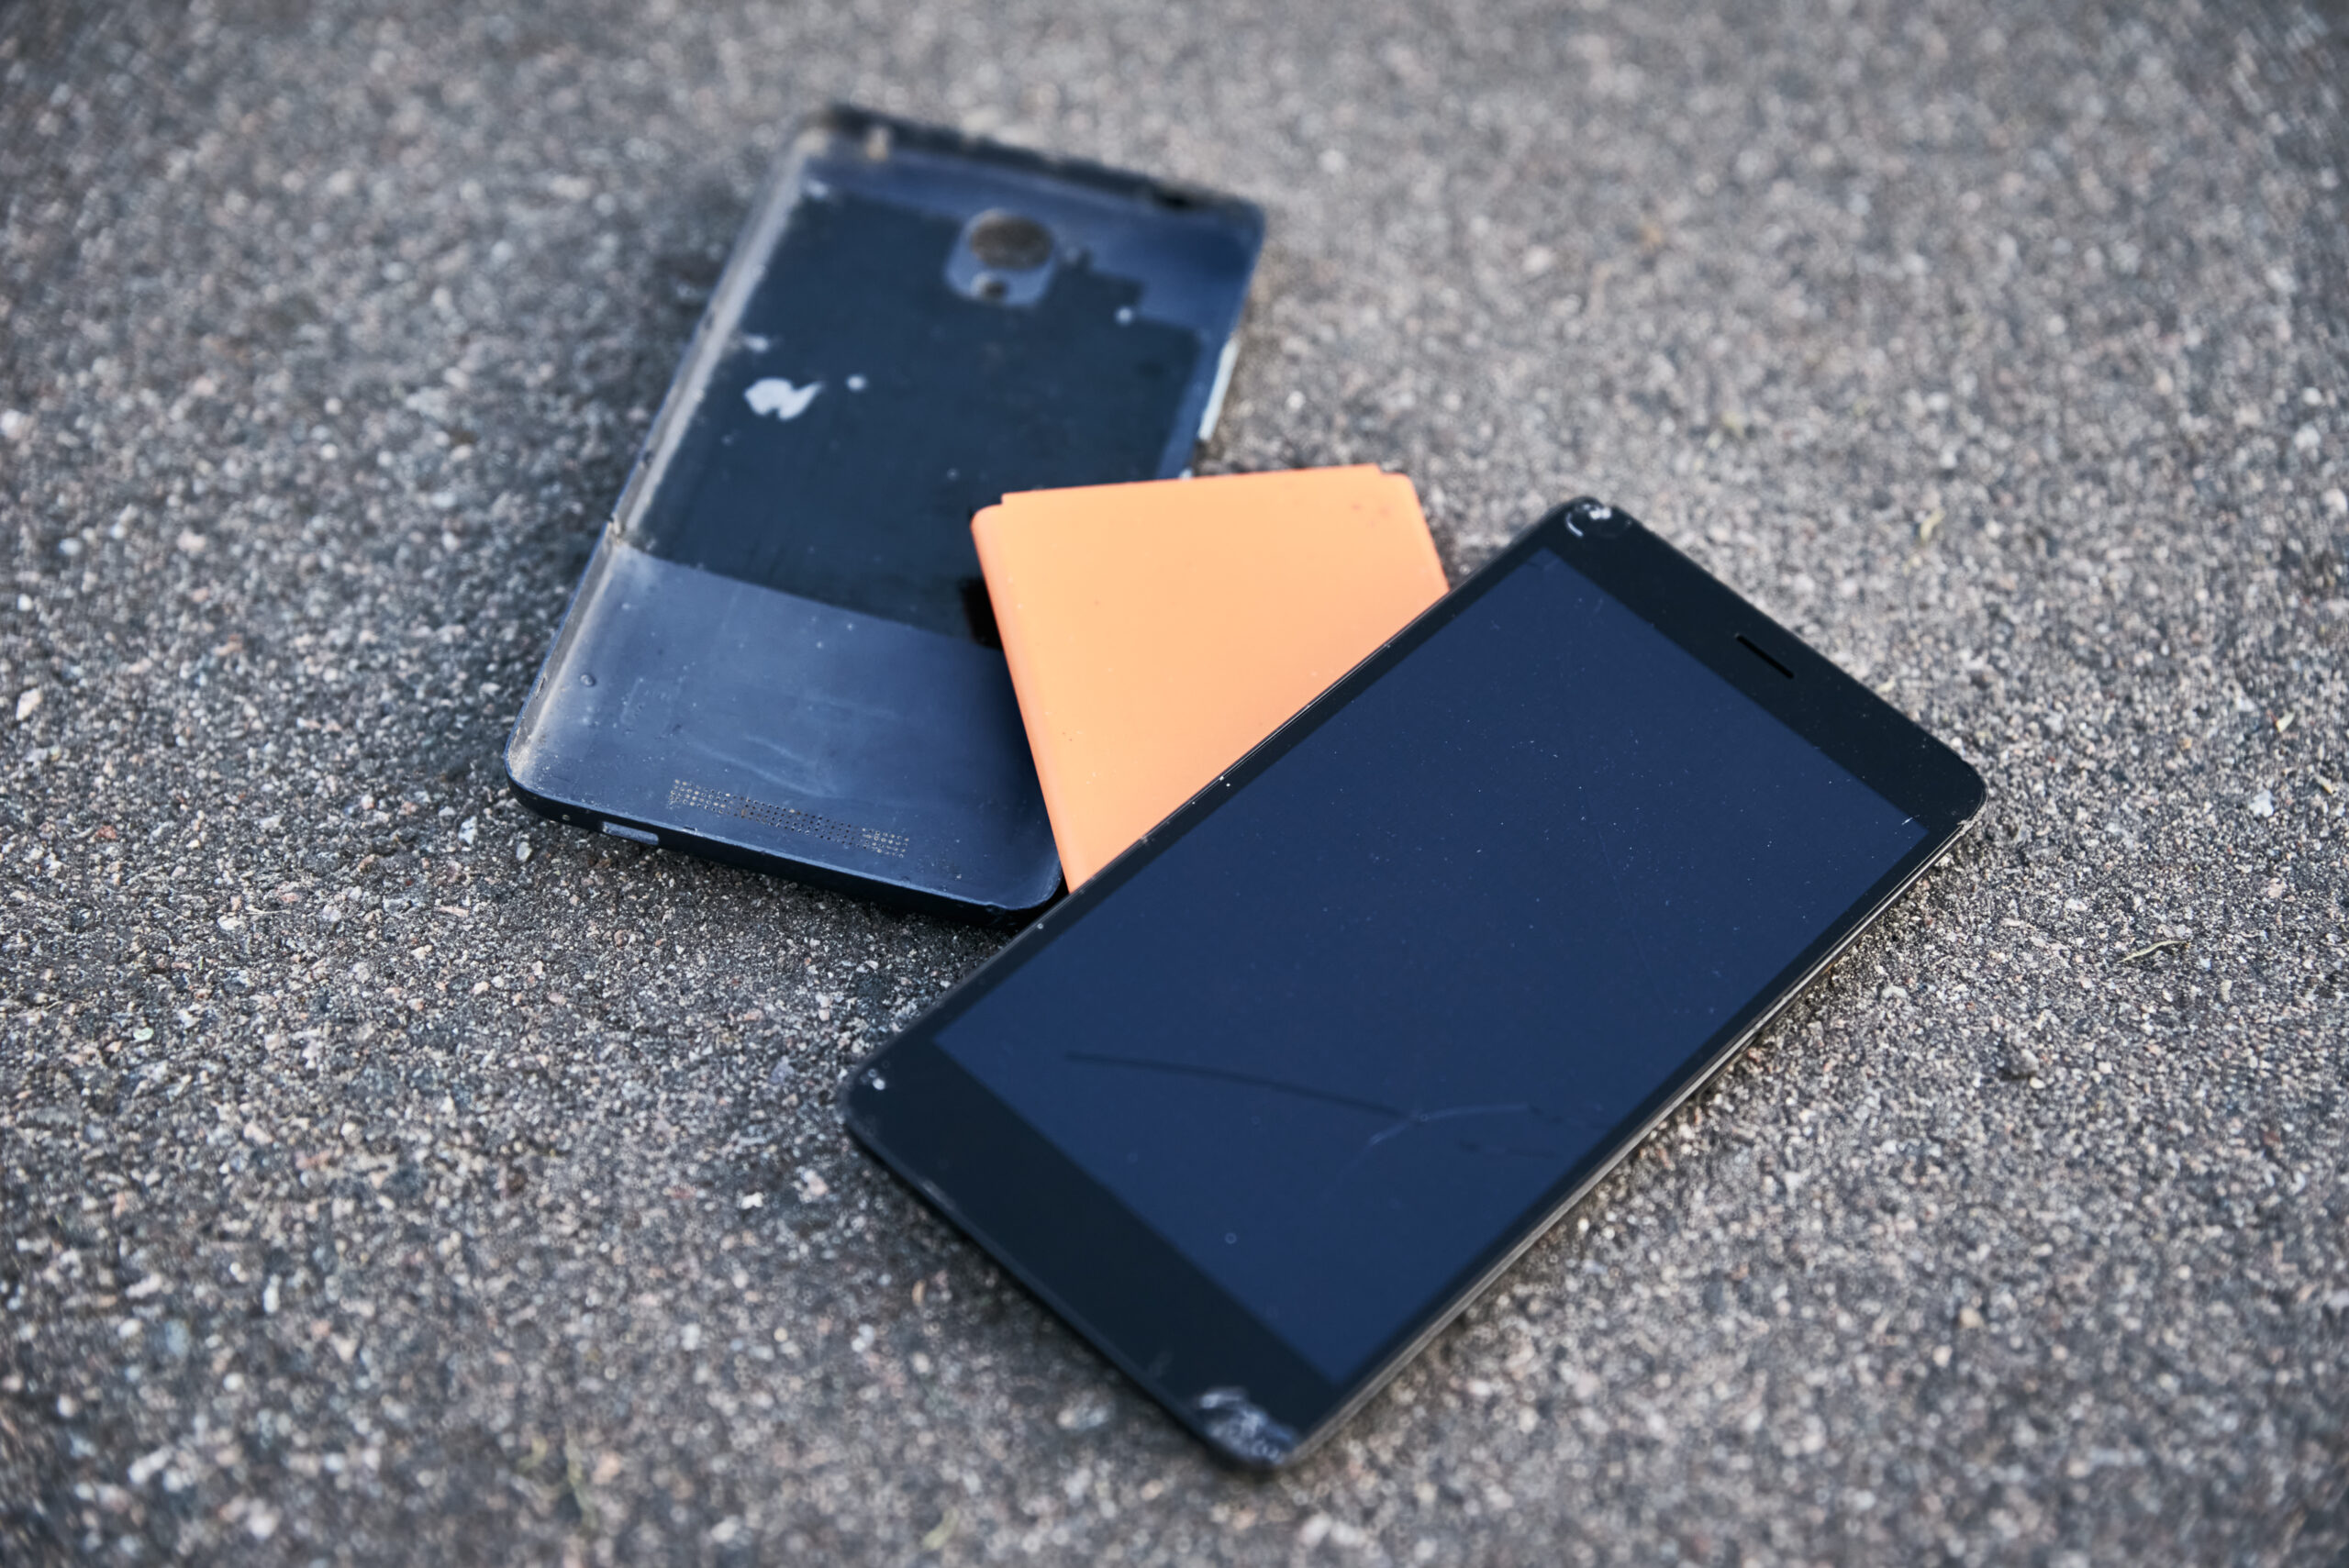
Display
Replacing a damaged smartphone display is not as difficult as it may seem. It requires some basic knowledge and tools, but with the right guidance and proper care, anyone can do it. Here are the steps to follow in order to successfully complete this task:
1. Get the right tools: The first step is to acquire the necessary tools for the job. This includes a screwdriver, a pry tool, a suction cup, and a replacement display. If your phone has a display adhesive, you may need a heat gun too.
2. Disassemble the phone: Once you have the necessary tools, you can begin the disassembly process. This involves unscrewing the back panel, removing the battery, and then using the pry tool to carefully detach the display from the chassis.
3. Remove the old display: With the display detached, you can now remove the old display. Carefully peel off any adhesive and make sure not to damage any other components in the process.
4. Replace the display: Take the new display and attach it to the chassis with the adhesive. If your phone requires a heat gun, then you will need to use it now. Once the display is secured, you can reassemble the phone.
5. Test the display: Finally, you can power on the phone and test the new display for proper function. If everything works, then you can consider the project a success.
With these steps, you should be able to replace a damaged smartphone display without too much difficulty. Make sure to take your time and be careful throughout the process to avoid any mistakes.
Speaker
Before beginning the repair, make sure to power off the phone and disconnect any charging cable or headphones.
First, you need to remove the back of the phone. This is usually done by pressing down on the edges of the back plate, or by unscrewing several screws around the perimeter of the device. Once the back is off, locate the speaker. It is usually located at the bottom of the phone, near the charging port.
Next, use a tiny screwdriver to unscrew the speaker from its housing. Once the screws are removed, gently pull the speaker away from the phone until it comes loose. Take note of the speaker’s orientation and position before removing it, as this will help when you install the new speaker.
Then, insert the new speaker into the old one’s position and carefully secure it with the screws. Make sure the new speaker is properly aligned with the holes and that all screws are tightened securely.
Finally, reassemble the phone and power it on. You can test the new speaker by playing a song or making a phone call. If the speaker is working properly, you have successfully replaced your damaged smartphone speaker. However, the location of the speaker may vary depending on the smartphone brand.
Battery
The first step to replacing a damaged battery is to acquire the correct replacement battery for your device. If you are unsure about the type, you can look up the make and model of the phone, or contact the manufacturer directly. Once you have the correct battery, you can begin the replacement process.
You will need a few tools in order to replace your battery, including a Phillips-head screwdriver, a spudger, and a pair of tweezers. You will also need to make sure that you have the correct replacement battery.
The first step is to remove the back panel of your phone, which is typically held in place by screws. Using the screwdriver, remove any screws that are holding the back panel in place. Once the panel is removed, you can locate the battery compartment.
Use the spudger to carefully remove the battery from its compartment. Be careful not to damage the connectors or components around the battery. Once the battery is removed, you can then insert the replacement battery. Make sure to line up the battery correctly, ensuring that all of the contacts are lined up with the phone’s battery compartment.
Once the battery is inserted, use the tweezers to reconnect any cables or connectors that were disconnected when the original battery was removed. Then, reassemble the phone using the original screws and place the back panel back in place.
Conclusion
As it is explained above, with proper tools and skills, you can easily replace any hardware component of your smartphone. However, if you are new to this, it is better to contact your smartphone repair service to fix the issue. Some of the most intricate components in the phone can easily be damaged if not handled carefully. So proceed with caution and good luck!