Posted on Leave a comment

Phone VS Laptop: Which One Is Harder To Repair?

Phone VS Laptop

In an era of technological advancement, it’s hard to imagine a single day without smart electronic devices. They’re like your 24/7 companion, the “mobile phone,” or your multi-faceted best friend in times of need, your “laptop.” Admittedly, as they are both electrical devices, they decided to break down one day. What do you do? Getting your phone or laptop repaired can be really puzzling since it’s hard to live a day without such electronics. But which one takes longer to repair? A phone or laptop? Read find out in our article Phone VS Laptop to know more.

Have you ever wondered which one of these gadgets is more complex to repair? A phone or a laptop? A general look will tell you repairing a laptop is much more complicated and expensive than repairing a mobile phone. Although different in size and structure, the microelectronic component in mobiles and laptops is very similar. However, customers tend to have more issues with their laptops than their mobile phones.

This may be because most customers regularly change mobile phones, particularly when a new model. Meanwhile, it can be seen people tend to use their laptops for a much longer time than they use their mobile phones, averaging somewhere between 3 years to a maximum of 7 years.

Repairers claim at least a hundred or so every day people visit them with various levels of problems with their laptops and mobile phones. Whi8le some ultimately are fatal and may need replacement, here are some of the common issues that can be fixed.

Some of the most common problems with laptops are as follows:

  •     Dust accumulation between chagrin ports and keyboards. Professional cleaning is required to get rid of this dust completely.
  •     Internal disk cleaning and setting up strong firewall protection. To protect the laptop from viruses. Removing viruses from your computer is also essential.
  •     Configuration and installation of a new laptop. This is mainly applicable to laptops that use the Windows operating system.
  •     Chagrin cable replacement and hard drive repair is other common issue.

Meanwhile, the most common problems with smartphones are:

  •     Replacement of the phone screen and fixing the touch controls.
  •     Charging cable and port replacement.
  •     Power and button replacement due to inefficiency.
  •     Camera problems where the screen appears blurred or foggy.
  •     Waterdrop incidents.
  •     Accidental falls and scratch cleaning.

Generally, the tech netizens would argue that laptop repairs are much more complex than simple smartphone repairs. So why is laptop repairing more difficult and expensive than mobile phones?

Here are some of the key points that they shared from their experience:

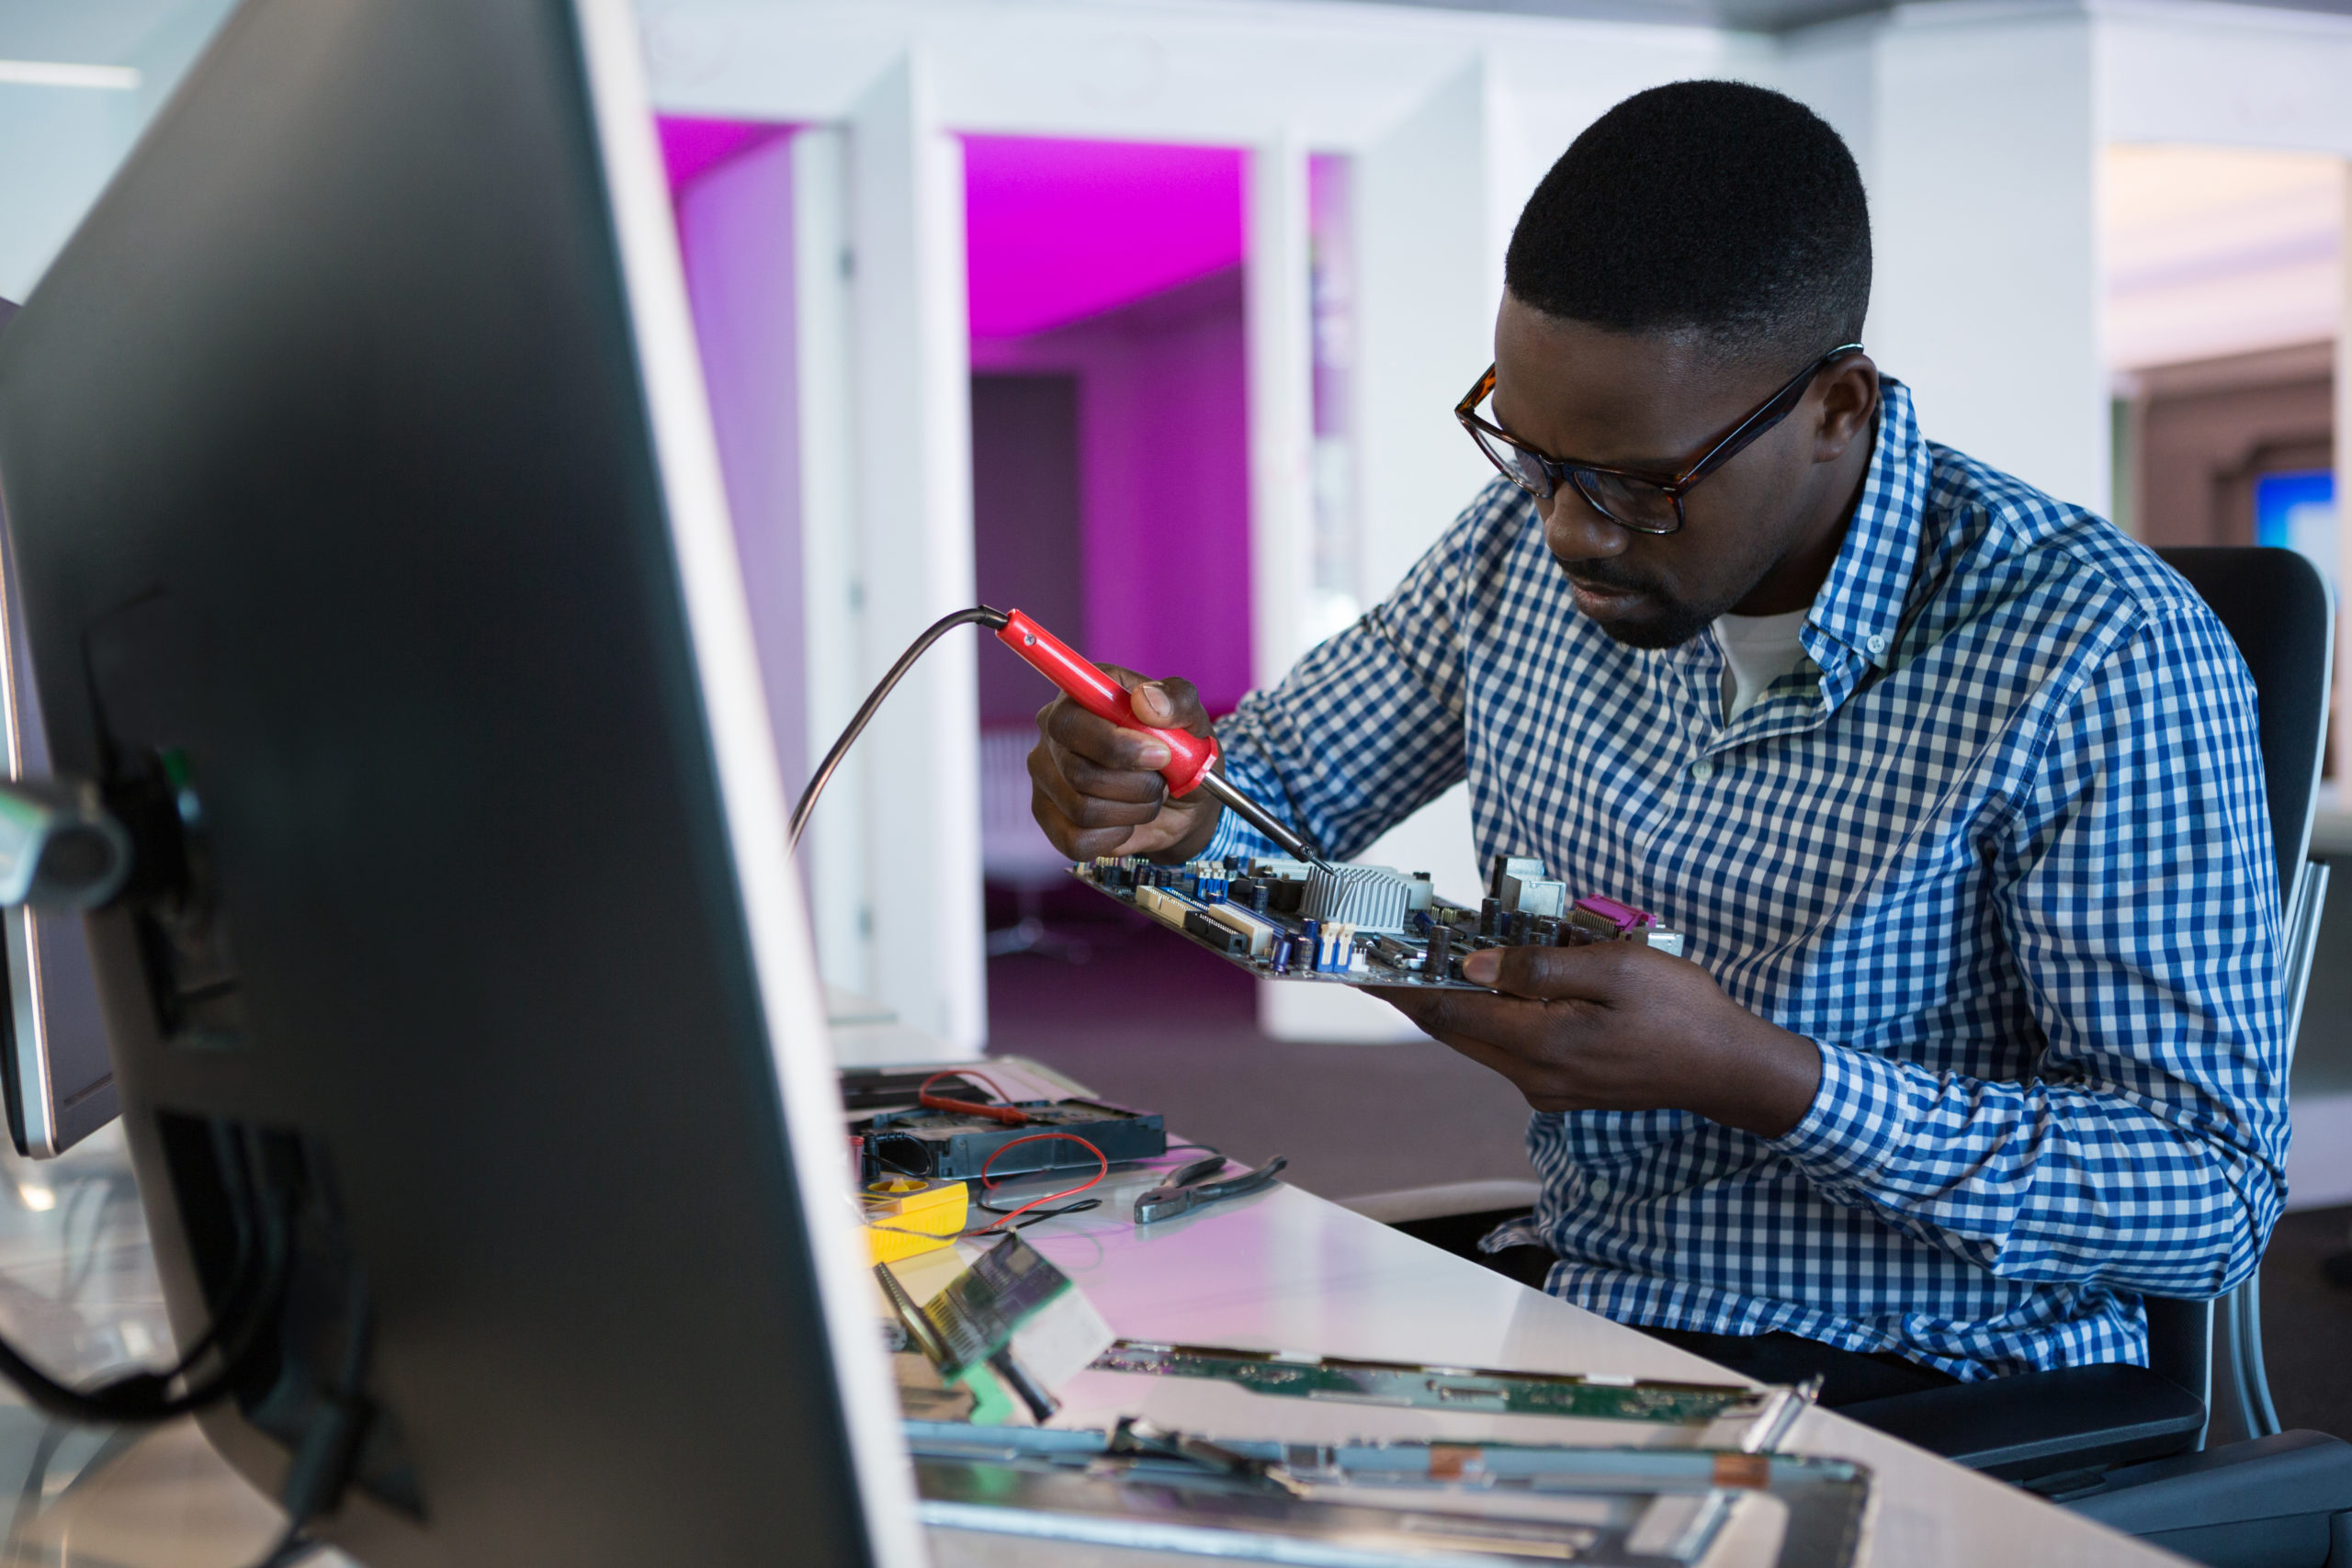
  •     The hardware. The motherboards of laptops are much more challenging to deal with than a mobile phone.
  •     Fault finding takes hours. Compared to the past, as laptops have become more modernized and lightweight, components have become smaller. According to experts, with component shrinkage, it has become increasingly challenging to find the point of failure. A laptop repair that used to take an hour or two can now take a whole day or more.
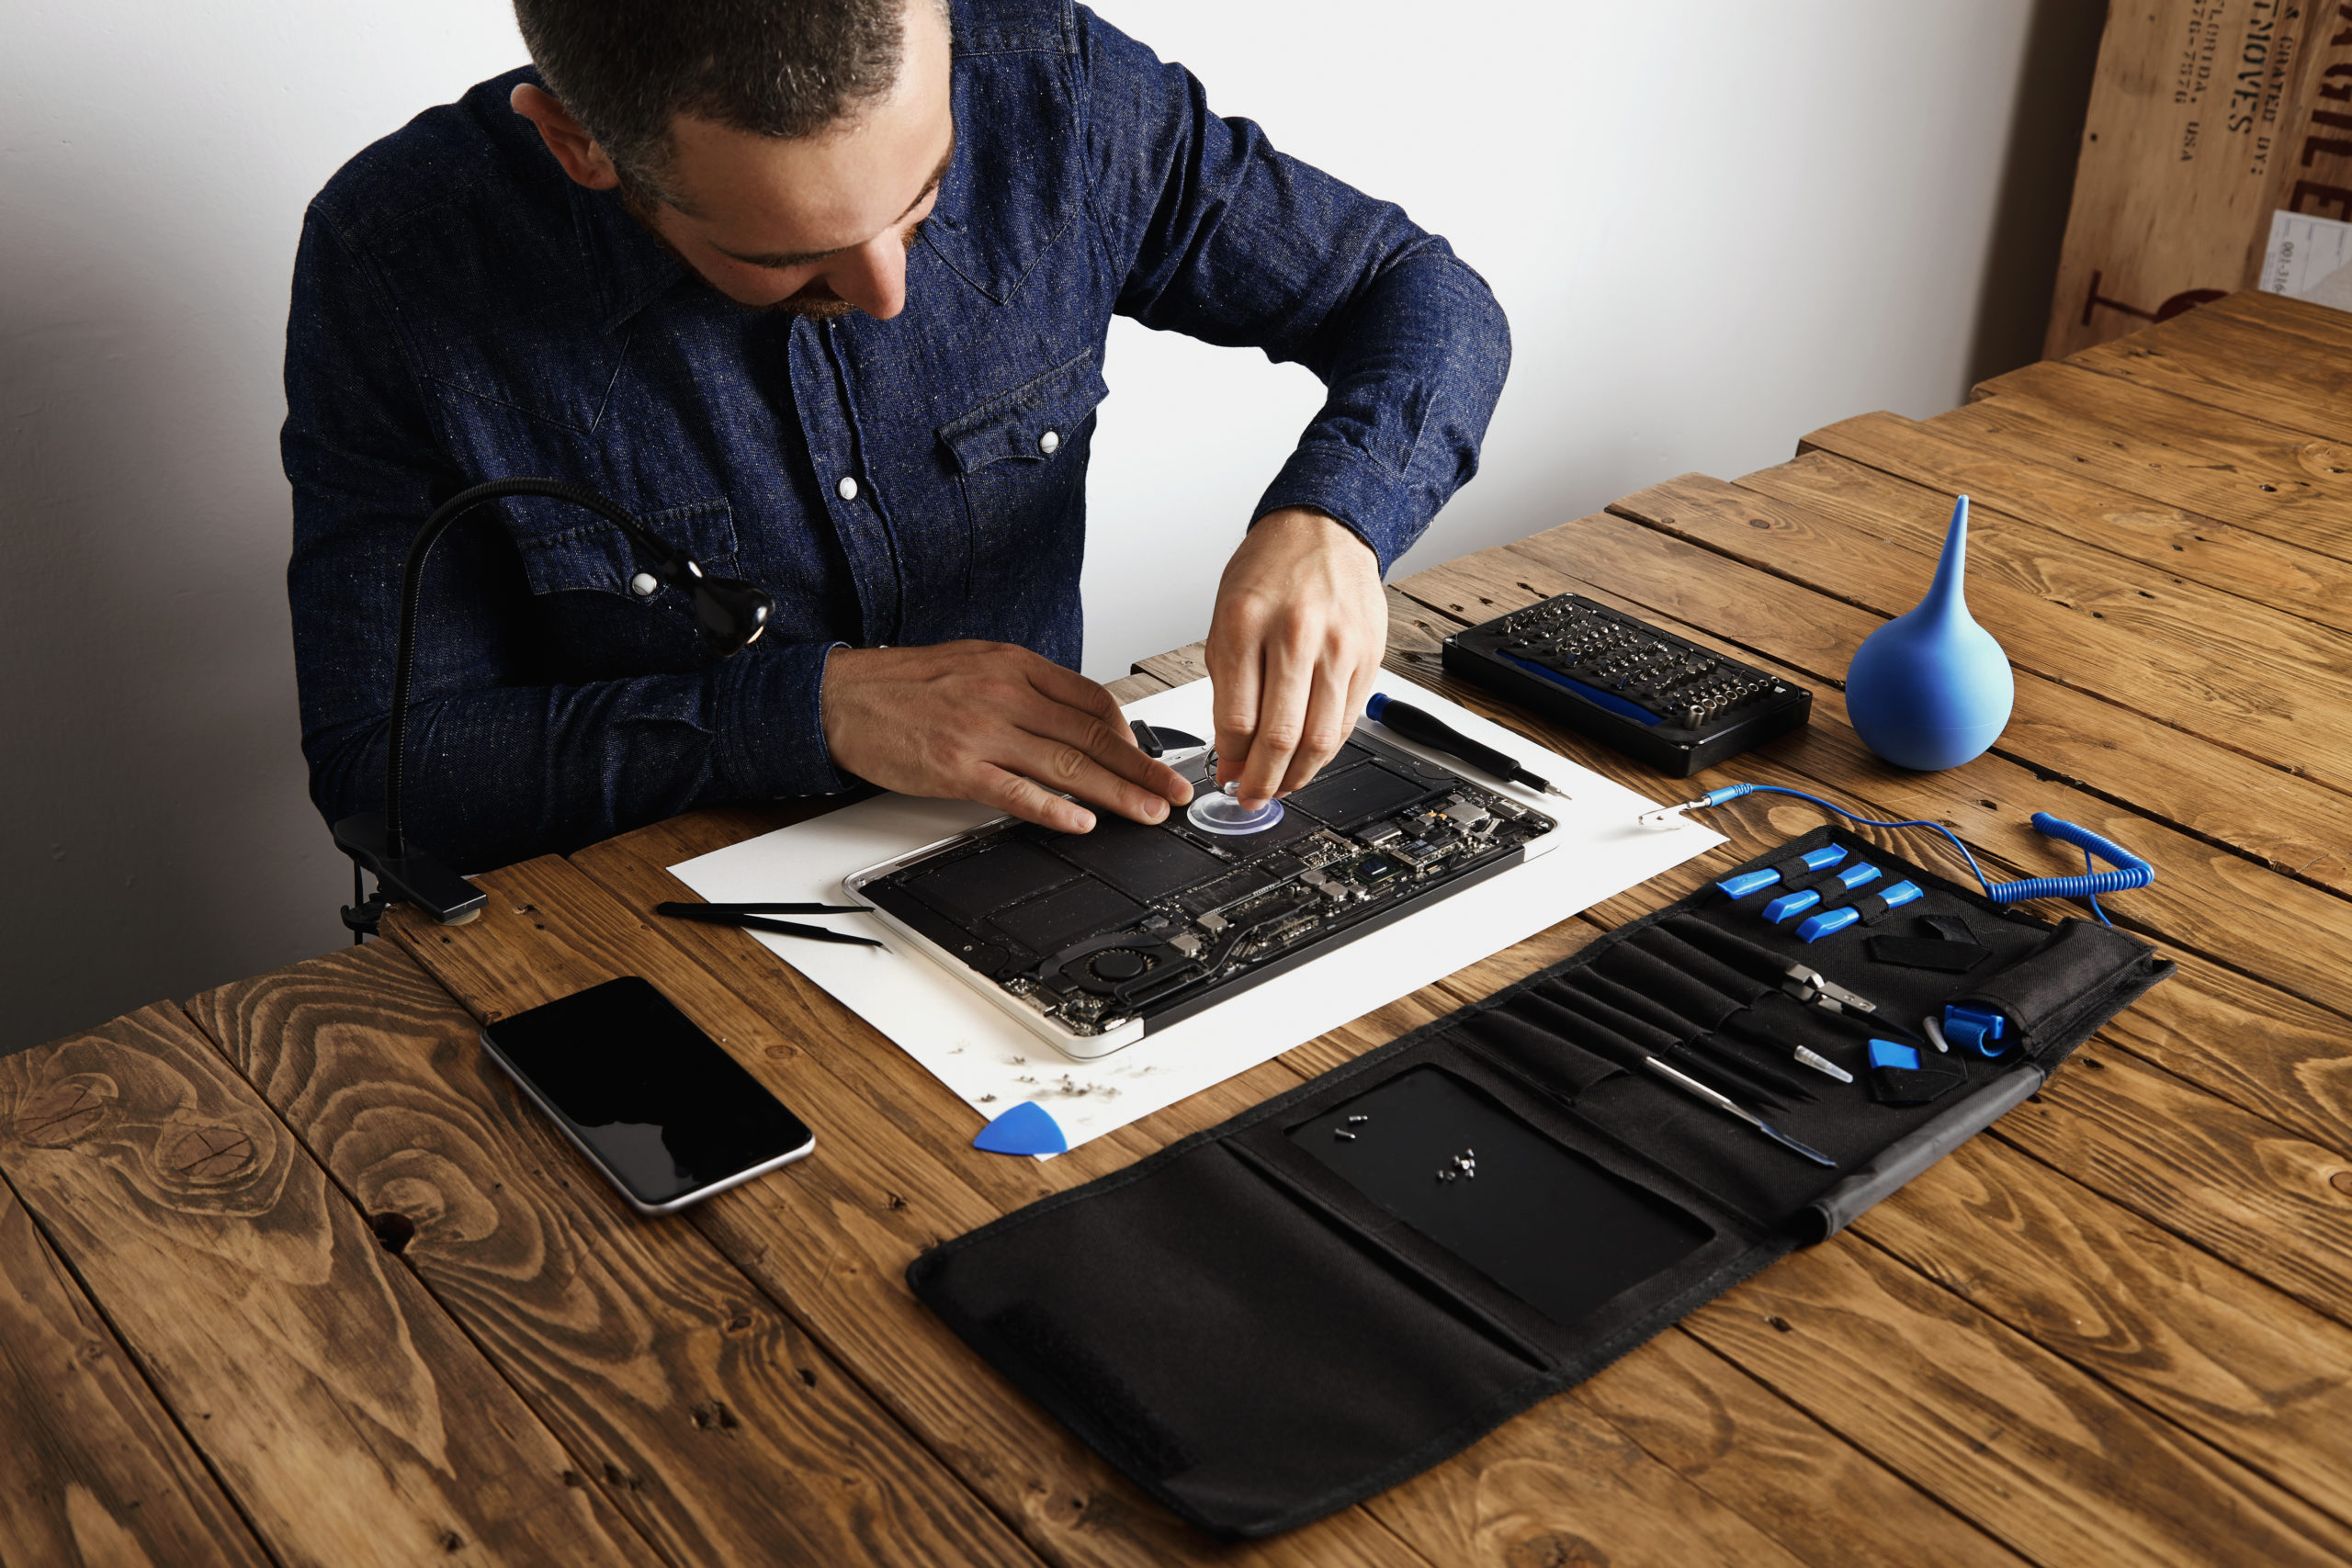
  •     Along with decreasing the size of the components used in the motherboard, the number of elements had increased in a limited space to add the more advanced technology. This makes fault detection more challenging.
  •     Need skilled workmanship. One has to be very efficient to do this intricate chip work with the BGA machine in the laptop motherboard.

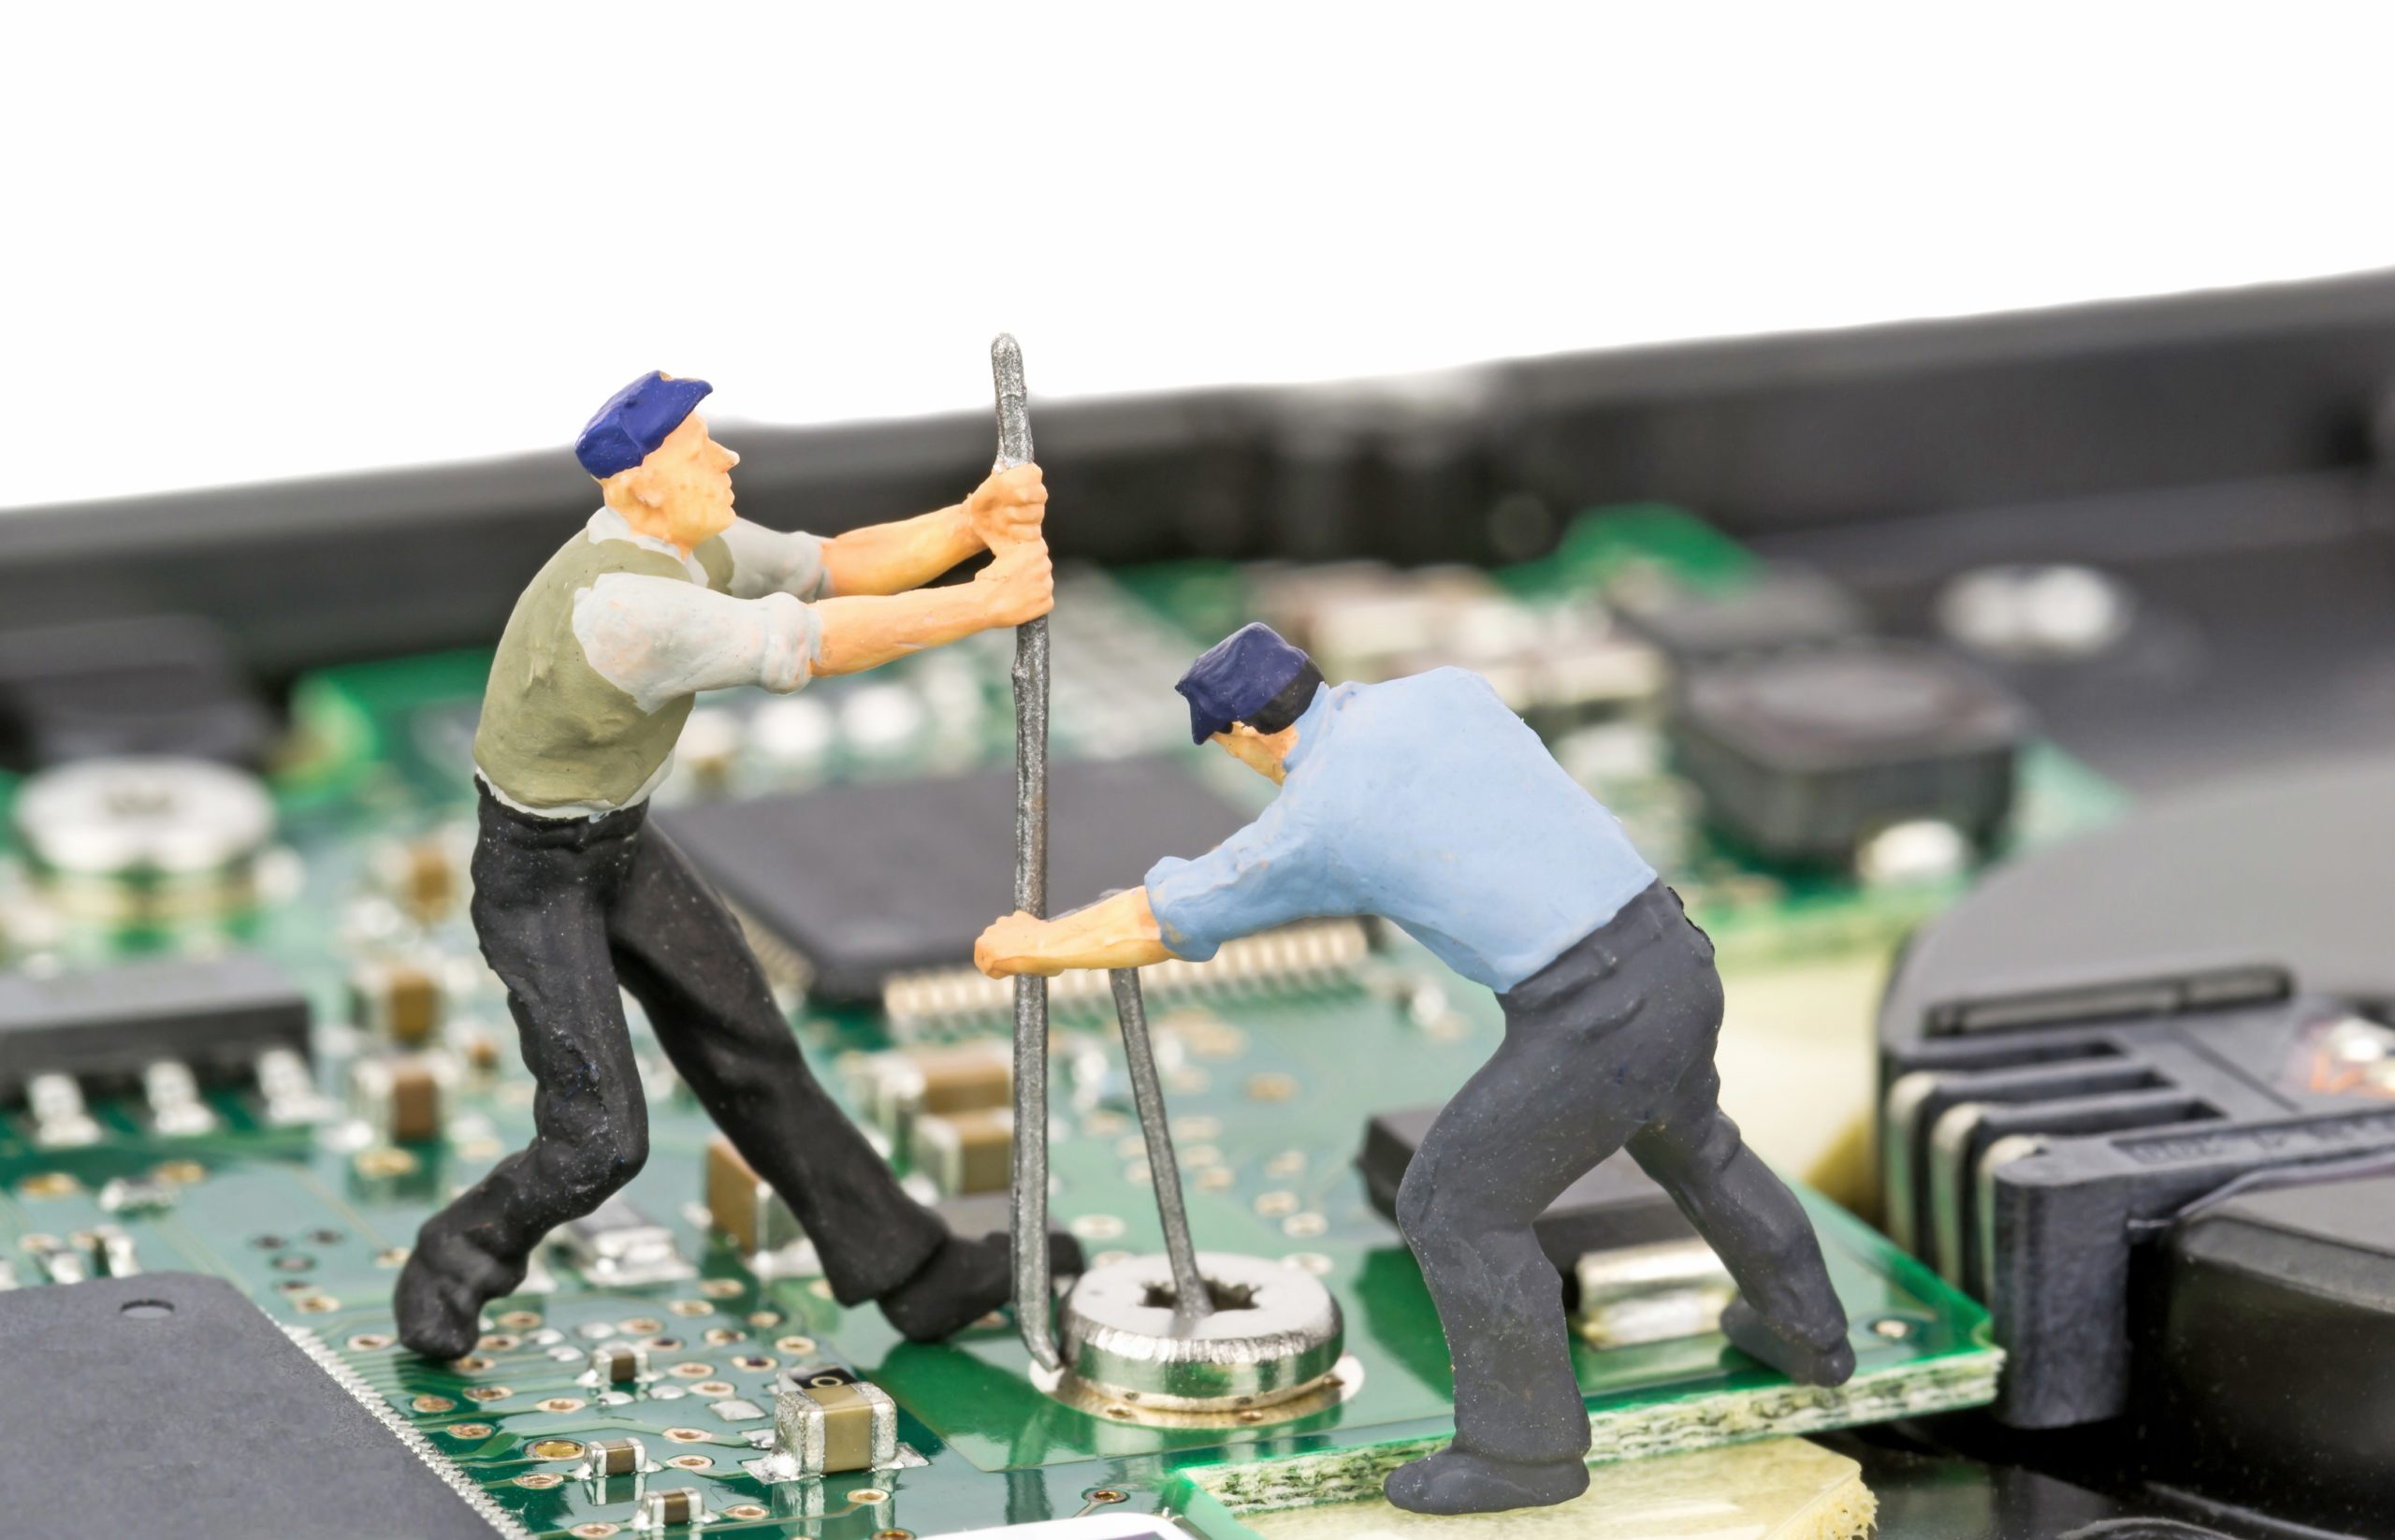
Even though smartphones are comparatively much smaller than laptops, it can be more complicated to work on repairing a smartphone than a laptop.

  •     As the hardware is much smaller than the laptop, it’s harder to find faults.
  •     Mobiles tend to be more “packed” with components in a small space and other hardware and a battery. So it’s harder to identify problems at a specific location as they are interconnected and dependent.
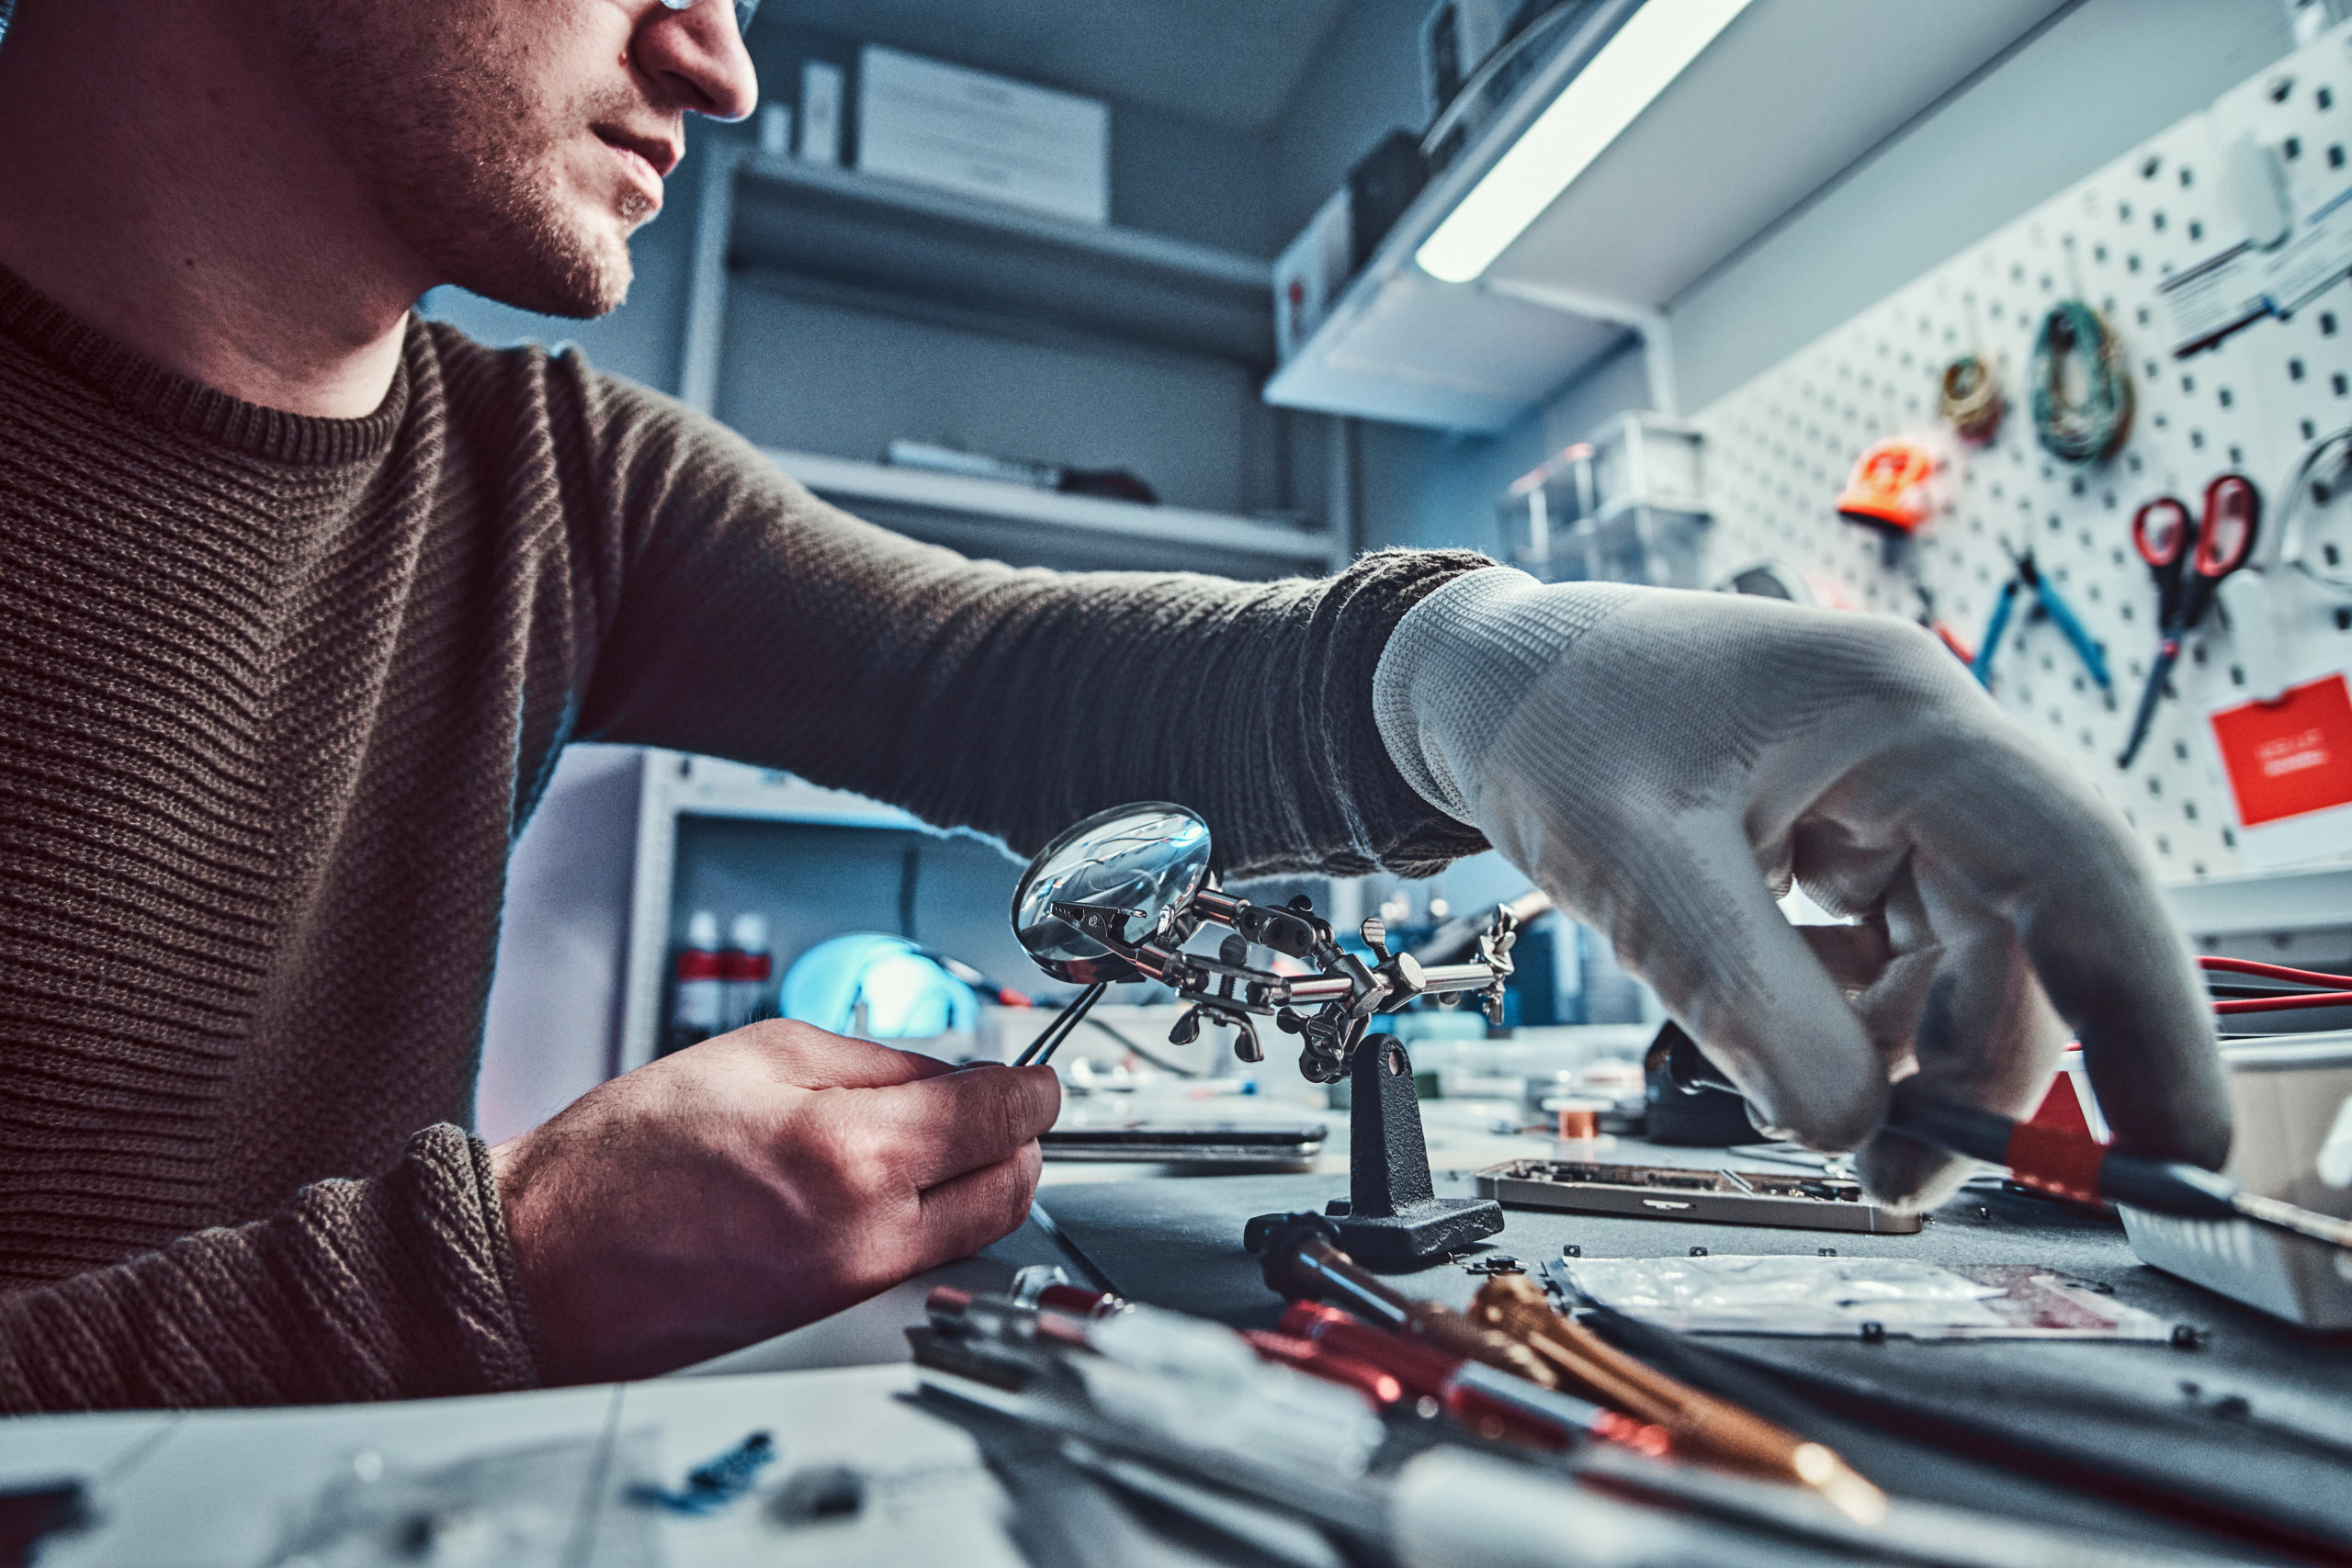
  •     A much more skilled job. Repairers usually work on tracing PCB and look into the motherboard with the help of a microscope and multimeter.
  •     Data recovery from a memory card is much more intricate and time-consuming as there are no spare drives or external memory in most smart devices. There is a chance that once it’s gone, it’s gone permanently.
  •     It may be pretty hard to find specific hardware components for certain models of mobile phones. Especially if they are pretty old, as the smartphone market is constantly evolving.

There is no wrong way to approach a repair for your laptop or smartphone. They are all electrical devices and are not meant to last a lifetime. They will have problems, sometimes which may be bad enough for you to get a replacement or a new one. Both laptop and phone repairs are expensive and require much skill, so make sure you are going to a trusted repairer who will not let you down!

You can also read: Phone Repair With Warranty Where To Fix Your Phone Without Issues

Posted on Leave a comment

How To Repair A Laptop Without A Windows Installation Disc

How To Repair A Laptop Without A Windows Installation Disc

Are you looking for a quick fix to repair your Windows device without installing a disc? On the internet, you can find a lot of methods to do it, but not all of these are as effective as they claim to be. To search for the best alternative earlier, here’s a detailed guide on how to repair a laptop without a Windows installation disc.

1. Launch Startup Repair

When your computer has issues that cause loading failure, such as a Blue Screen or a corrupted Startup Configuration Data setting, you can use the inbuilt Windows program – “Startup Repair” to resolve the issues. The steps are:

  • Turn on your computer and hit the power right when the Windows logo displays on the screen.
  • Continue pressing the power button to do a full shut.
  • Do this at least twice.
  • When the recovery box displays on your screen, hit F11 to access advanced settings.
  • Select Troubleshoot, then Advanced options, and lastly, Startup Repair from the menu bar, and wait till it gets fixed!

2. Use a Bootable USB

If your computer system refuses to execute startup repair or won’t boot, a bootable USB is one alternative. To restore Windows 10 without a CD, you must first make a bootable disc and boot your pc. The steps for creating bootable media are as follows.

  • First, choose a PC backup application, download it, install it, and then run it.
  • Next, choose Tools, then Create Bootable Media.
  • Select the bootable disc you wish to make and then click Next to proceed. We suggest using The Windows PE bootable CD for optimal performance.
  • Select Create the legacy bootable disc or Create UEFI bootable disc, then click Next to proceed. (For further information on selecting boot settings at PC startup, read your motherboard user guide.)
  • To start the process of creating bootable recovery media, select the USB device and then on Next.

You can retrieve the data saved on the computer after restarting Windows 10 from a USB device. However, if you discover that they are inaccessible, damaged, lost, or erased, you could use Recoverit Data Recovery to restore them. The methods are straightforward, and you can recover your lost data even if you lack data recovery skills or experience.

3. Run System Restore

Another alternative is to use System Restore. However, this approach requires that you have previously made a restore point. You should attempt alternative options if you don’t have the restore point. If you have the restore point, proceed as follows:

  • Use the Windows installation DVD to start your pc.
  • Then select Troubleshoot and then System Restore from the menu.
  • After that, select your Microsoft account and enter your password.
  • Then press Next.
  • Choose one of the previous restoration points. You can choose one depending on the date and description of the creation.
  • Again, press Next.
  • Finally, press Finish to finish and confirm your restoration point selections.

4. Try BootRec Commands

You can select Repair MBR to repair Windows 10 without a disc if your device fails to start due to a broken MBR. Here are the steps:

  • Open Command Prompt with system access.
  • To open the BootRec utility, type “bootrec.exe” and click Enter.
  • One after the other, type the commands below:
  • Bootrec /fixmbr
  • Bootrec /fixboot
  • Bootrec /rebuildbcd
  • After entering each command line, remember to push Enter.

5. Reset Your Computer

This approach does not require any software to resolve operating system issues. Now, here’s how to fix Windows without a disk.

  • If your computer won’t load properly, you can reboot it numerous times, which will allow you to enter WinPE. You can also access WinPE using Settings if your PC can load properly.
  • Then select Troubleshoot, then “Reset This PC” from the list.
  • After that, you’ll get two choices. One to keep your files, the other to remove everything. The first will delete applications and settings while keeping your personal information. The latter will completely wipe your PC clean. Then you can proceed with either of them.

After that, you can reboot Windows 10 by following the on-screen tutorial.   Lastly, restart your device and check whether the issues have been resolved.

6. Run System Image Recovery

A system image file functions similarly to a Windows CD. You can build an image file to discover how to fix Windows 10 without a CD. This can be carried out with the help of any reliable third-party tool.

  • Start your computer with the recovery disk.
  • Then select Troubleshoot, Advanced Options, and System Image Recovery from the drop-down menu.
  • Pick the system image backup option.
  • You don’t have to choose Format and repartition disks here.
  • Then press Next and  Click Finish.
  • You’ll get a notification alerting you that all data on the disks to be restored will be substituted with data from the system image. To proceed, you must confirm the message by clicking “Yes”.

Moreover, you can select to designate a restore point while building a system image. To use this option, press the command Windows + Q simultaneously. You can choose a restore point from here to execute the recovery without affecting your stored settings.
You should have corrected all operating system faults when the system image recovery process is completed. To confirm, check whether your device can boot normally by rebooting it.

7. Reinstall Windows

Finally, you can decide to Reinstall Windows to fix all the system faults. This method allows you to repair Windows without a CD and restore all system errors. However, before reinstalling Windows, make a backup of your files, as this procedure would erase everything on the system hard disk.

  • Use the Windows installation DVD to start the machine.
  • Choose your preferred language, time zone, and keyboard input.
  • Select the Install Now option.

Conclusion

We hope these quick and easy solutions helped you figure out your device’s issue and showed you ways to resolve those. Now that you know how to repair a laptop without a Windows installation disc get your device prepped up and have fun using it!

You can also read: How To Make Sure A Motherboard Repair Is Successful

Reference Links:

Posted on Leave a comment

How a Motherboard Repair Can Fix Your Old Laptop or Device

The motherboard of any computer is a complex piece of electronics that serves as the laptop’s main hub. It’s both the initial and last piece of hardware in the entire system. The performance of each hardware component is closely related to the performance of the motherboard on which it is mounted.

Everything your laptop or PC does, from functioning with peripherals to accessing memory to relaying data to your monitor, is dependent on the motherboard. If your laptop would not switch on, it might be due to a defective motherboard.

Many laptop users believe they must purchase a new laptop when this occurs. However, there are several situations in which a motherboard can be easily fixed.

Signs of Laptop Failure

  • The computer begins to boot up quite slowly
  • Computer peripherals start to fail
  • The laptop’s monitor exhibits unusual behavior, such as flickering, lines on the screen, or short freezes
  • It may fail to start while inserting a flash drive into your computer’s USB port
  • Increased occurrence of “blue screen of death” faults
  • A burnt or melting plastic scent

Motherboard Failure: What Causes It?

Overheating

When it comes to a laptop motherboard that generates more heat than planned, it becomes extremely difficult for the cooling system to extract the surplus heat from the tightly knitted hardware pieces. Furthermore, a fried motherboard failure condition complicates the laptop motherboard repair process.
Moreover, most entry-level laptops include air vents on the bottom side of their clamshell shells. If anything stops the air vents, the inside of the laptop will encounter a significant increase in temperature, which is hazardous for the motherboard.

Power Supply

The amount of electrical power available is not always constant. Power surges and supply voltage spikes are rather common. This sudden surge of electricity will destroy the laptop motherboard’s delicate and sensitive SMDs.
High-energy-consuming gadgets connected to any electrical network are the most common causes of power outages. As a result, providing your laptop with power that has a sudden spike in voltage can harm the motherboard.

Motherboard’s Life Expectancy

A laptop motherboard has an average lifespan of about 50,000 hours. Beyond that timeframe, a motherboard failure or other laptop motherboard problem will likely occur sooner or later.
So, if you do not want to spend money on laptop motherboard repair, this lifetime is only applicable if you take adequate care of your laptop motherboard.

Is it Possible to Fix the Motherboard of a Laptop?

There is no doubt about it to a certain extent. In reality, laptop motherboard repair is one of the most difficult and time-consuming tasks a Laptop Service Center employee can perform.

According to other hardware components, motherboards have the highest failure rate of any components. In addition, motherboard failure can be caused by a variety of factors.

A motherboard has a variety of large and tiny components such as a CPU array, HDD/SSD channels, System RAM Panels, Fans, Network controllers, Audio chips, several USB ports, GPU channels, and a slew of surface mounting devices.

If any of these fail, the entire system fails, regardless of how sturdy and costly the other physical components are. Because of the sensitivity of the components, laptop motherboard repair is a time-consuming and challenging technique.

If certain minor components, such as one or two capacitors, are broken, you can replace them with new ones to restore functionality. If the problem with the laptop motherboard is due to some incorrect soldering or a faulty connection, or a little fused chip, identifying it and applying the appropriate equipment in a precise manner necessitates exceptional dexterity in the laptop motherboard repair sector.

You can attempt the followings:

  • Ascertain that the operating system is complete and error-free. Install a new operating system that is compatible with your current hardware system.
  • A laptop’s PSU has the potential to trigger a slew of similar glitches. You can change the unit and see if the problem persists. Remember that a malfunctioning power supply unit might harm both the motherboard and the RAM.
  • If the problem persists, try swapping out the RAM sticks. Occasionally, switching the RAM resolves the issue. Finally, if the problem persists, it is essential to seek laptop motherboard repair assistance.
  • Starting with the motherboard, the first step is to perform a physical check. Low-cost motherboard makers widely use pretty mediocre electrolyte capacitors, and they can leak electrolytes from the interior. Furthermore, if the flat capacitor caps begin to bulge, it is a solid sign that they are encouraging future problems with motherboard failure.

Bottom Line

When it comes to repairing a motherboard, there are a few things that you want to construct and repair your laptop. The knowledge you get from fixing your motherboard problems allows you to extend your laptop’s life by fixing the internal machines as needed.

Posted on Leave a comment

Need Your Laptop Repaired? Here are Five Ways to Upgrade!

Choosing whether to upgrade your laptop or get a new one is huge. A laptop is a vital tool for both work and amusement for most of us. Thus, factors like speed and memory are critical. Some laptops, and even MacBooks, try their utmost to keep you out.

However, if you can remove the bottom panel, chances are there’s something, or numerous things, within that you can improve.

When it comes to hardware changes, laptops aren’t nearly as adaptable as desktop PCs. However, updating your laptop within the limits of what it will allow can be a terrific way to get more life out of it.

Five Ways to Upgrade Your Laptop

Depending on the model, you may be able to add extra system memory (RAM) to improve responsiveness, update the storage drive for increased capacity and performance, or replace the battery to restore the machine’s original charge-holding capability.

1. Upgrade RAM for Laptop

One of the most typical upgrades is to increase a laptop’s random-access memory (RAM). Increasing RAM nearly always results in better multitasking and responsiveness.

Your RAM should be updated if the laptop comes with SO-DIMM slots. You must purchase memory modules that precisely match the required specs. If your laptop has DDR4, for example, you’ll need DDR4.

The basic requirement for a decently speedy Windows or macOS laptop is 8GB. However, 16GB is recommended for much greater multitasking. Some laptops accommodate up to 32GB or 64GB of memory for high processing demands. Each SO-DIMM slot has a per-module capacity limit. Don’t go overboard. If you do, the module will not function.

If your laptop has two SO-DIMM slots, but only one of them is occupied, insert a second module in the second slot. If you want to stack two 8GB modules to reach 12GB of storage, that’s fine, but the recommended peak speed must be the same on both.

If both slots are already occupied, and you want to upgrade both memory modules simultaneously, go for a paired kit with identical capacity and speed modules (for example, a 16GB kit with two 8GB sticks).
Stick with memory brands with lifetime warranties, such as Corsair, Crucial, and Kingston.

2. Storage Upgrades for Laptop

Following RAM upgrades, the most popular laptop upgrade is expanding storage. A new storage drive can provide greater space and performance for a more responsive system, particularly if you replace an old hard drive with a more current solid-state drive (SSD). Indeed, switching from a hard disc to an SSD is nearly always a turbo increase.
If your laptop has a platter-mechanism hard drive, an SSD upgrade will be more noticeable. It’s because, with an SSD, you are just dealing with flash memory.

  • Best Solid-State Drives in the market –
  • Samsung 980 Pro 500GB M.2 NVMe Gen4
  • Samsung 980 1TB M.2 NVMe
  • WD_Black SN850 500GB M.2 NVMe Gen4
  • Crucial P5 1TB 3D M.2 NVMe Gen3
  • Sabrent Rocket 2TB M.2 NVMe Gen4
3. Upgrade Your Graphics Card

Many individuals want to know how to expand their laptop graphics card (GPU), usually for gaming purposes. However, the possibilities for upgrading a laptop graphics card are restricted. Typically, a new graphics card cannot be installed on a laptop or a MacBook. Most laptops include an integrated graphics card or a standalone graphics card.
The easiest option to improve your laptop’s graphics is to replace it with a new one with a better GPU. Nvidia and AMD makes the finest graphics cards for laptops.

If you don’t have a laptop that can update to a new video card, you can acquire an external GPU if it has a Thunderbolt 3 connector. You’d have to purchase a gaming box, such as the Razer Core X, Nvidia, and AMD compatible.

4. Use an External Optical Drive

Because almost all current laptops lack disc drives, they must make the greatest use of their limited capacity to provide a genuinely portable computer experience. External drives are inexpensive and easy to use. Attach one to your computer through a USB port, wait for the installation to complete, and you’re ready to go.

An external SuperDrive is a convenient method to play physical discs on your Mac, but if you use your Mac in many locations frequently, you may not want to take an external drive with you.

If you frequently upload huge media files to your hard drives, such as entire TV series or full-length movies, you may consider investing in a USB drive or SD card to save these items outside rather than cluttering up your hard drive.

5. Update Your Operating System

You don’t need to buy a completely new laptop to receive the latest operating system in most circumstances. Latest laptops come with newer operating systems, but you can often install the upgraded system with no work.
For example, if your laptop is still running Windows 8 and you want to update to Windows 10, you’ll need to delete Windows 8 from your hard drive and download the newer version.

Bottom Line

Although upgrading your laptop isn’t always the simplest path to a better computing experience, these recommendations are simple to do on your own. So, try the one that seems the best fit, and upgrade your laptop now!

Posted on Leave a comment

Memory Full, Laptop Slow? Speed your Laptop with these tips

It is incredibly irritating when your laptop starts to slow down and brings your productivity level to zero. But don’t just give up on your laptop yet. There are a few things that you can tweak around and can make your laptop faster than it ever was.

And in this article, we will look at a few things that will help you achieve just that. Remember, not all of them will make your system go to overdrive, but you will experience a significant change in your laptop’s overall performance.

Start with a Disk Clean Up

This can seem odd at first glance, but when we delete something from our computer or laptop’s disks. Specific confidential data can hog space and slow down overall performance. This is a failsafe feature in the case of drive recovery.

So, select the drive you want to clean up and go to the properties option. From there, you will find a button for disk cleanup. Click on that and go through some choices, and the disk cleanup will begin shortly.

The time will heavily depend on the drive’s size and the number of flies. But even at its highest, you won’t have to wait to form more than 15 minutes for this procedure.

Stop the Programs in the System Tray

If your laptop is slow when you boot up your device, it is struggling to perform because multiple programs are working simultaneously. This numerous application execution can be prevented by simply going to the system tray and closing all the apps that show up.

As you won’t find any key windows applications there, it is safe to close all of them, and you won’t face any issues. You can open the applications manually if you need to use them.

Prevent the Apps from Ever Staring in the First Place

This is related to the previous tip we have provided. But for this one, you will have to go to the task manager and disable apps from starting up when you boot up your windows on your laptop.

Go to task manager (you can type task manager at the start and go from there, or right-click on the taskbar and select task manager from there). Once you are on the task manager, you will see multiple windows in front of you.

From those windows, click on the startup windows, and you will be directed to a new tab. Just disable the apps you don’t want to start during startup. Just take your mouse pointer on the app you don’t want to run and right-click, then pick disable and then hit ok.

Free Up Space by Removing rare Used Apps & Files

Sometimes the disk drive fails to read specific system commands due to heavy storage device load. And if you are not using an external hard drive for your laptop, then this can be why your laptop has become slow.

So, remove the files you don’t use anymore and free up some space. The same can be said for unused applications as well. So, if you are not using them and don’t think you will need them in the future, go ahead and uninstall them from your device. This way, your storage device will have breathing room and perform optimally.

Check for Malware Attacks

Malware or viruses often slows down the laptop, and if you have downloaded, opened, or installed some sketchy third-party software or file, then the chances are that your laptop has been exposed to a malware attack.
This means your device is now filled with viruses, and now it is slowing down the system by corrupting the system files. So, unless you want to keep this going, you should use antiviruses to remove this threat from your laptop, ultimately regaining your device’s former speed.

Update Windows, Drivers & Application

Updating the windows and your device drivers can often solve the issue of a low-speed system. You can turn on auto-update if you don’t want to update everything all the time manually.
You can directly update the windows from the start menu by typing update. While you can either update the driver from the device manager or open each driver’s applications and update them individually.

Adjust the System Power Option

Every laptop comes with a system power options menu built in them. Access it by right-clicking on the battery icon and selecting the power option. Usually, it will be on the ‘Balanced’ option.
Switch that to high performance, and your laptop should work a bit faster. This comes with the cost of ignoring some visual aspects of the windows. So, do keep that in mind.

Final Thoughts

These are a few of the best tricks that you can use to make your laptop run faster. So, give them a shot. We can guarantee that you will notice a significant difference in your laptop’s performance.

Posted on Leave a comment

Lost Your Data? You Might Be Able To Repair Your Hard Drive

Introduction

We all have at least one data storage device with us. It is now impossible to go on without one. They are not just to store photos and videos, but your official files, bank info, and many other important things.

The reliability of these data devices is increasing with their demand. Now data devices are more reliable and secured. However, data loss still happens. It is nothing out of the blue.

The good news is it is possible to recover data from a damaged disk drive. The success rate of data is also very high. So how can you recover your lost data? Read this article to find out.

What Causes Data Loss?

Before we start discussing the solutions, here is a quick overview of what causes data loss in disk drive and storage devices.

Physical Damage

One of the most common reasons why data loss happens is physical damage. Physical damage to your storage device may occur due to improper handling, accidents, and extreme temperatures.

Based on the physical damage to the disk drive, it may be impossible to recover your data from it.

Overheating

Another common reason for hard drive data loss is device overheating. We know how advanced computers and mobile devices have become. We always tend to take advantage of it and perform multiple tasks at once. For example, blasting music from Youtube while typing in Microsoft Word and also running five downloads in the background.
Not to mention, the software we use nowadays on our computers is too heavy, and it can put a toll on the device’s performance. Using multiple software at once will overheat the device. The heat can cause damage to the hard drive and cause data loss.

Corrupted Power Supply

The power supply of your computer can cause data loss. The power supply may malfunction and cause the excess voltage to run through the circuits of the chipsets and hard drive. This can ultimately cause the hard drive to lose stored data.

Wear And Tear Damage

Hard disks also suffer from wear and tear damage. They have a limited lifespan. When you are near the end of that lifespan, the data disk will slowly start to underperform. This will cause data loss.

Different Ways To Recover Lost Data

Now let us talk about different ways of fixing lost data from a hard drive.

Using A Software (Disk Drill)

One of the easiest ways of recovering lost data from a hard drive is using the software. You will find many reliable apps for this purpose. There are free apps and paid apps. The paid ones work better.

We would recommend you to use Disk Drill. This app comes with lots of different data recovery options for any kind of disk drive. That also includes external hard drives.

The best part is that you can preview a file before recovering it with Disk Drive. This will save you from the trouble of recovering unwanted files.

Using Disk Management

If your data is not deleted but got corrupted and inaccessible, then you can use built-in computer options to recover that data. The option for that is called Disk management.

You can access `Disk Management’ by simply right-clicking the taskbar or pressing ‘Windows’ + ‘X.’

Now open ‘Disk Management’ and locate the hard drive that is damaged. If you can find the damaged drive from ‘Disk Management, you can format it from there to fix any logical issue in the drive and access the data.

However, this process can permanently erase data from your hard drive. Thus it is always better to keep this method as your last resort and use disk recovery software for data recovery.

Using Cmd Port

If you don’t want to use any software for safely recovering lost data from your hard drive, then you will have to be technical. The CMD port recovery method allows you to repair data loss issues of your hard drive without formatting it. It is a technical method, so you may find it difficult.

But in reality, you will just have to type in a few commands correctly to safely recover data from your corrupted drives. Here is how you will have to do it:

  • Access CMD Port

First, we need to access the CMD port. Just like accessing ‘Disk Management,’ right-click on the taskbar, or press ‘Windows’ + ‘X.’, You will see either Command Prompt (Admin) or Windows PowerShell(Admin). Click on whoever your PC shows. This will open the CMD Port of your PC.

  • Analyze Errors

Now we need to tell the computer to analyze your hard drive and identify the one that has been corrupted/ lost data. To do that, type ‘chkdsk’ and press ‘Enter.’ This will analyze all your internal hard disks and show you which one is corrupted.

  • Fix Errors

After finding the corrupted hard drive, type chkdsk [Insert Drive Letter]: /f /r/x. For example, let us think that our E drive has list data. So to fix that, we will type chkdsk E: /f /r/x. Then we press ‘Enter,’ and the computer will fix the data.

Conclusion

So that was three different methods of recovering your lost data from a corrupted hard drive. They are easy to do. However, if it is your first time recovering lost data, we recommend you take the help of a professional.

Source:

Posted on Leave a comment

Six things to when considering replacing or fixing your tablet screen repair

Nothing is more painful than a broken device, especially if the broken part is the display. Fixing a display is tricky because tablet structures are different, and a lot of them have sensors connected to the display. So if you are considering replacing or fixing your tablet’s screen, you’ll have to be careful. Here is our list of things you should consider while considering fixing your tablet display.

Things you should consider for your tablet screen repair

  • Damage level

Decide the level of service you’ll need before considering anything. Is your screen completely cracked and impossible to work with, or is it something minor like scratches around the corner? Replacing or fixing your tablet screen will depend on whether you can work with your device. If the damage is minimal and you can work, temporary fixes should be enough. If the damage is bigger, then you should consider contacting repair services like Apple authorized service.

  • Available expertise level

Repairing any device needs extra skills and experience in working. When you’re considering replacing or fix for your tablet, look at the available service and check if they have expert people available. Tablets usually get frequent updates, so make sure the service you’re considering has an expert who knows their way around your device type.
This is very important because all tablets don’t work in the same way. Apple products have a completely different structure and layout from Samsung Galaxy devices, and the same goes for tablet screens. So look for an expert and/or consider the available expertise you can get.

  • Authentic parts usage

If you’re picking an official repair service, then you don’t have to consider this because official shops always use high-quality, genuine parts supplied by the manufacturing company. But if you’re considering a third party for fixing your tablet, then you’ll have to make sure they’re using authentic parts as replacements.
A lot of third-party repair services use cheap parts as replacements that downgrade your device with time. Consider if you can find a reliable service that guarantees authentic parts usage.

  • Service warranty

Most of the repair services will offer you a service warranty if you get your display fixed from them. A service warranty means if you face any problem with the repaired part within a time frame, then the service will fix it for free; you won’t have to pay any service charges. Usually, service warranties are 6-12 months long. Service warranty also means the repair shop is confident with their work and has a high success rate which is a plus point.

Repairing your tablet display from a third-party service will void your official warranty, so consider the service warranty offered by them. Compare their warranty with the official one (if you have it). A lot of times, services like the Apple store consider a warranty void if your device is damaged from impact. Consider if you want the risk and want to proceed without any warranty.

  • Costing and return time

Another important factor, especially if your tablet is pretty old. Sometimes fixing your tablet screen isn’t enough, and you need a full replacement, but the replacement cost can be high too. Sometimes replacement costs can be equal to or more than a new tablet’s price. In that case, you’ll have to consider if you need a new device with a renewed warranty or not.

Return time is another factor you should consider. Gadgets are a part of our lives now, and we use them all the time for a lot of things. If the repair takes a long time, you should consider alternatives like temporary fixes until you can get a new tablet. Unless you have no other way left, don’t opt for services that’ll take weeks to return your device.

  • Review and credibility

Unfortunately, many low-quality repair services can do more harm for your tablet than good so check their credibility before choosing a service for your tablet repair.
Reviews are the easiest and most transparent way to know if a service is good and credible. Real reviews show a service’s reputation, and that is very important. If a service has bad reviews or a bad reputation, then chances are their service really isn’t good, and it would be risky to pick them to fix your tablet.
Whatever service you want to choose, consider their reviews and credibility first. A negative reputation isn’t something good for technicians, so we suggest you only pick highly rated services or technicians.

Conclusion

And this is our list of things you should consider when choosing a tablet repairing service. Credibility, service warranty, and expertise level are key factors you should consider before anything else. Keep your convenience on top and pick a service that can deliver fast results within your budget.

Source:

Posted on Leave a comment

How to make sure a motherboard repair is successful

Motherboards are the brain of your computer devices. The entire system runs because of the motherboard commands, and this is why motherboard damage crashes your entire system. Motherboard damage is pretty normal if your device has been running for a long time. Fortunately, motherboards can be replaced or repaired so you won’t have to buy a new computer every time you face issues.

If your motherboard has visited the service shop recently and has gotten its parts replaced or repaired, it is normal to wonder if the repair was successful or not. You can figure that out yourself in a few simple steps. Read our guide below to know more.

Can you repair a motherboard?

Yes, you can. Your motherboard is made of a lot of smaller parts, and depending on the level of damage, your motherboard can be easily repaired.

Motherboard repairing is easier for PCs. The components have more space around them, so you can take a specific part out and replace it easily instead of opening the whole CPU up. Laptop motherboard repairing is harder because all the components are cramped on a board, and there isn’t much room between them. The components are also soldered on the board, so sometimes, you’ll have to open up the whole board, which can drive up the cost.
Either way, the answer to this question is yes.

How to know if motherboard repair is successful

When you get your device back, the first thing you should do is look for any physical damage. High-quality shops usually make sure there is no damage, but accidents happen. If there is no outward damage, then you can move to the next steps.

The best way to confirm a successful motherboard repair is to run the troubleshoot steps back so you can detect if there is any problem left. Here is how to do it.

Before booting your computer

Before doing an all-out checking, do a mini test with the minimal boot configuration only. You’ll only need one stick of RAM, the CPU, motherboard, and a power supply. You can connect a small speaker if you want, but that isn’t necessary. Boot your computer and see if this works. If it does, it means none of the components has any problems, so your motherboard repair was successful.

Take out and then re-install your memories. If there is any problem with the memories, this will reboot that. Make sure you place them properly following the manual, so you don’t get any false alarms.

  • Check Booting

If you’re on your computer, check the display cable and make sure the power supply is on.

Start your device and look for the crashing signs. If the display is working and there is no blue screen error message showing, your motherboard repair was successful. Finish booting and move to the next step.

  • Match device serial number

If your motherboard problem was minimal and didn’t need any part replacement, you can skip this part. But if you replaced your motherboard, then you can check your device serial number. It will be different from before because of replacing the motherboard. If it is different, then you know your motherboard was properly replaced.

  • Check for freezing issues

After your device starts running properly, do some simple tasks. Open multiple applications, move your cursor, surf the internet. Check if the computer is freezing or taking longer than it is supposed to take. If there is no lagging or freezing and everything runs smoothly, your motherboard installation is good.

  • Check display

Play any random video you have, or look up one on the internet. Press play and see if there is any glitching. See if any frame is freezing or if there is any sound problem. If you can’t find any glitch and everything looks okay, your motherboard repair is successful.

  • Check graphics card

If you’re using a graphics card to connect with the motherboard, take it out first and connect the video wire directly to the monitor. Boot your device and see if there are any issues. If there isn’t, you can re-install the card and boot normally.
If you can check all these boxes without any problem, then you can be sure that your motherboard repair was successful.

Conclusion

The motherboard is the brain of any computer, so you should take any motherboard issue seriously. If you repair your motherboard from official services like Apple authorized services, then you can be sure that the repair was successful considering their high success rate, but if you still want to run a test, we hope this guide will help you.

Source:

Posted on Leave a comment

Thinking of throwing away your Laptop? Consider a motherboard repair service

Motherboards are like the hearts of any electronic device. The whole system is run on motherboard instructions. Motherboards are different for different devices; a pc motherboard won’t match a laptop motherboard because of how small the operating space is. Motherboards rarely go down, but if it does, your whole computer will be useless. As motherboard repairing needs more time and expertise, most people tend to change their device for motherboard failures, but sometimes repairing can help too.

If the damage is minimal, you can repair your motherboard instead. Here is a guide to motherboard damage and how a repair service can help.

What are the symptoms of a motherboard failure?

The most obvious symptom is the slow booting of your Laptop, but that isn’t the only one. Here are some signs that can mean motherboard failure in your Laptop:

Laptop repair cost factors

There are many factors, but the major ones are service rate, problem complexity, and type of service.

  • Slow booting

If your Laptop isn’t showing anything on display except a black background, then chances are your laptop motherboard is down.

  • Constant freezing

Another common symptom. Most of the time, your Laptop will start fine, but when you try to work, your screen will freeze. This will keep happening frequently, and the freezing time will keep increasing. If your Laptop is doing the same, you probably have a faulty motherboard.

  • Slow performance

This mostly happens because of the part wearing down, but yes, if your Laptop has slowed down a lot compared to before, then it can be a sign of motherboard failure. This also includes frequent glitching and screen freezings.

What can cause motherboard failure?

Many things, actually. The reasons can go from factory defects to a build-up of any kind; some of them are just more common.
Here are some of the reasons that can cause motherboard failure.

  • Overheating

Overheating is the most familiar cause of this. The CPU components have more space and air ventilation in a desktop computer, so the inner temperature regulation works better in them. Laptops have all the major components sitting in one place and have next to zero room for extra temperature control. Because of the cramped layout, it is easier for the motherboard to overheat and not come back to normal temperature. A lot of laptop models have air vents in a position that can get covered up easily. This blockage of ventilation causes the motherboard to overheat and fries the chips on it, causing a complete failure.

  • Big power fluctuation

The electricity powering your Laptop is never stable; it is always fluctuating. But the normal fluctuations are never too big. Normal fluctuation doesn’t harm your Laptop, but if there is a sudden rise or drop in power that is outside the normal fluctuation range, your Laptop’s motherboard can’t adjust to the sudden change and stops working. If the surge is because of lighting, then it can burn the inner components too.

  • Physical or impact damage

Physical or impact damages are rare cases, but they happen. If you drop your Laptop or hit it against something accidentally, it can shake up the inner components and cause your motherboard to collapse. Sometimes impact can loosen the wire connections, which won’t damage your motherboard but will make it show the symptoms of failure.
Physical damages like burnt components (or chipped ones) can also cause your motherboard performance to downgrade.

  • Aging

Electronic devices have a limited lifetime, and their performance rate keeps dropping slowly because of the constant usage. If your Laptop is pretty old, then chances are your motherboard has run the course of its life and needs to be replaced now.

How can a motherboard repair service help you?

Your Laptop showing signs of a motherboard crash doesn’t mean you have to throw it away. The problem can be coming from a loose connection or a shaken component that can be easily fixed. But you wouldn’t know what the reason is unless you open your Laptop up, and disassembling a laptop is complicated. This is why you’ll need expert services to help you out.
A motherboard repair service will tell you if the problem really is in your motherboard and how much repairing it needs to be fixed. They are experts in handling these devices, so you won’t have to worry about dissecting your Laptop alone or messing up during reassembly. They will also help you fix the motherboard if the damage is small and fixable (think small component changing or fixing a loose wire) so you won’t have to spend your money on getting a new laptop. There will be less chance of data loss after fixing, and you’ll be able to recover your data easily because they keep backups. And if your motherboard is beyond repair, they’ll tell you that too, so you’ll have confirmation coming from professionals.

Conclusion

Most people think motherboard issues mean you’ll have to get a new laptop, but that’s not entirely true. Motherboard repair services are professionals and will tell you if your motherboard can be fixed. This can save you from extra spending, so yes, we recommend contacting a motherboard repairing service before throwing your Laptop away.

Source:

Posted on Leave a comment

The Ultimate Guide for Laptop Repair Pricing

Laptops rarely need servicing or part replacement unless there are accidents involved. Whatever the reason, if you need a repair service cost estimation, you’ve come to the right place. Keep reading to know how much your laptop repair can cost.

How much does laptop repair cost?

Your laptop repair costs depend on how complex the repair is, what kind of service you’re choosing, and how the services set their prices. It also depends on your device; Apple products usually cost more than other brands. Since there are multiple facts involved, let’s first clear this up.

Laptop repair cost factors

There are many factors, but the major ones are service rate, problem complexity, and type of service.

  • Problem complexity

Minor repairs will cost you less than major ones where you’ll need parts of your laptop replaced. If the problem is something that can be solved within a day (like liquid spillage on your laptop), then chances are you won’t have to pay more than the regular repair rate.

If the problem is more complex, like a completely broken screen or a disk drive/external hard drive replacement, then the cost will go up significantly because you’ll have to pay for the service, the parts and if you’re taking remote service, then travel cost.

  • Type of service and location

Repair services offer in-house repair, send-ins, and remote repair options. In-house repair means you’ll take your device to the repair service, and they’ll fix it for you. Send-ins are for you if you can’t get an appointment at a physical repair store (like an Apple Store or Apple-authorized service). You’ll have to send the device to the repair service, and they’ll send it back after repairing it.

Remote repair means a technician will come to your preferred location and fix your laptop. You won’t have to go to the shop or send your device to them.

As you can guess, remote repair costs more than the other options because the technician will be traveling to your preferred location. The cost also depends on the city you live in. If the living cost is high in your city, the overall service charge will be high.

  • Service rates

This depends on your service. Some services charge by the hour, and other services have a flat charging rate. If it is an hourly charge, it can also fluctuate depending on problem complexity. Flat rates are usually fixed considering all the costs, so the most you’ll have to do is pay for the replacement parts.

Laptop repair costs guide

Considering other factors, the average laptop repair cost is $100-$250. But if you want a more detailed pricing idea, here’s our guide to help you out.

  • Water damage repair

This is the most common issue. If you spilled water or any other liquid on your laptop, a technician would have to open your laptop up and dry the inner components. This usually costs $100-$250, but only there was no internal damage. If there is internal/physical damage, you’ll have to pay for the replacement part.

  • Keyboard and fan repair

Keyboard replacement costs are different for every laptop. Windows laptop keyboard replacement usually costs $100-$120, but the price is higher for Mac laptops. Since the technician will have to take the whole laptop apart to replace the keyboard, Mac keyboard replacement costs more than other ones.

Fan repair doesn’t cost much; usually, it is between $10-$20. What pushes it up is the service charge, especially if the repair service has an hourly charging system. Accessing the fan takes time because it is an inside component, and you need to open the whole thing up to get to it.

  • External hard drive/disk drive repair

Hard disk repairing is fairly easy, so the service charge for it is low. The cost mainly goes to the replacement hard disk, a 1TB SATA hard drive costs $110 to replace, while a 500GB SSD will cost you around $179. This price includes the service charge and excludes the drive recovery cost. Service providers recover your data and transfer it to your new hard drive to prevent data loss. This will cost you an extra $100, so your total cost for disk drive repair will be somewhere between $210-$279.

  • Battery replacement

Battery replacement costs usually depend on what kind of battery you need. Laptop batteries can cost you anything between $30-$200. If you want to use refurbished batteries, then the cost will be $20-$70. Most laptops use standard batteries, and those cost less than the specialized batteries for specific devices.

Conclusion

And this was our guide to laptop repairing costs. The cost can vary depending on your repair service, so make sure to look around and always pick a store with a service warranty if you’re going for third-party stores.

Source: